The 50 States Project

I’ve been working on a big series of tiny art! The 50 States Project has been on my to-make list for several months and I just finished up the series. I really enjoyed researching different locations for each state, and it’s always a challenge to needle felt at this tiny scale. Each 3”x3” needle felted landscape features a landmark or representational scene from each of the 50 States, and the collection is available on my website.

OnceAgainSam2489.jpg

Be sure to enter the giveaway on Instagram and Facebook! The winner will get their choice of any of the mini landscapes from the series. All you have to do is answer the following question on either of my social media feeds: What is your favorite state and why? Good luck! Winner will be announced 9/19 at 6pm EST (must be US resident to win).

50 State Series Giveway2.jpg

Ice Dying: The Art of Trial & Error

One of my recent passion projects has been to master ice dying. I love that unpredictable water color / ink running look on textiles, and I had dreams of incorporating something like that into my background fabric for future fiber art projects. Plus, I wanted some cool new colorful clothes for summer!

IMG_6555.jpg

With my schedule wide open due to COVID-19 cancellations, I read up on ice dying, collected materials, and gave it a go. My fist batch was a huge disappointment, but I learned a few things and kept at it. Here’s my DIY tutorial on ice dying (including all of my lessons learned along the way). This is such a fun summer project - use these hot days to your advantage!

IMG_7073.jpg

The beauty of ice dying is you have almost no control over the outcome. Sure, you can choose your colors and garments, you can sprinkle the dye or dump concentrated sections of dye, but other that that, the ice is going to decide your pattern. Try scrunching up your fabric, try laying it flat, try dying a second time overtop of your first round, if you’re not completely happy with the results. Just have fun!

Check out the 60 second process video at the end of this post so you can see the magic for your self.

IMG_6681.jpg

SUPPLY LIST

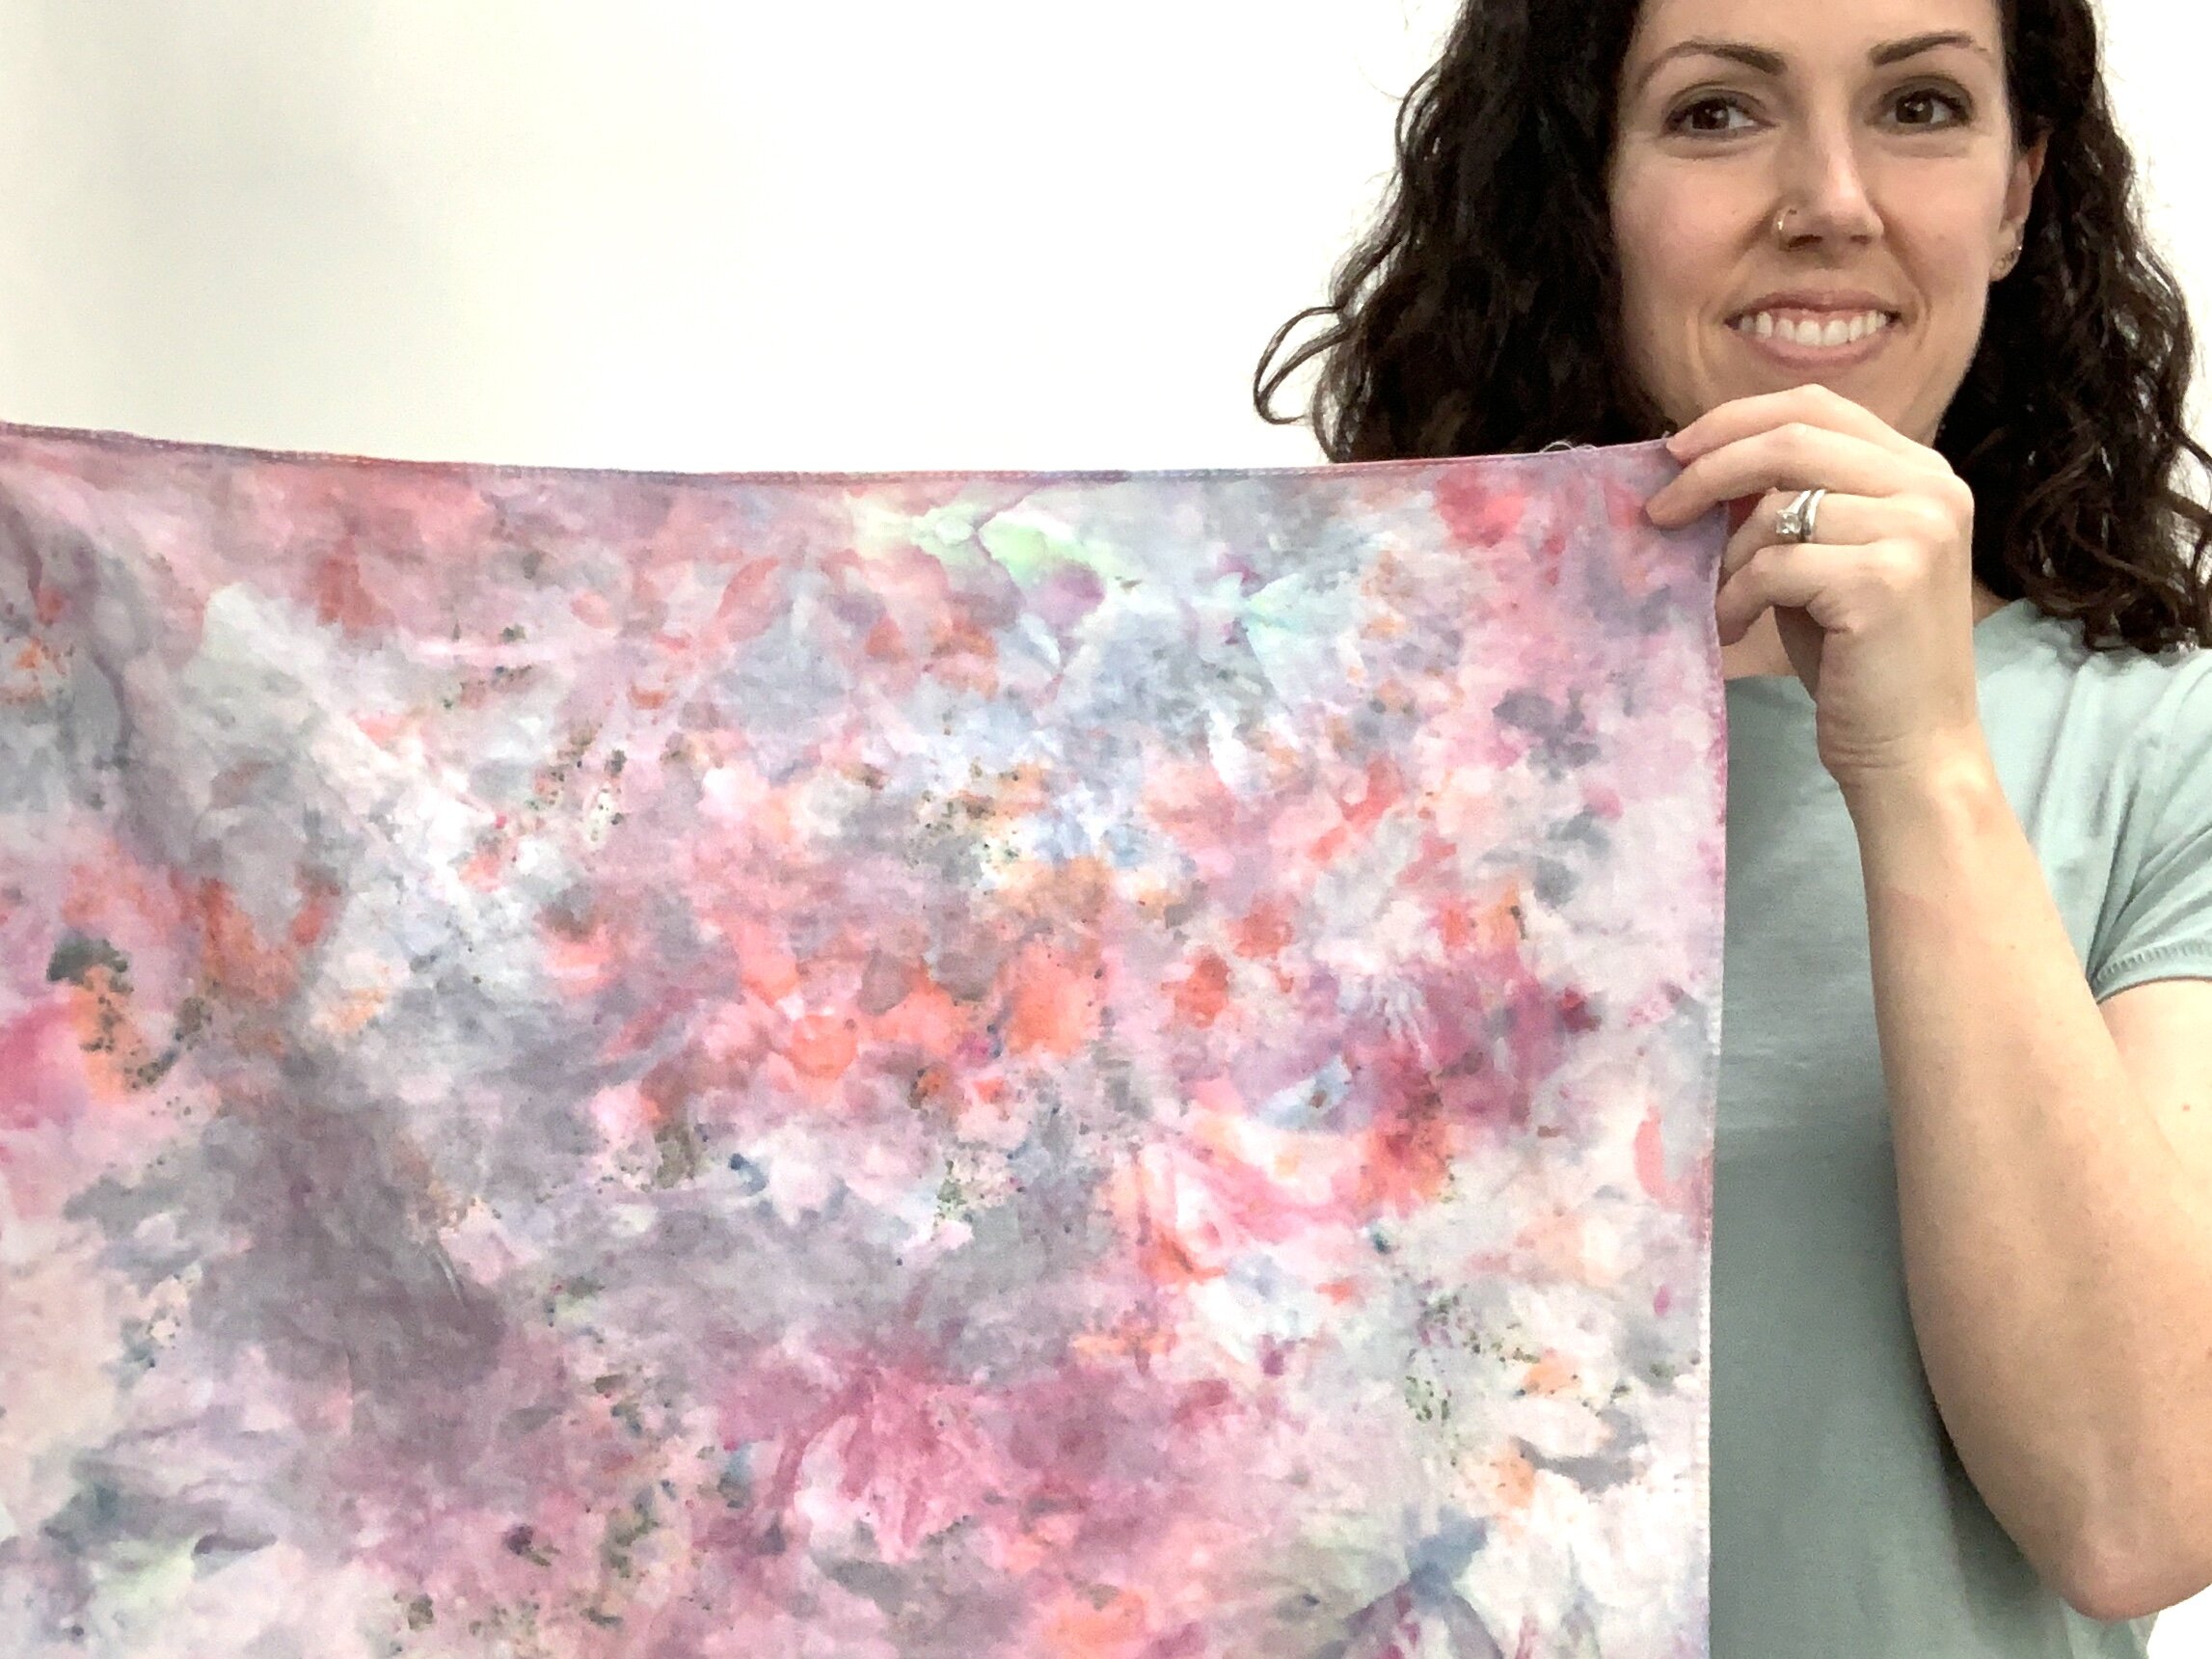
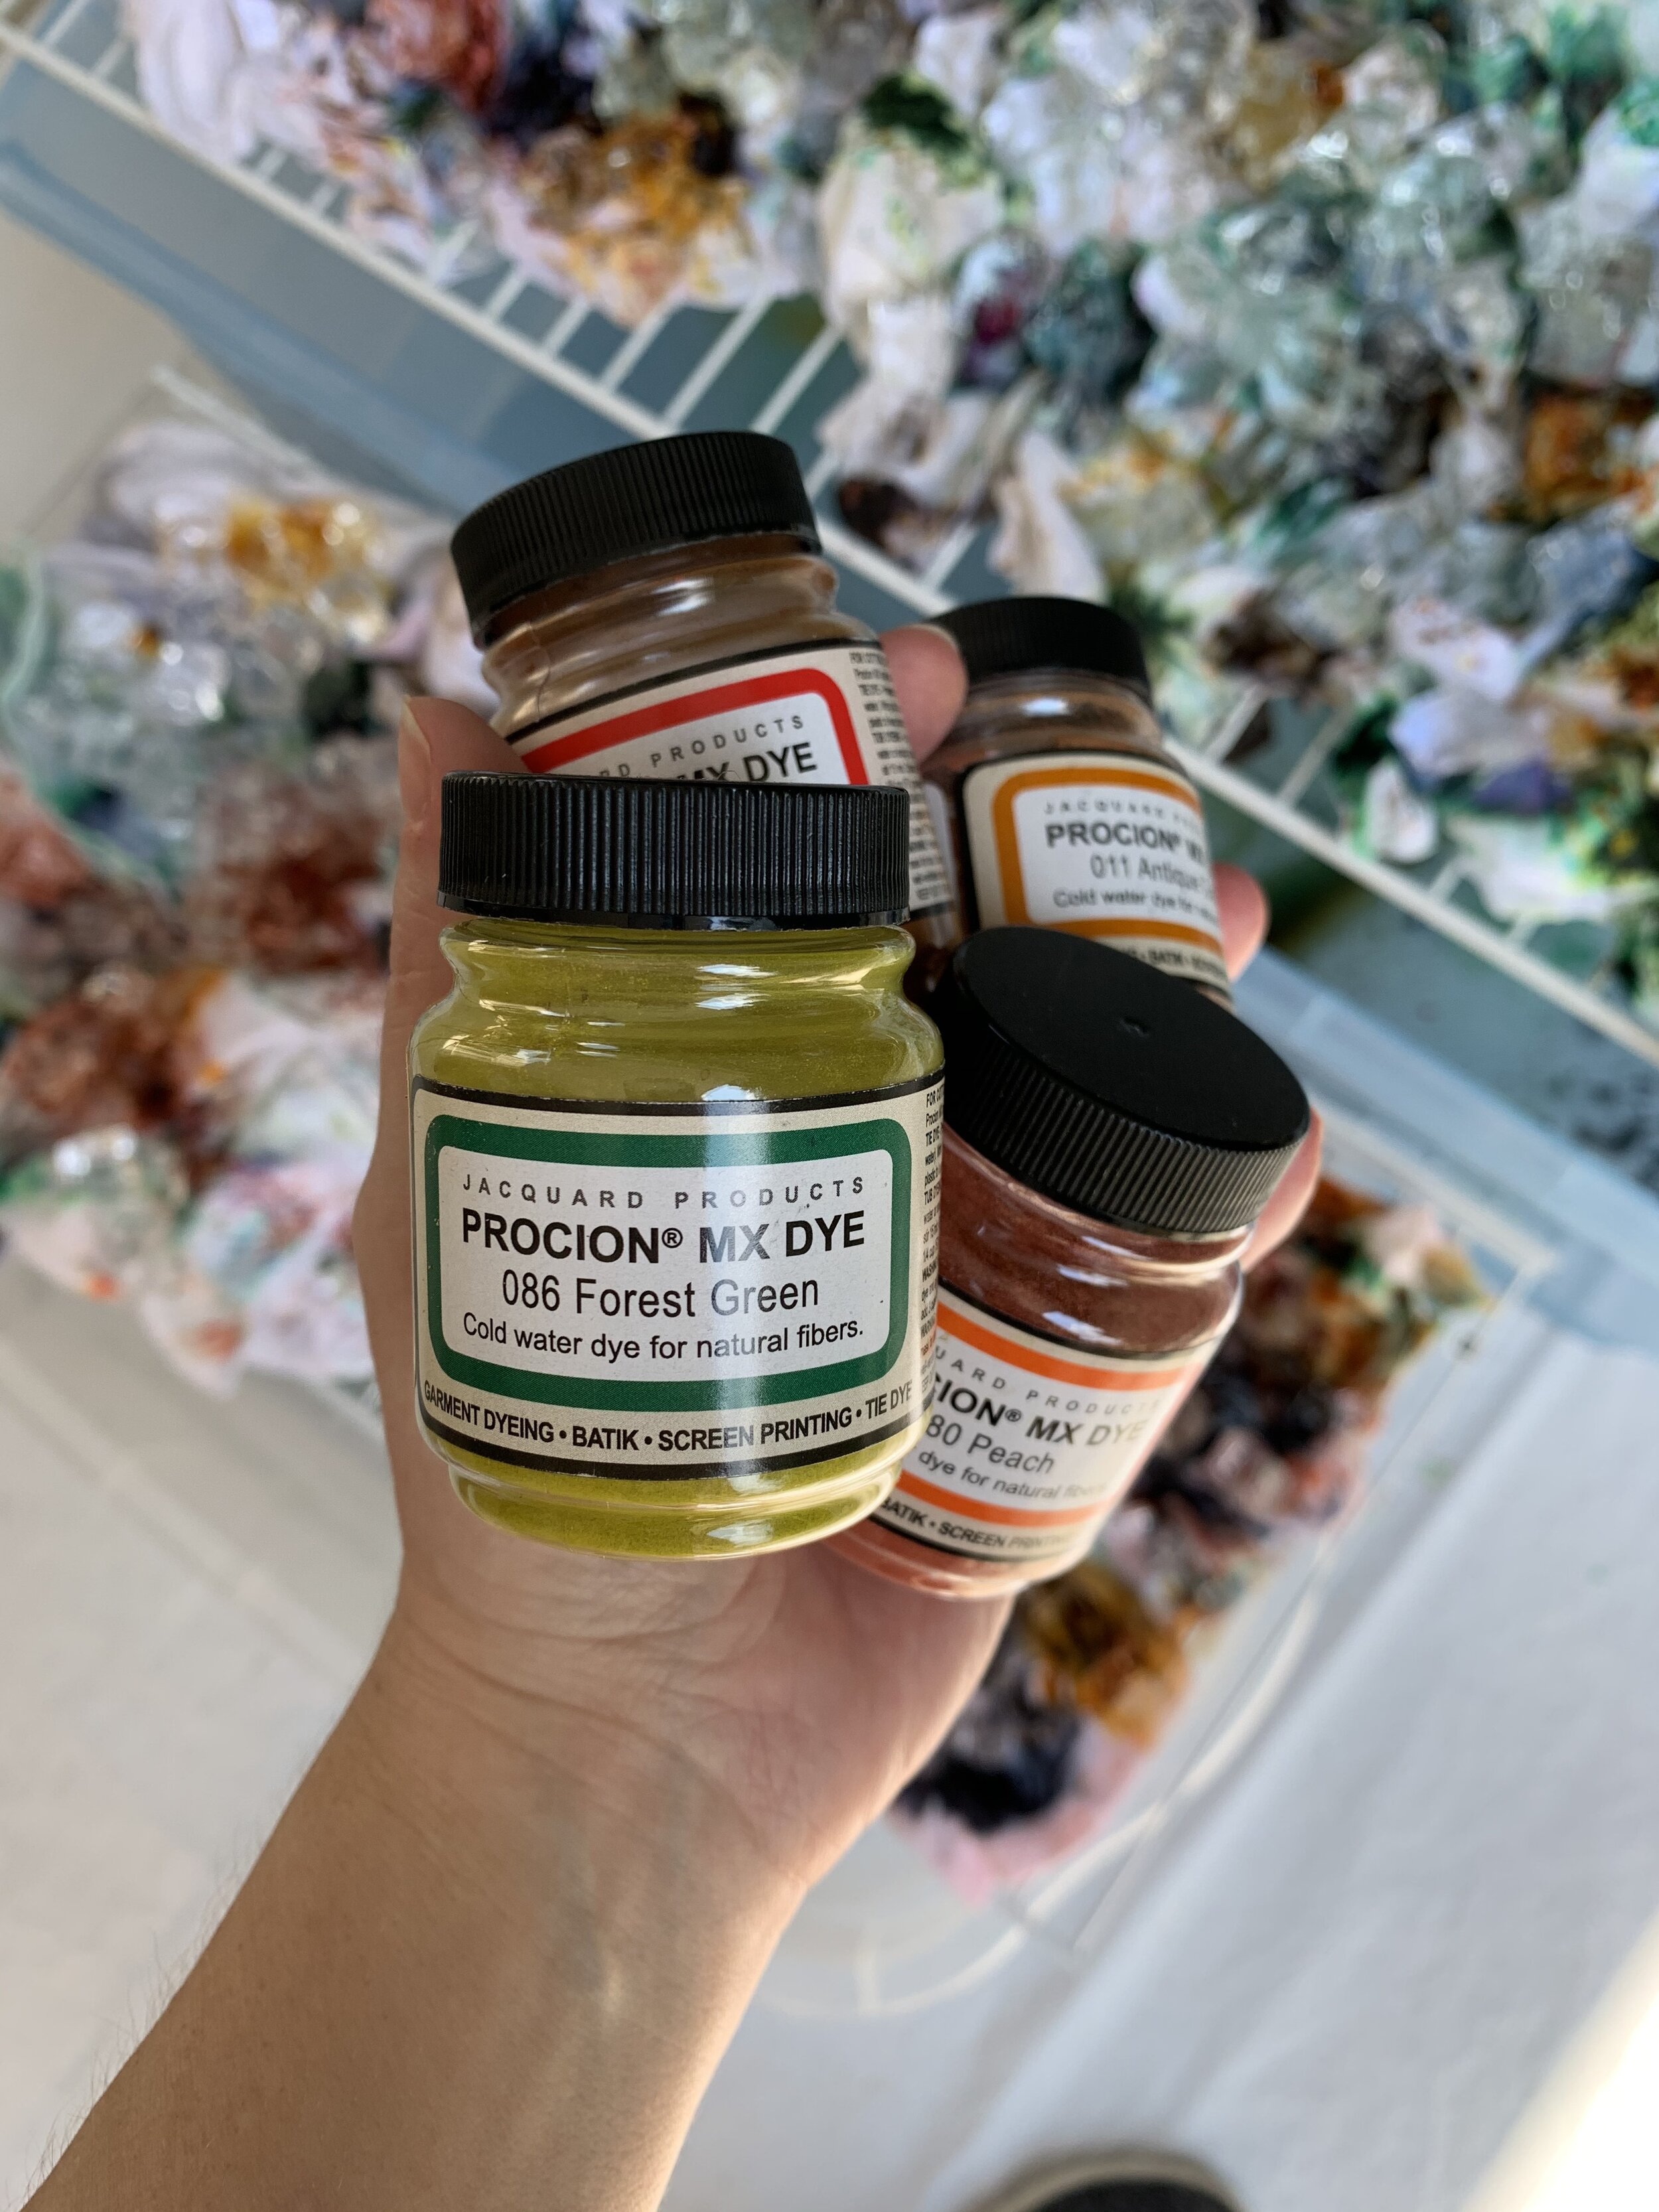
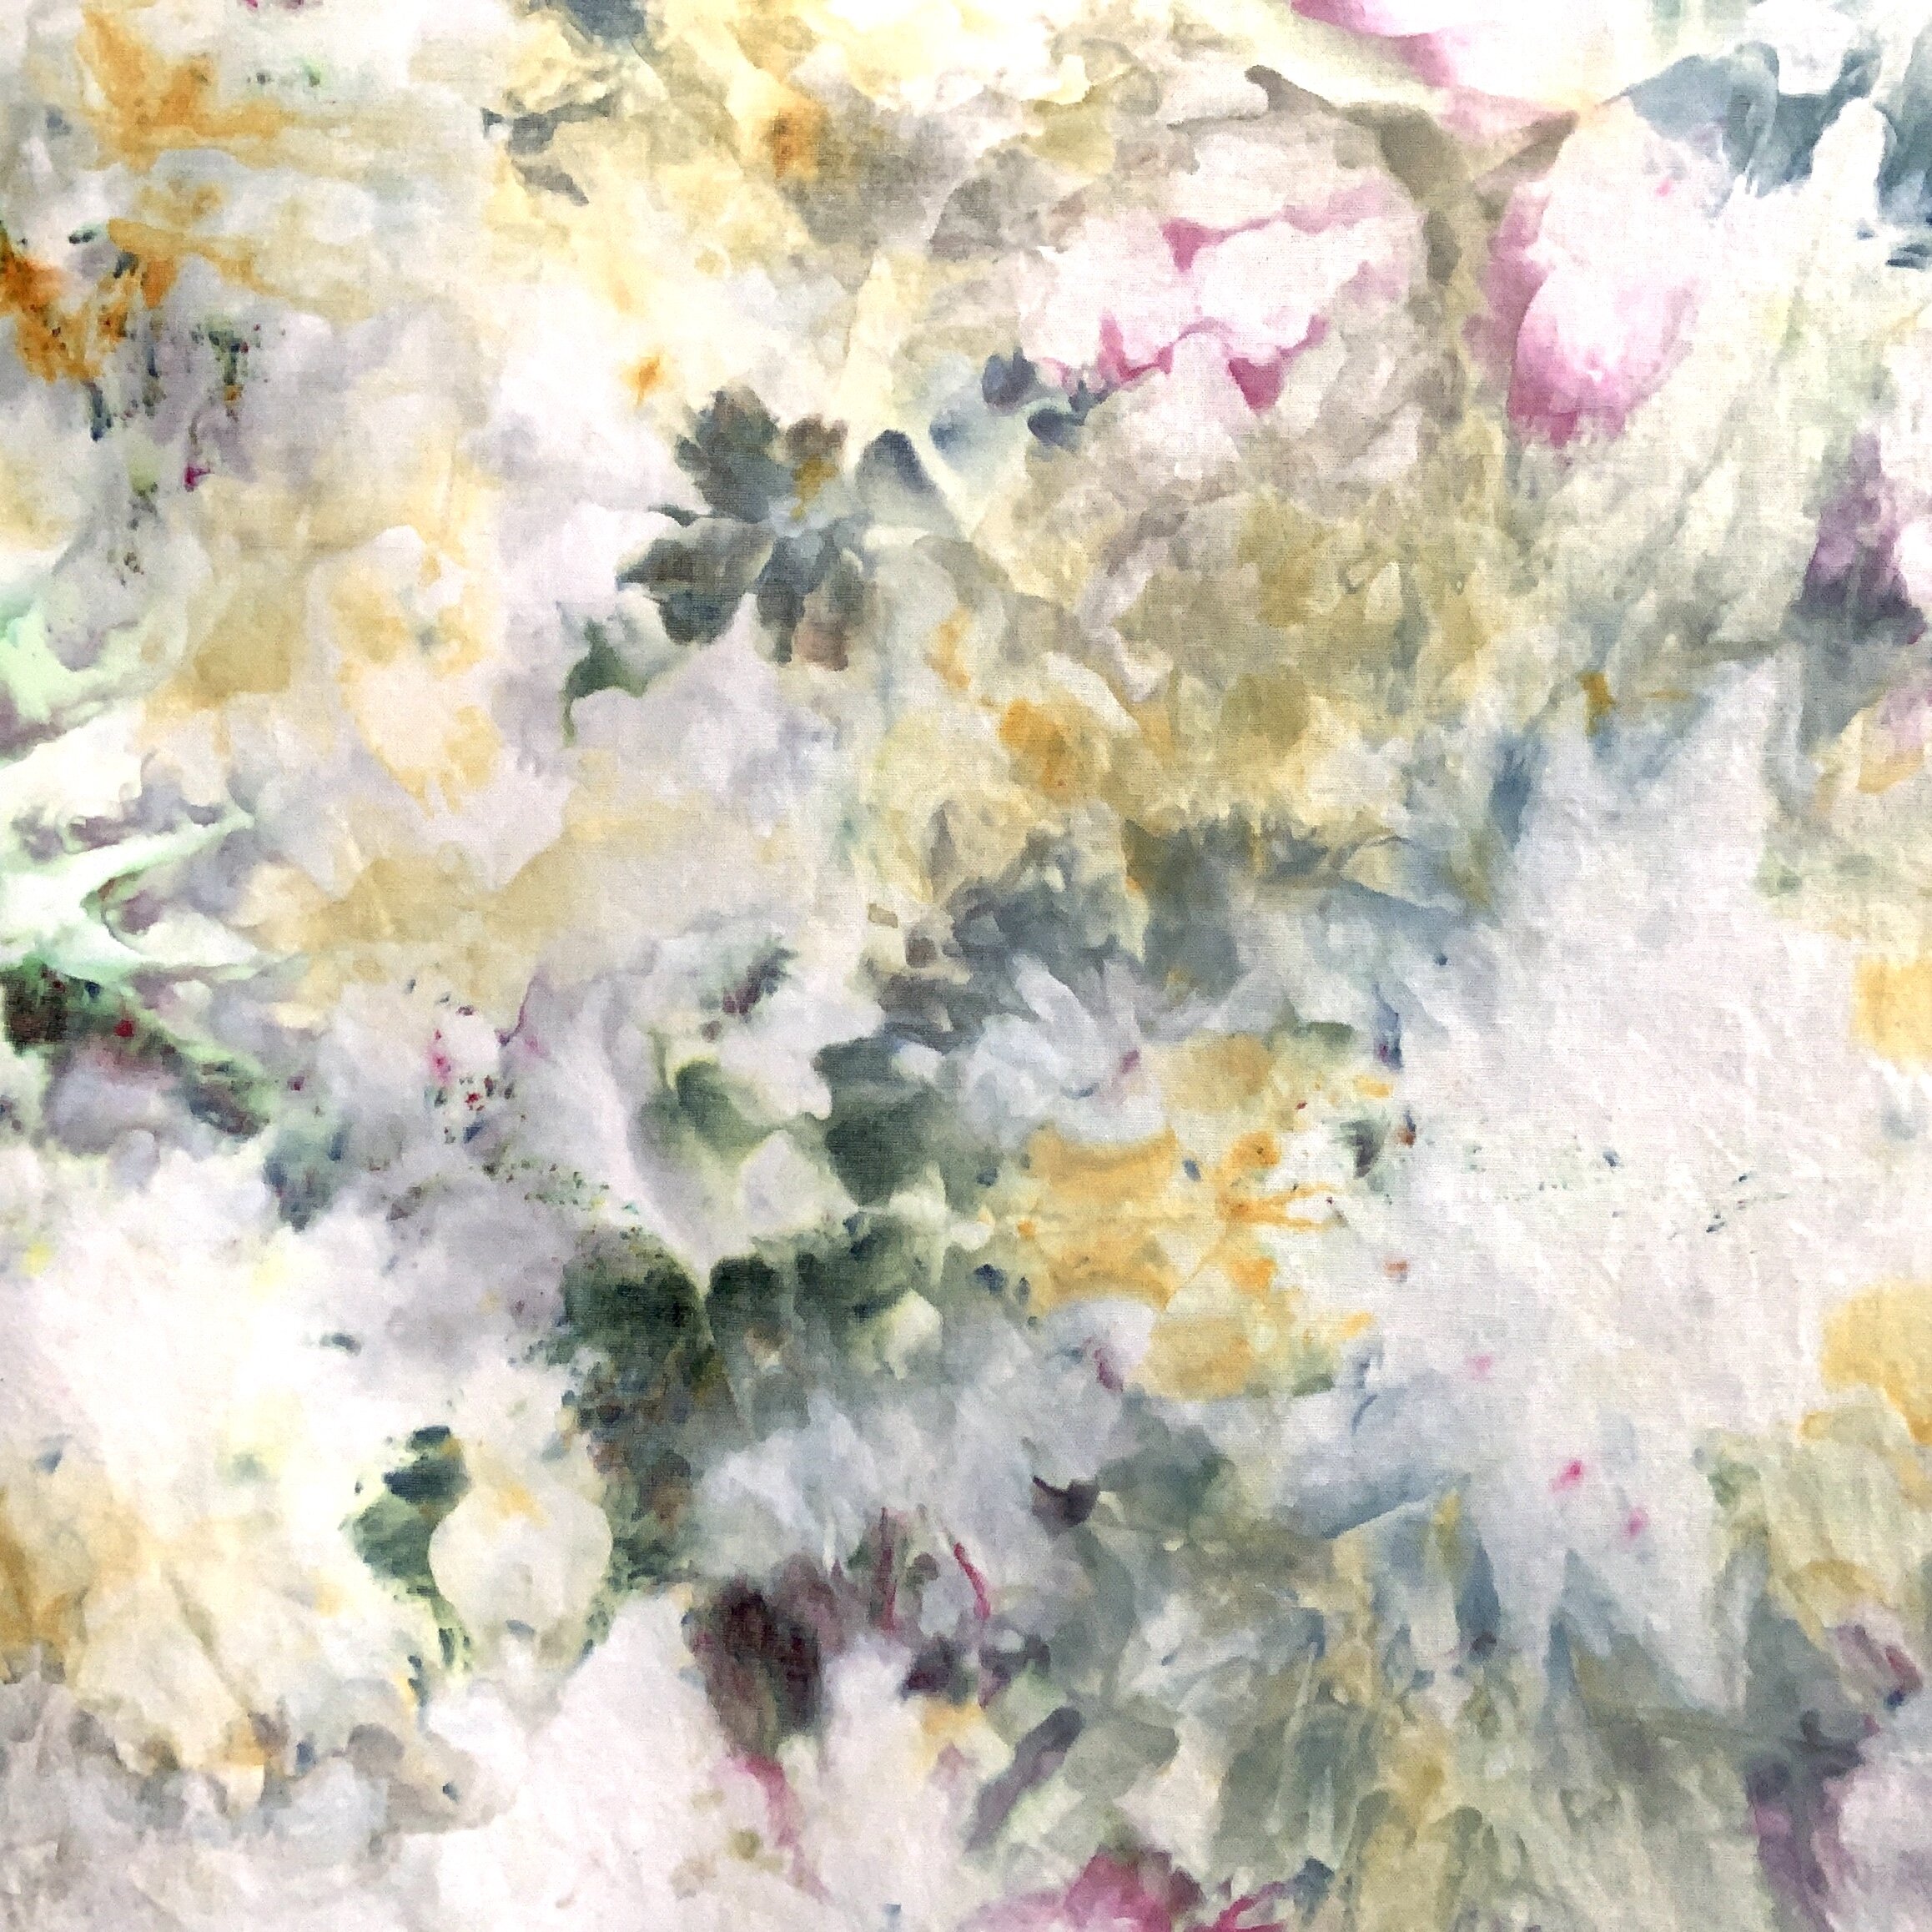
DYE: You’ll need a high quality powder dye. I tried a few dye products and had the best results with Jacquard Procion MX Fiber Reactive Cold Water Dye which can be purchased on Amazon or Dick Blick. There’s a huge range of colors, and the dye yields wonderfully vibrant colors on the fabric.

LESSON LEARNED: I know it’s tempting to use Rit dye. I know this because that’s what I did, and why my first three batches didn’t work out. Rit dye is easy to find, its inexpensive, they have enough colors to get you started, they even have an ice dying DIY article on their website, but I had zero success with it. Even after adding a Rit dye color fixer product, the color always appeared washed out.

SODA ASH: This can be purchased at fabric stores or online. You’ll mix water with the soda ash to make a soaking solution for your fabric before you dye it.

LESSON LEARNED: Be sure to soak at least 20 minutes.

MASK & GLOVES: we’re in a pandemic so you probably have these already! Wear both when mixing your soda ash, and when sprinkling the dye powder. Both products get airborne very easily and you do not want to be breathing that. Also wear the gloves when coming into contact with the soda ash soak even once the powder has dissolved (it’s caustic). I would recommend wearing the gloves when handling the wet dyed fabric as well so you don’t stain your hands.

SYNTHROPOL: This speciality laundry detergent is great for hand dyed fabrics. You can use it for a pre-wash if needed, and to wash out any excess dye at the end.

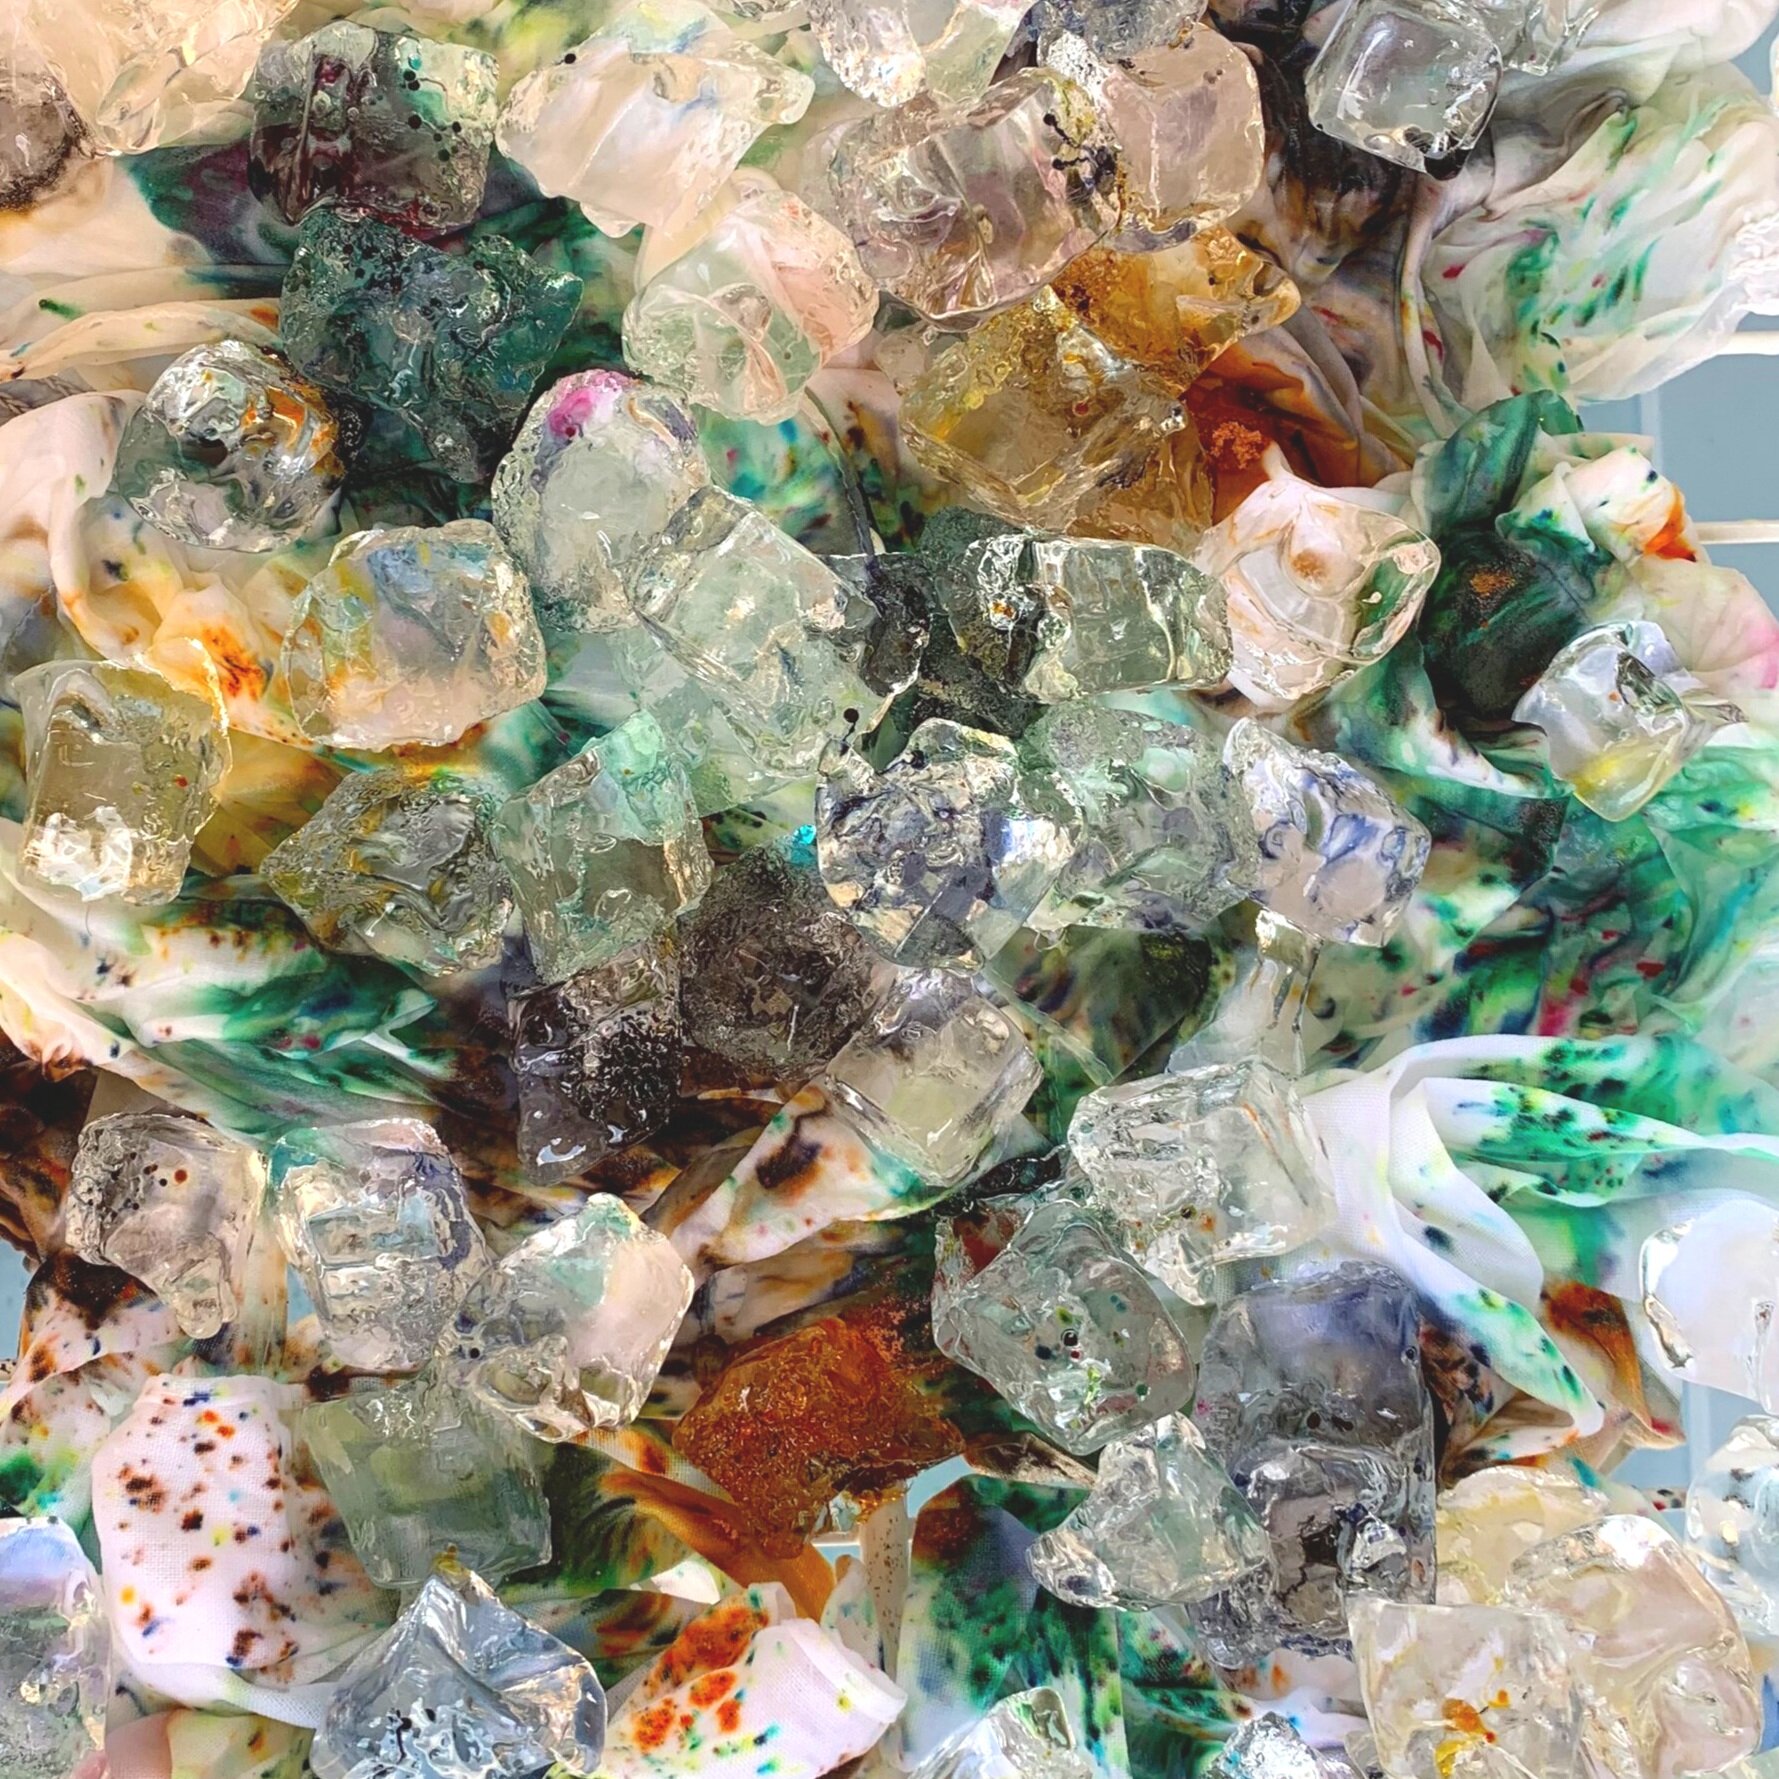
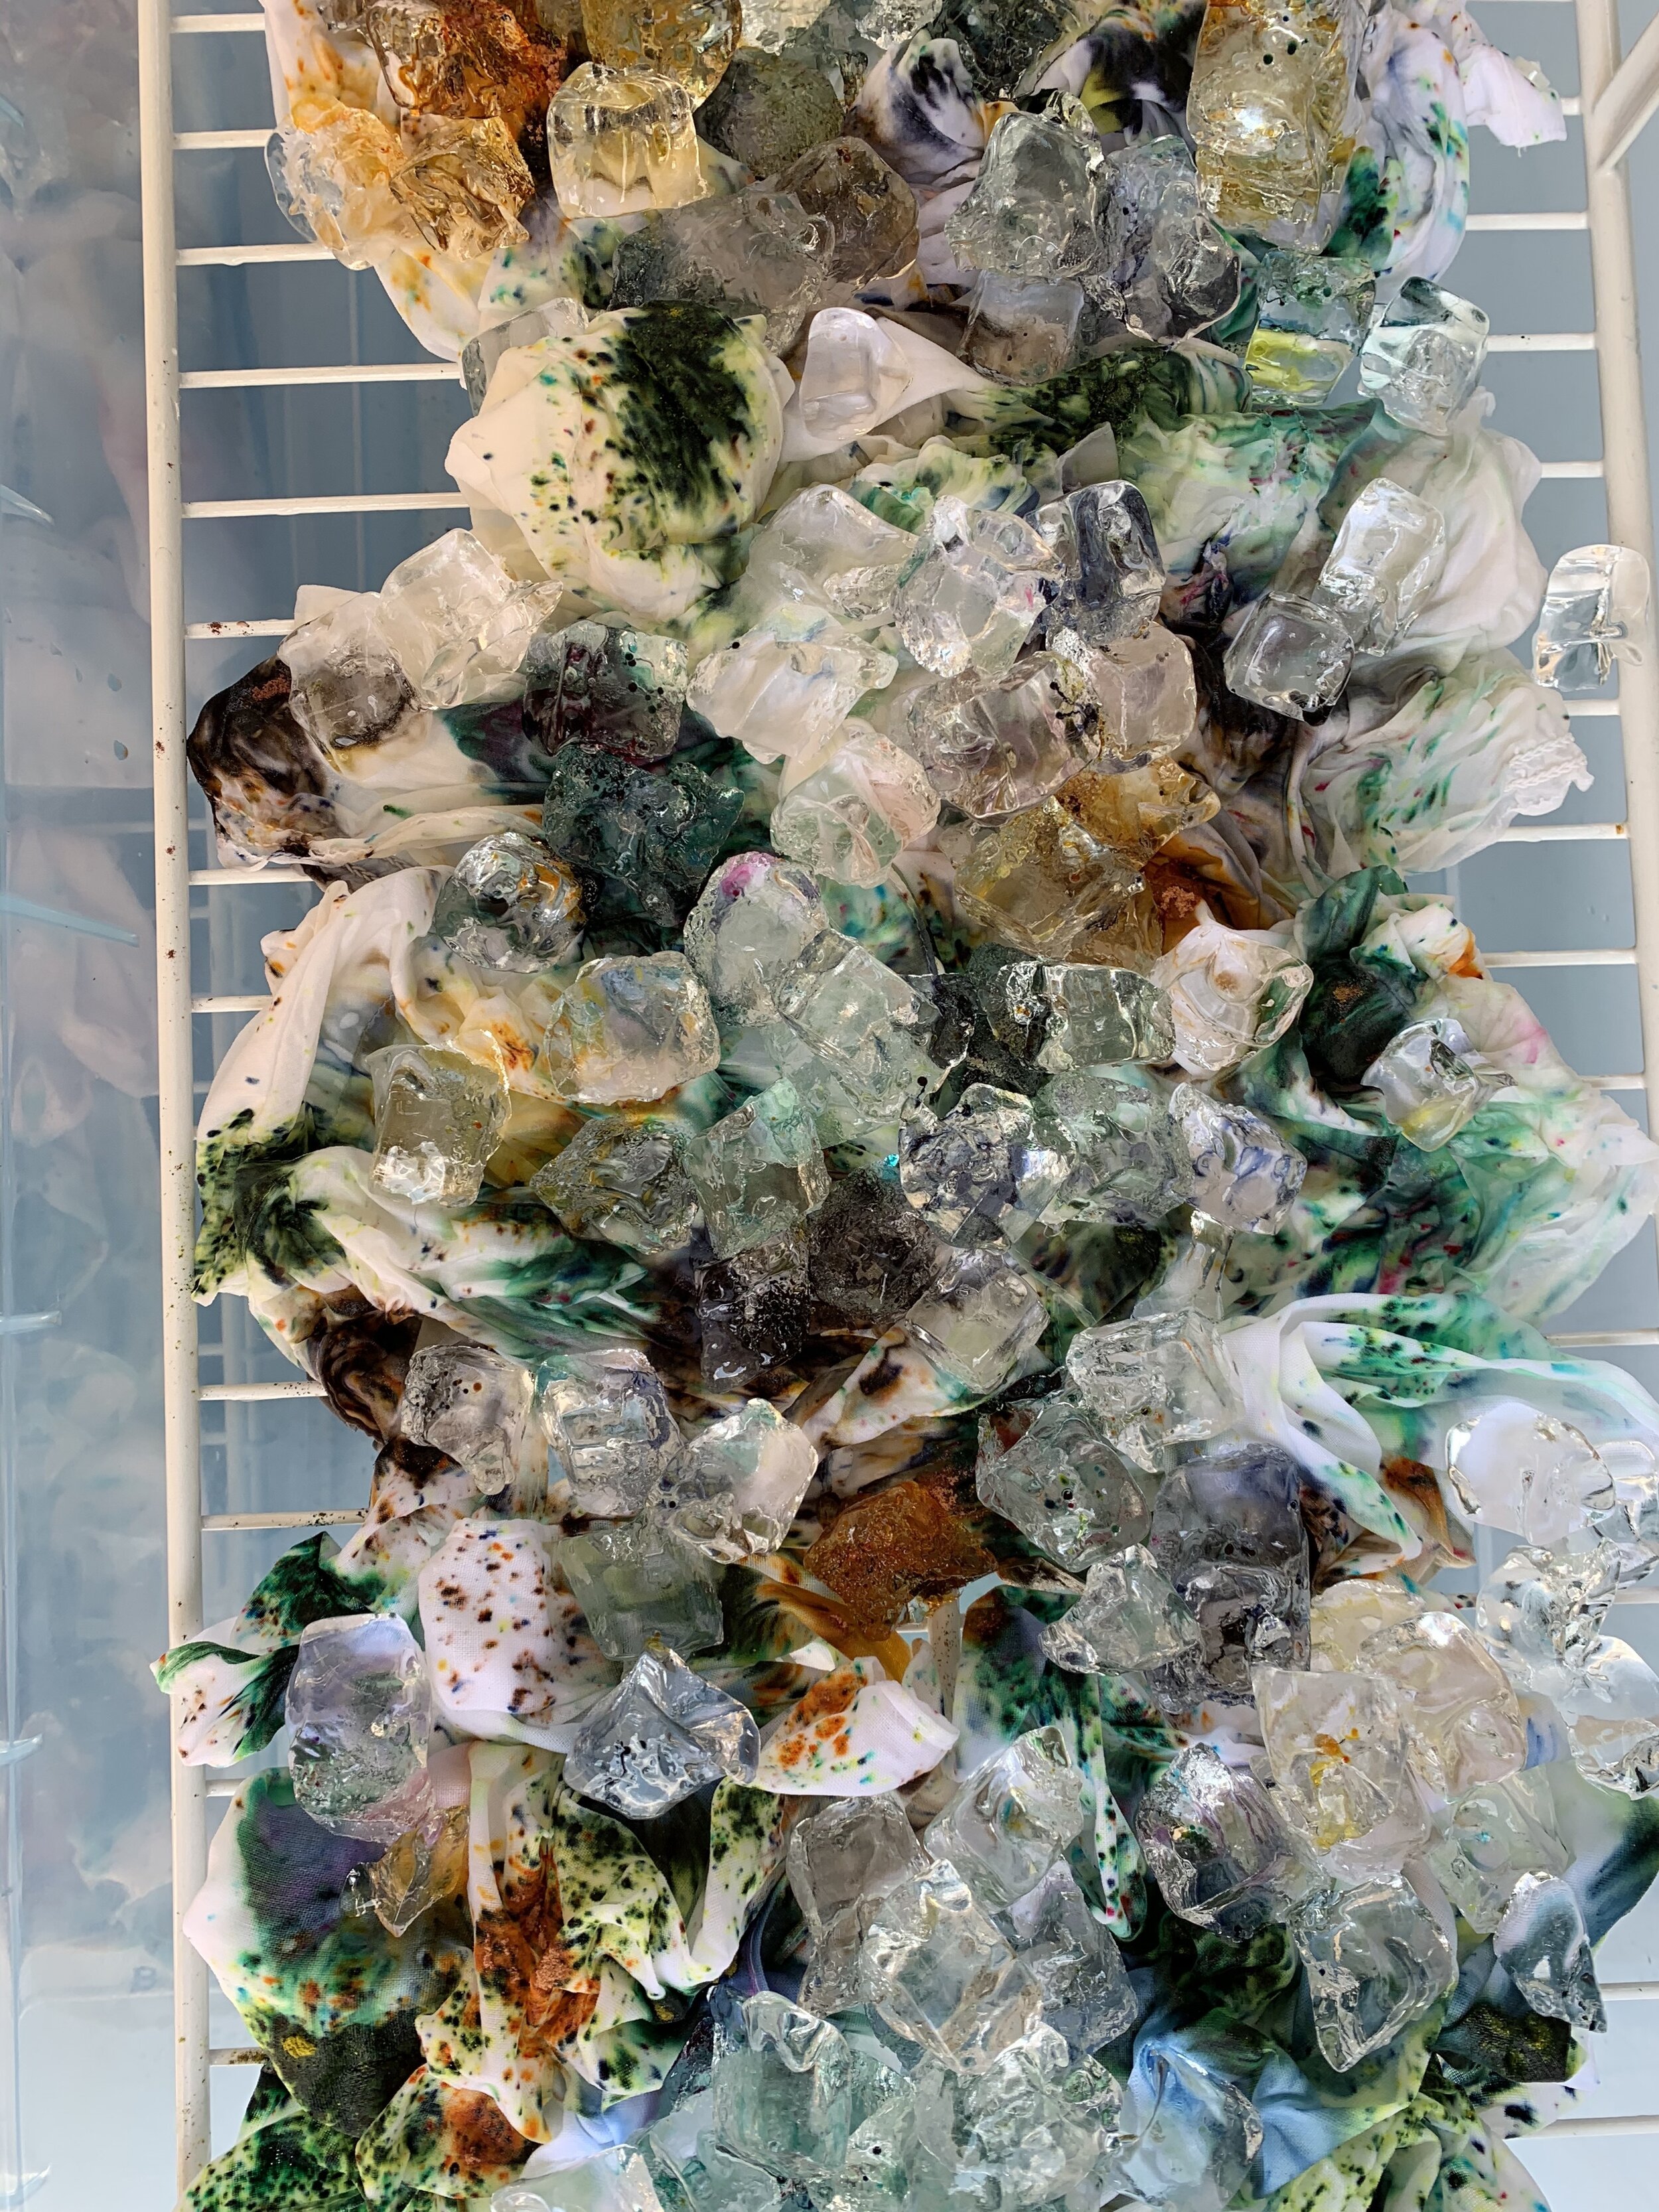
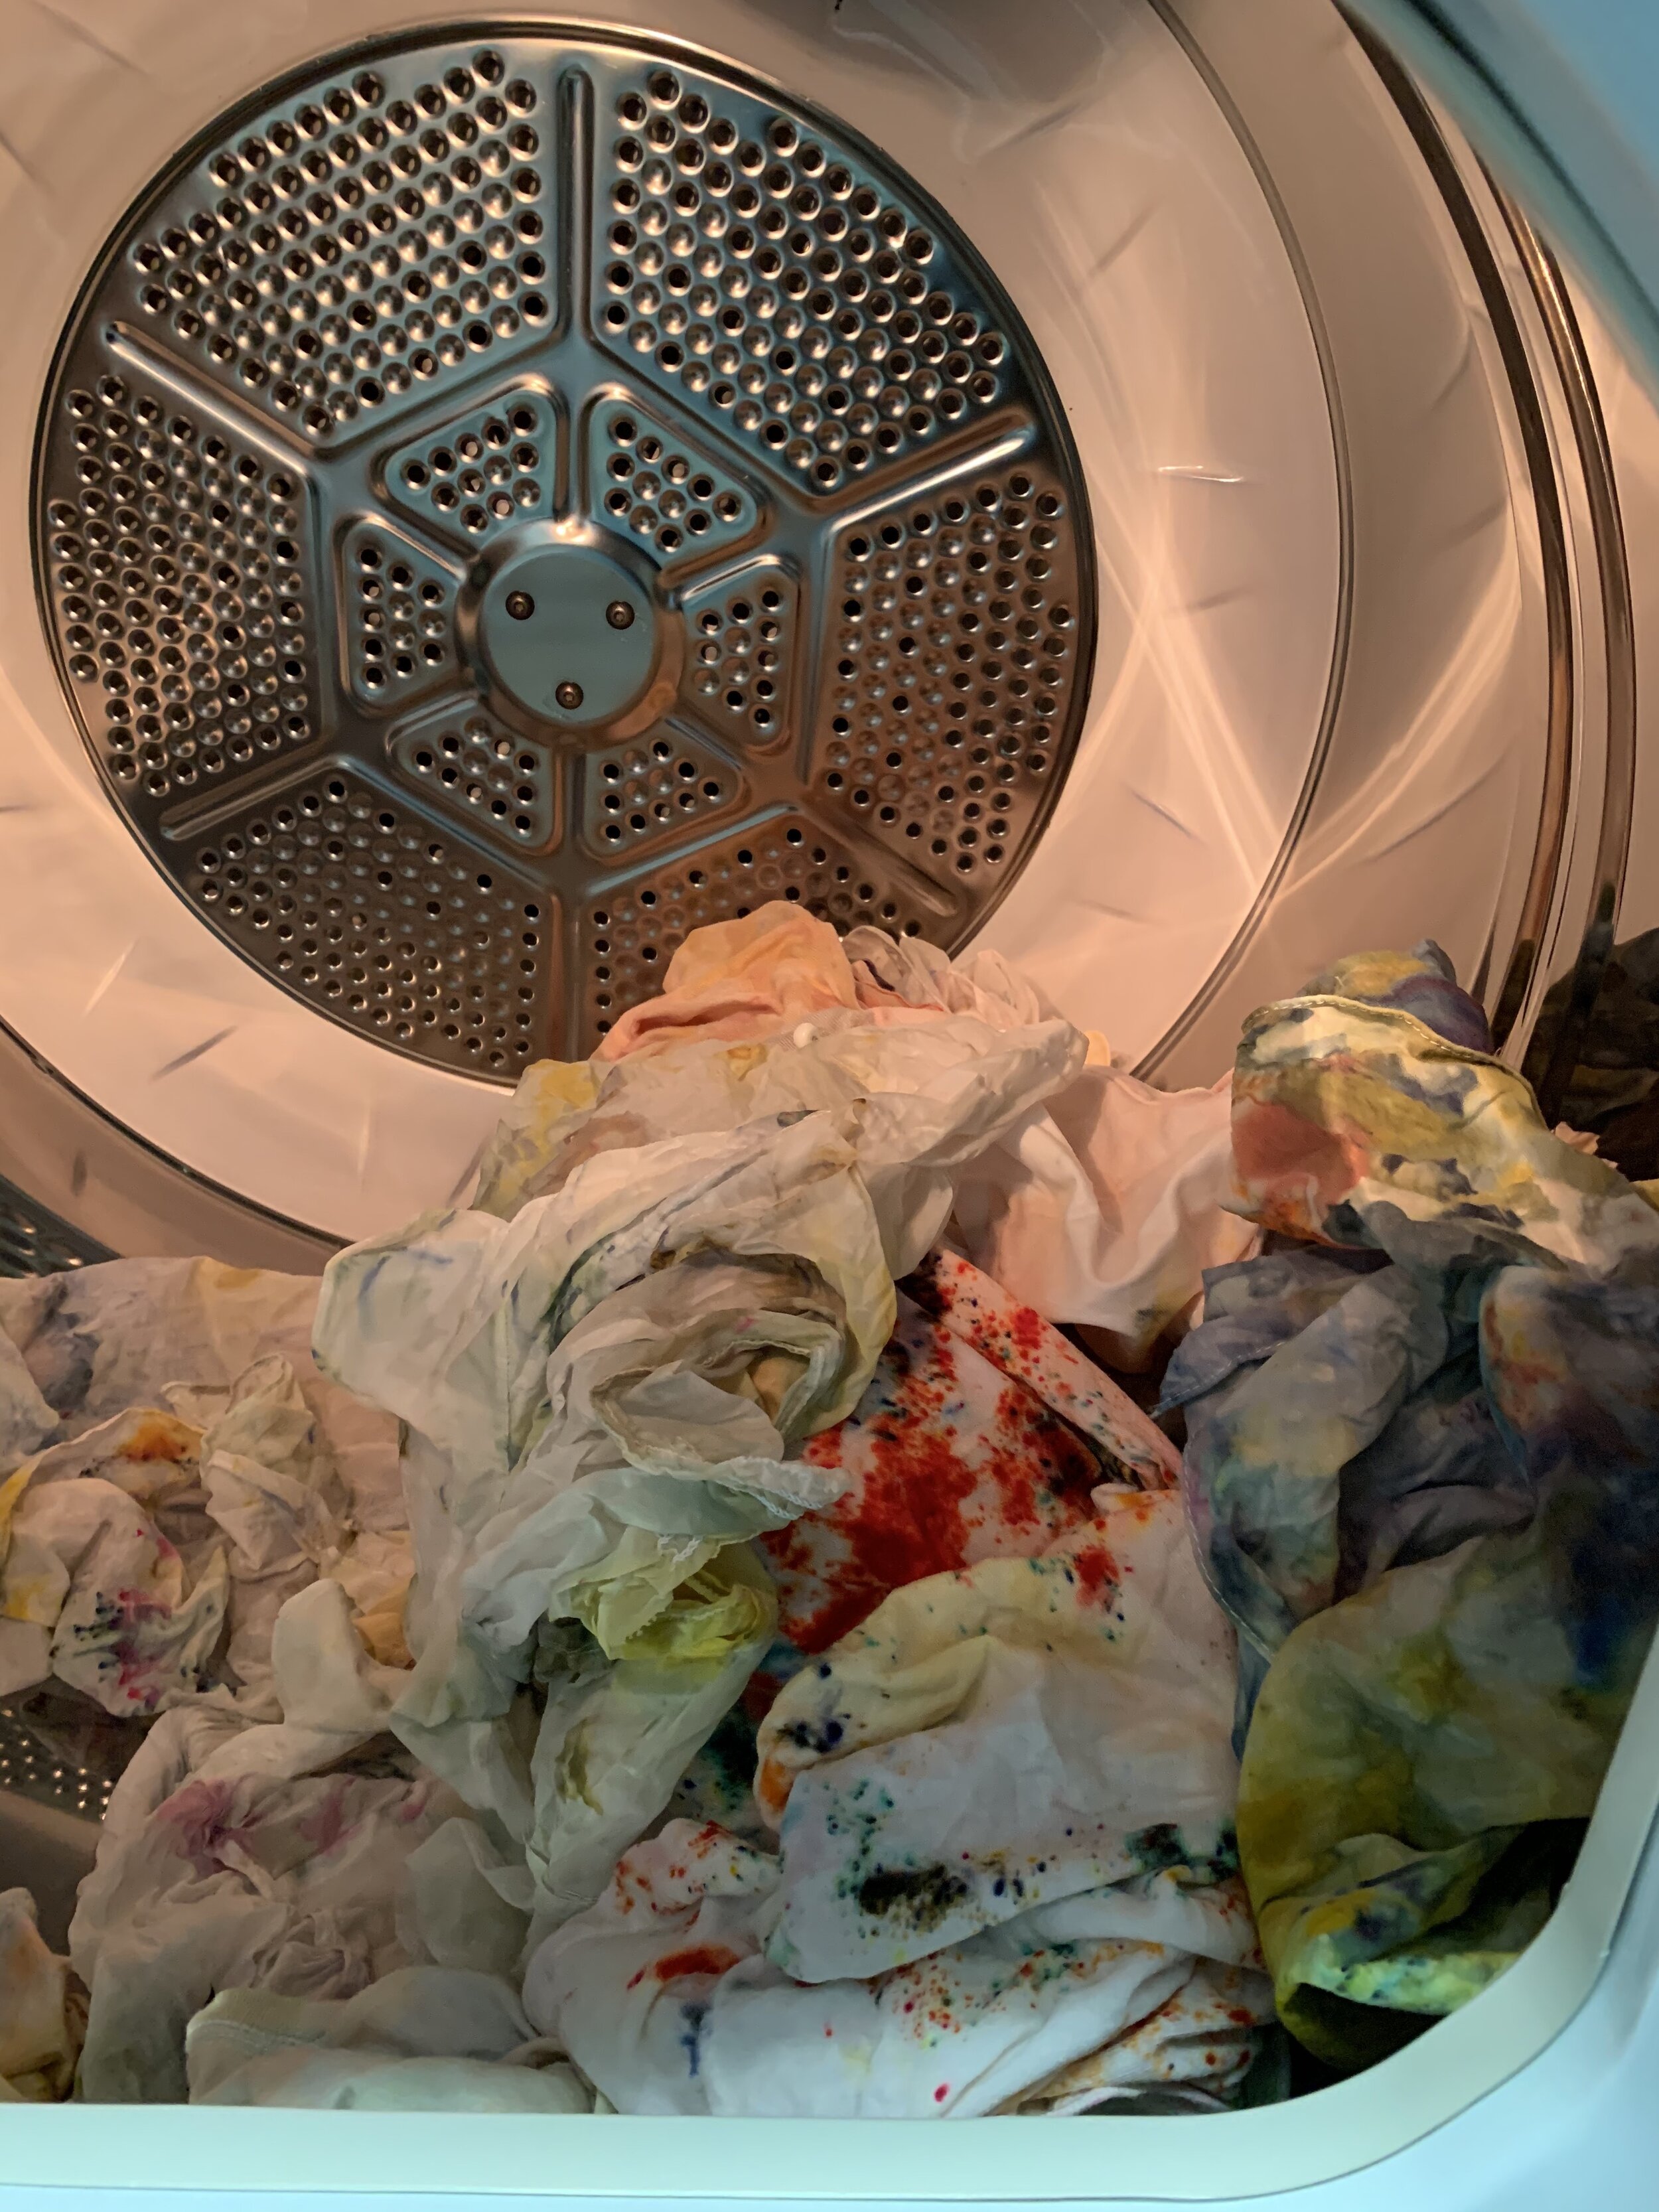
ICE: Depending on how many items you’re dying at once, you’ll need at least a 10 pound bag of ice.

LESSON LEARNED: Just go ahead and buy the $2.79 pound bag of ice from the store. The ice maker in your fridge probably can’t keep up with this project.

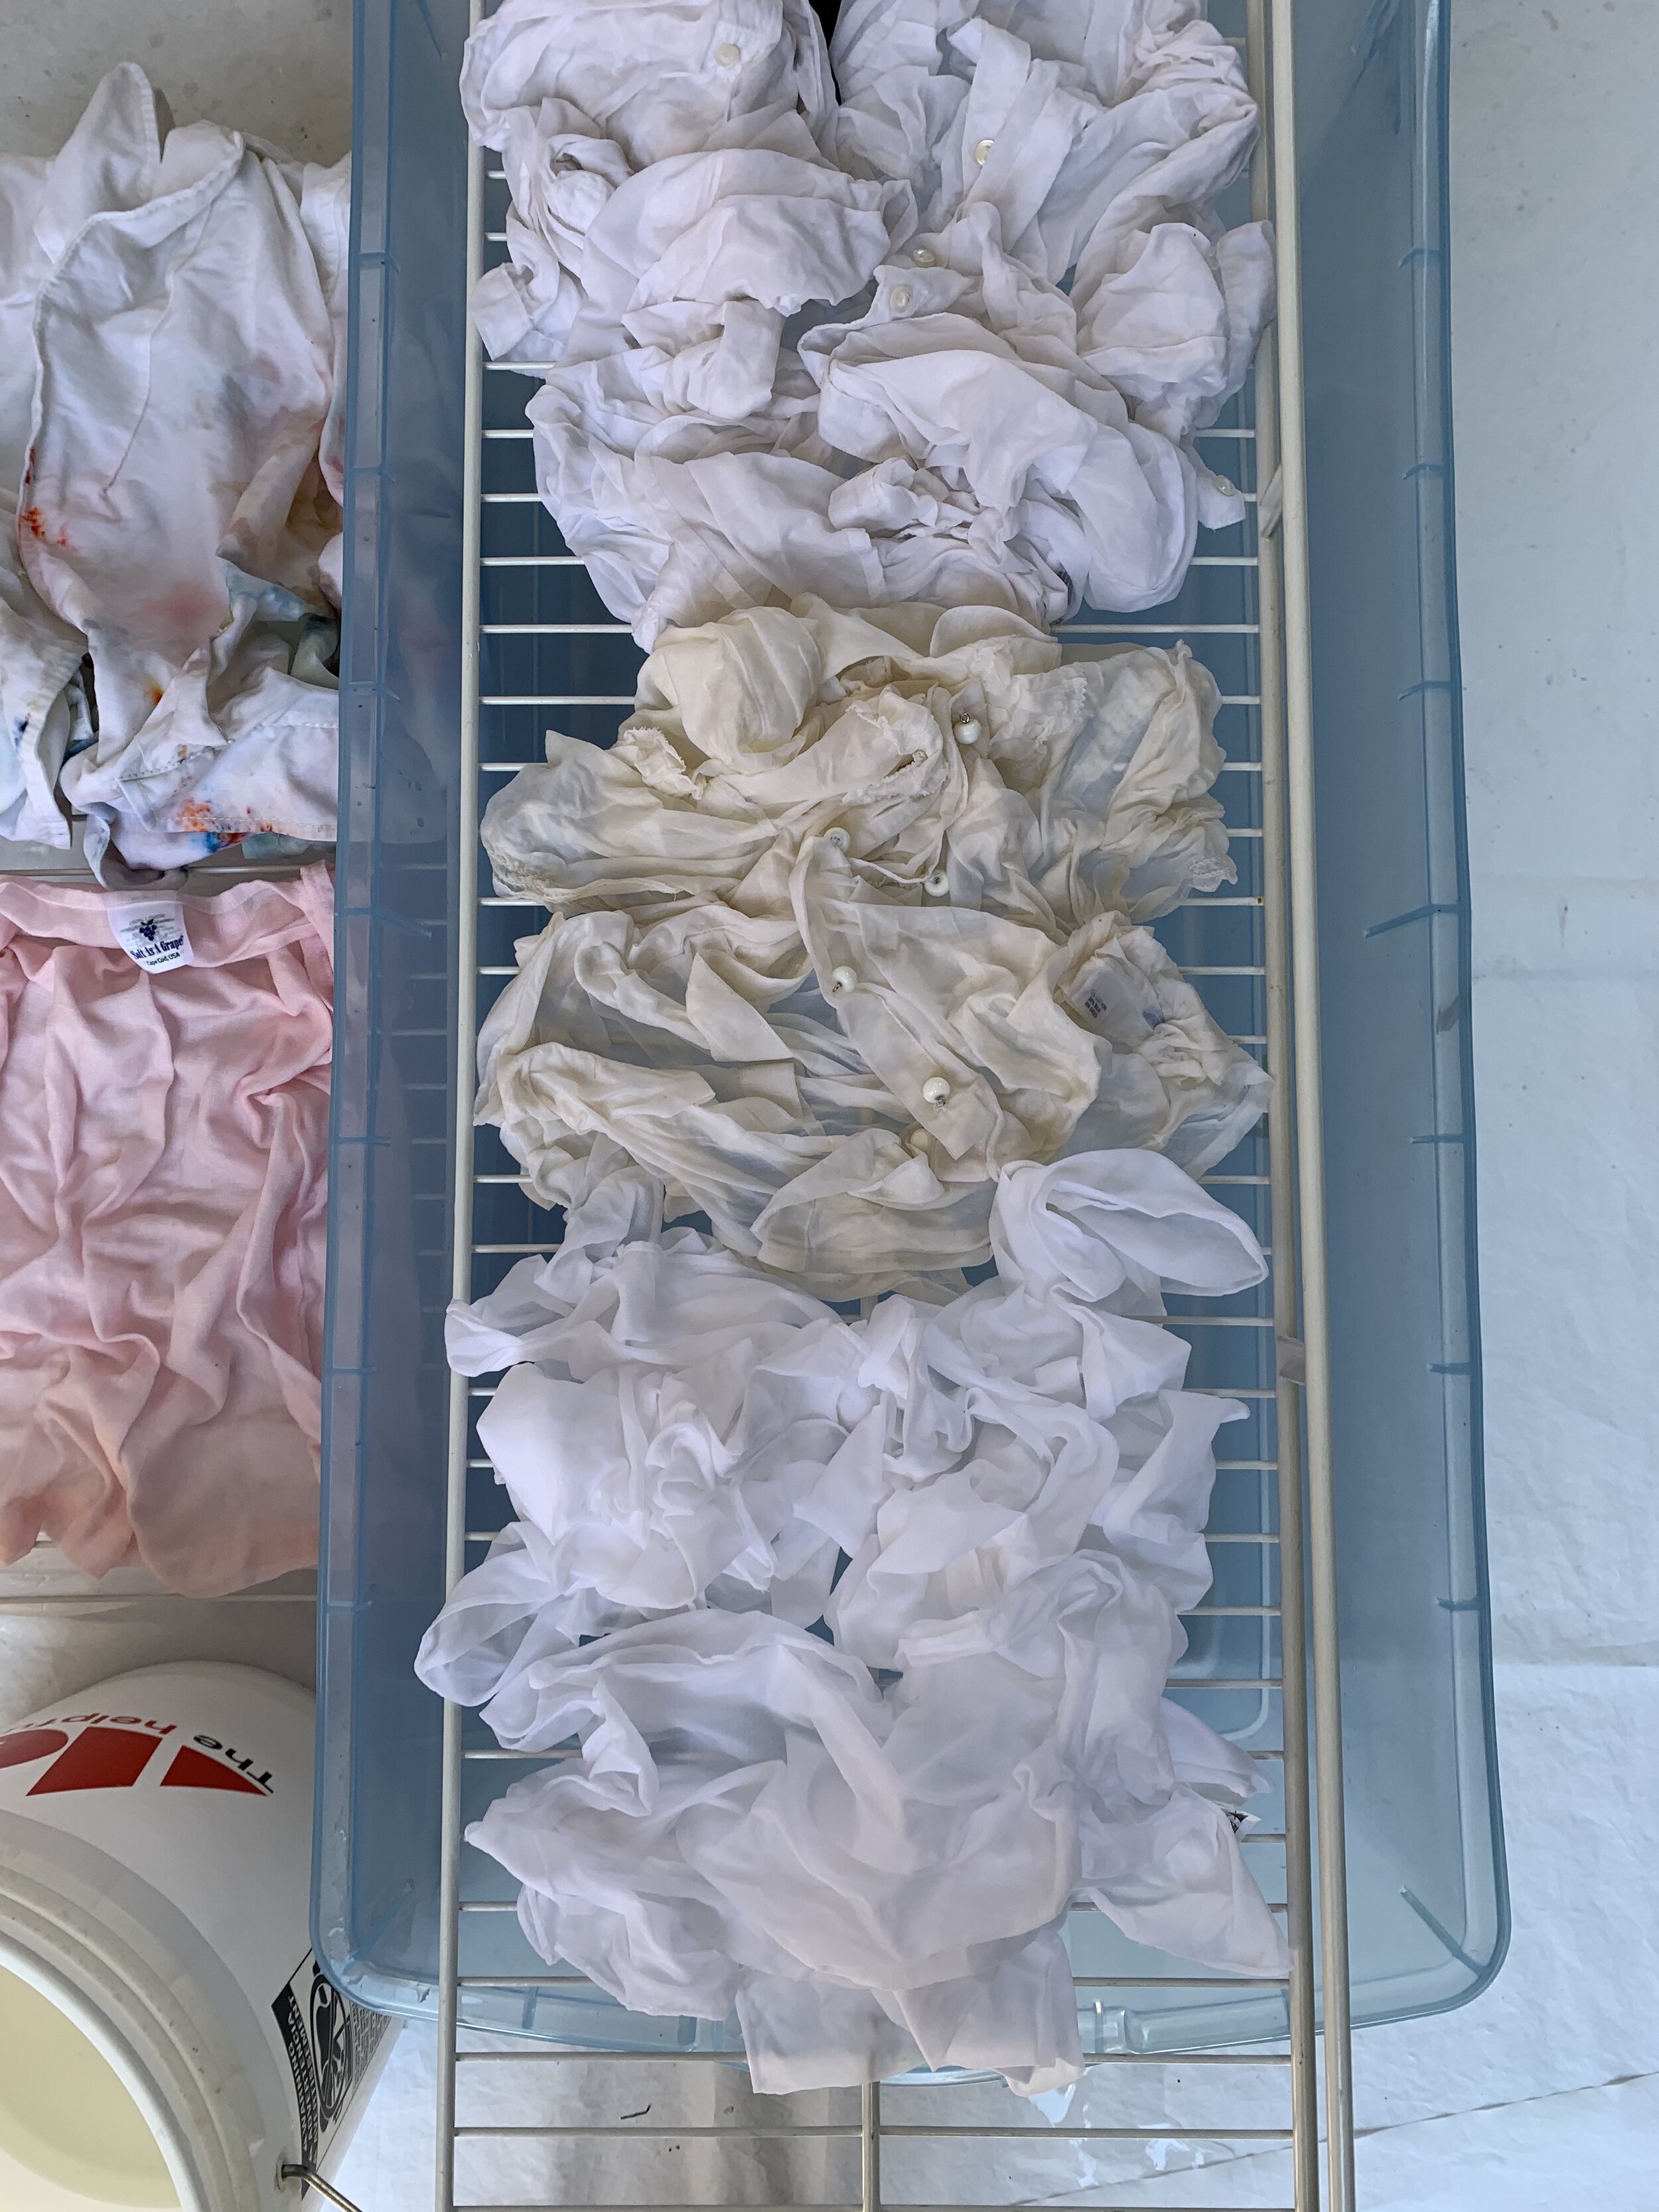
DYE AREA THAT DRAINS: Use a tub or tray (that’s deep enough to catch an inch or two of water) with a rack overtop. I used large storage bins and some wire shelving that I already had on hand from a closet up-fit. You could also use a a cookie cooling rack, a window screen, a dish drain…get creative and don’t feel like you have to spend a lot here!

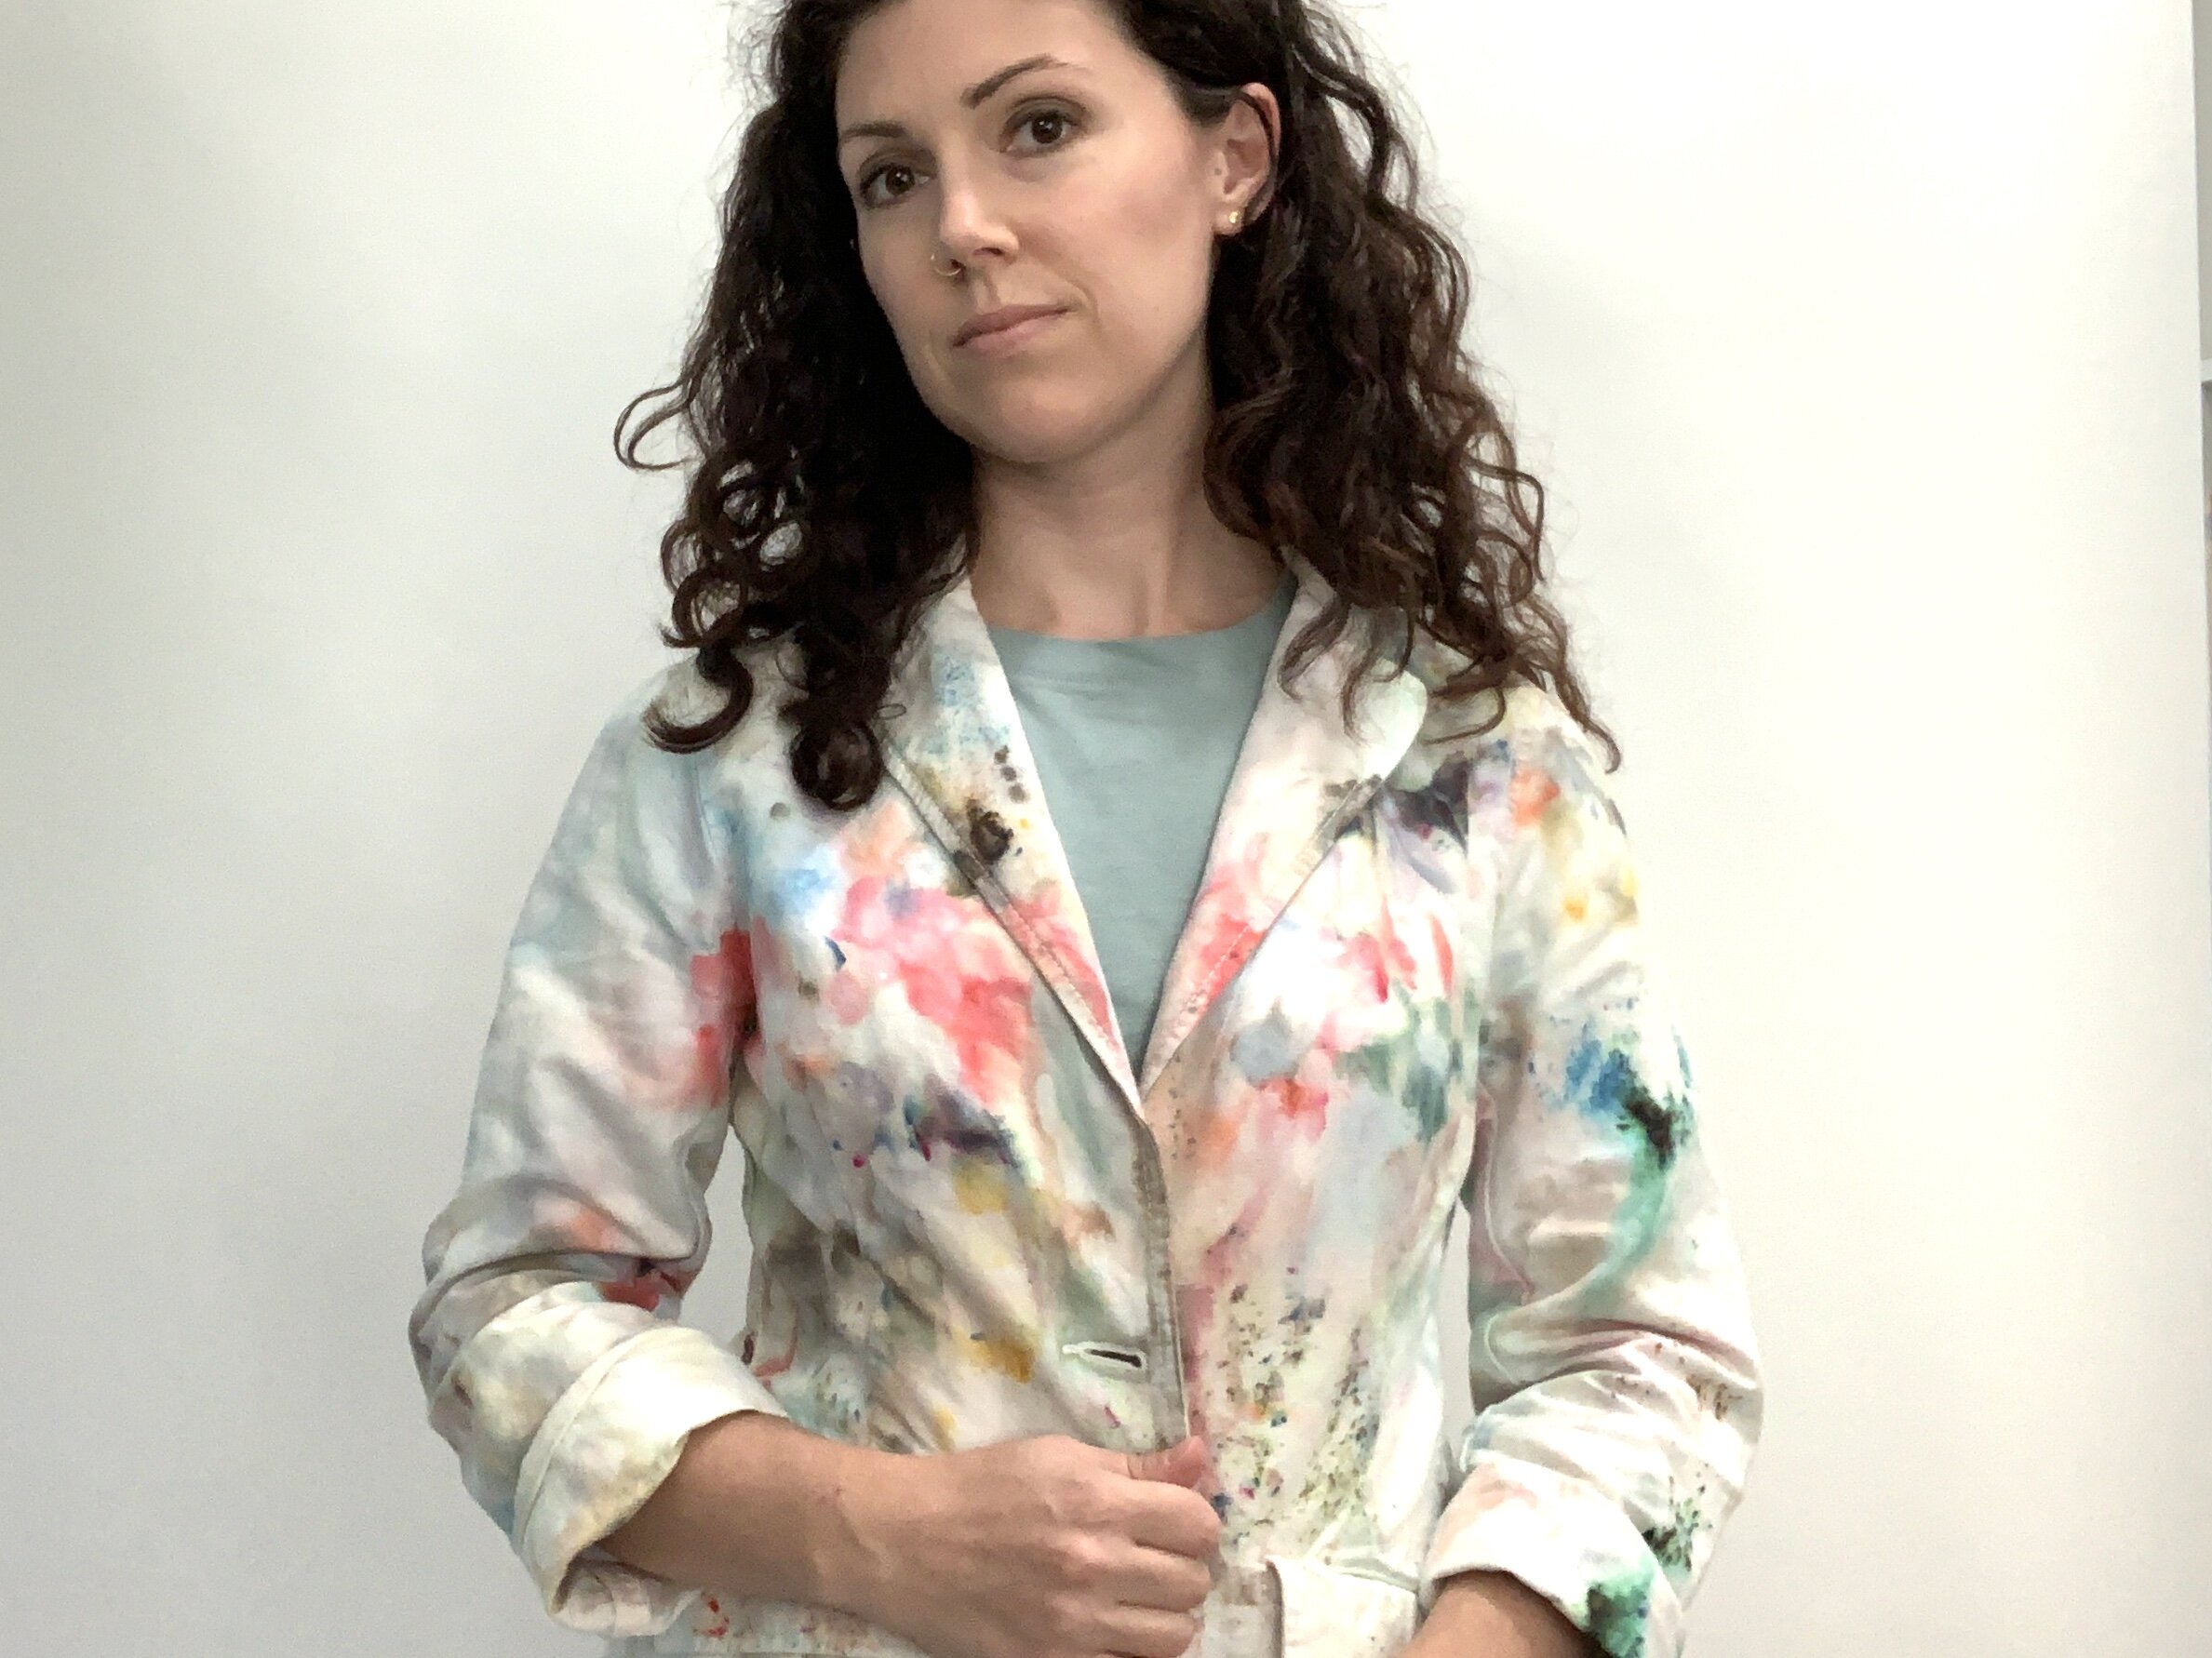
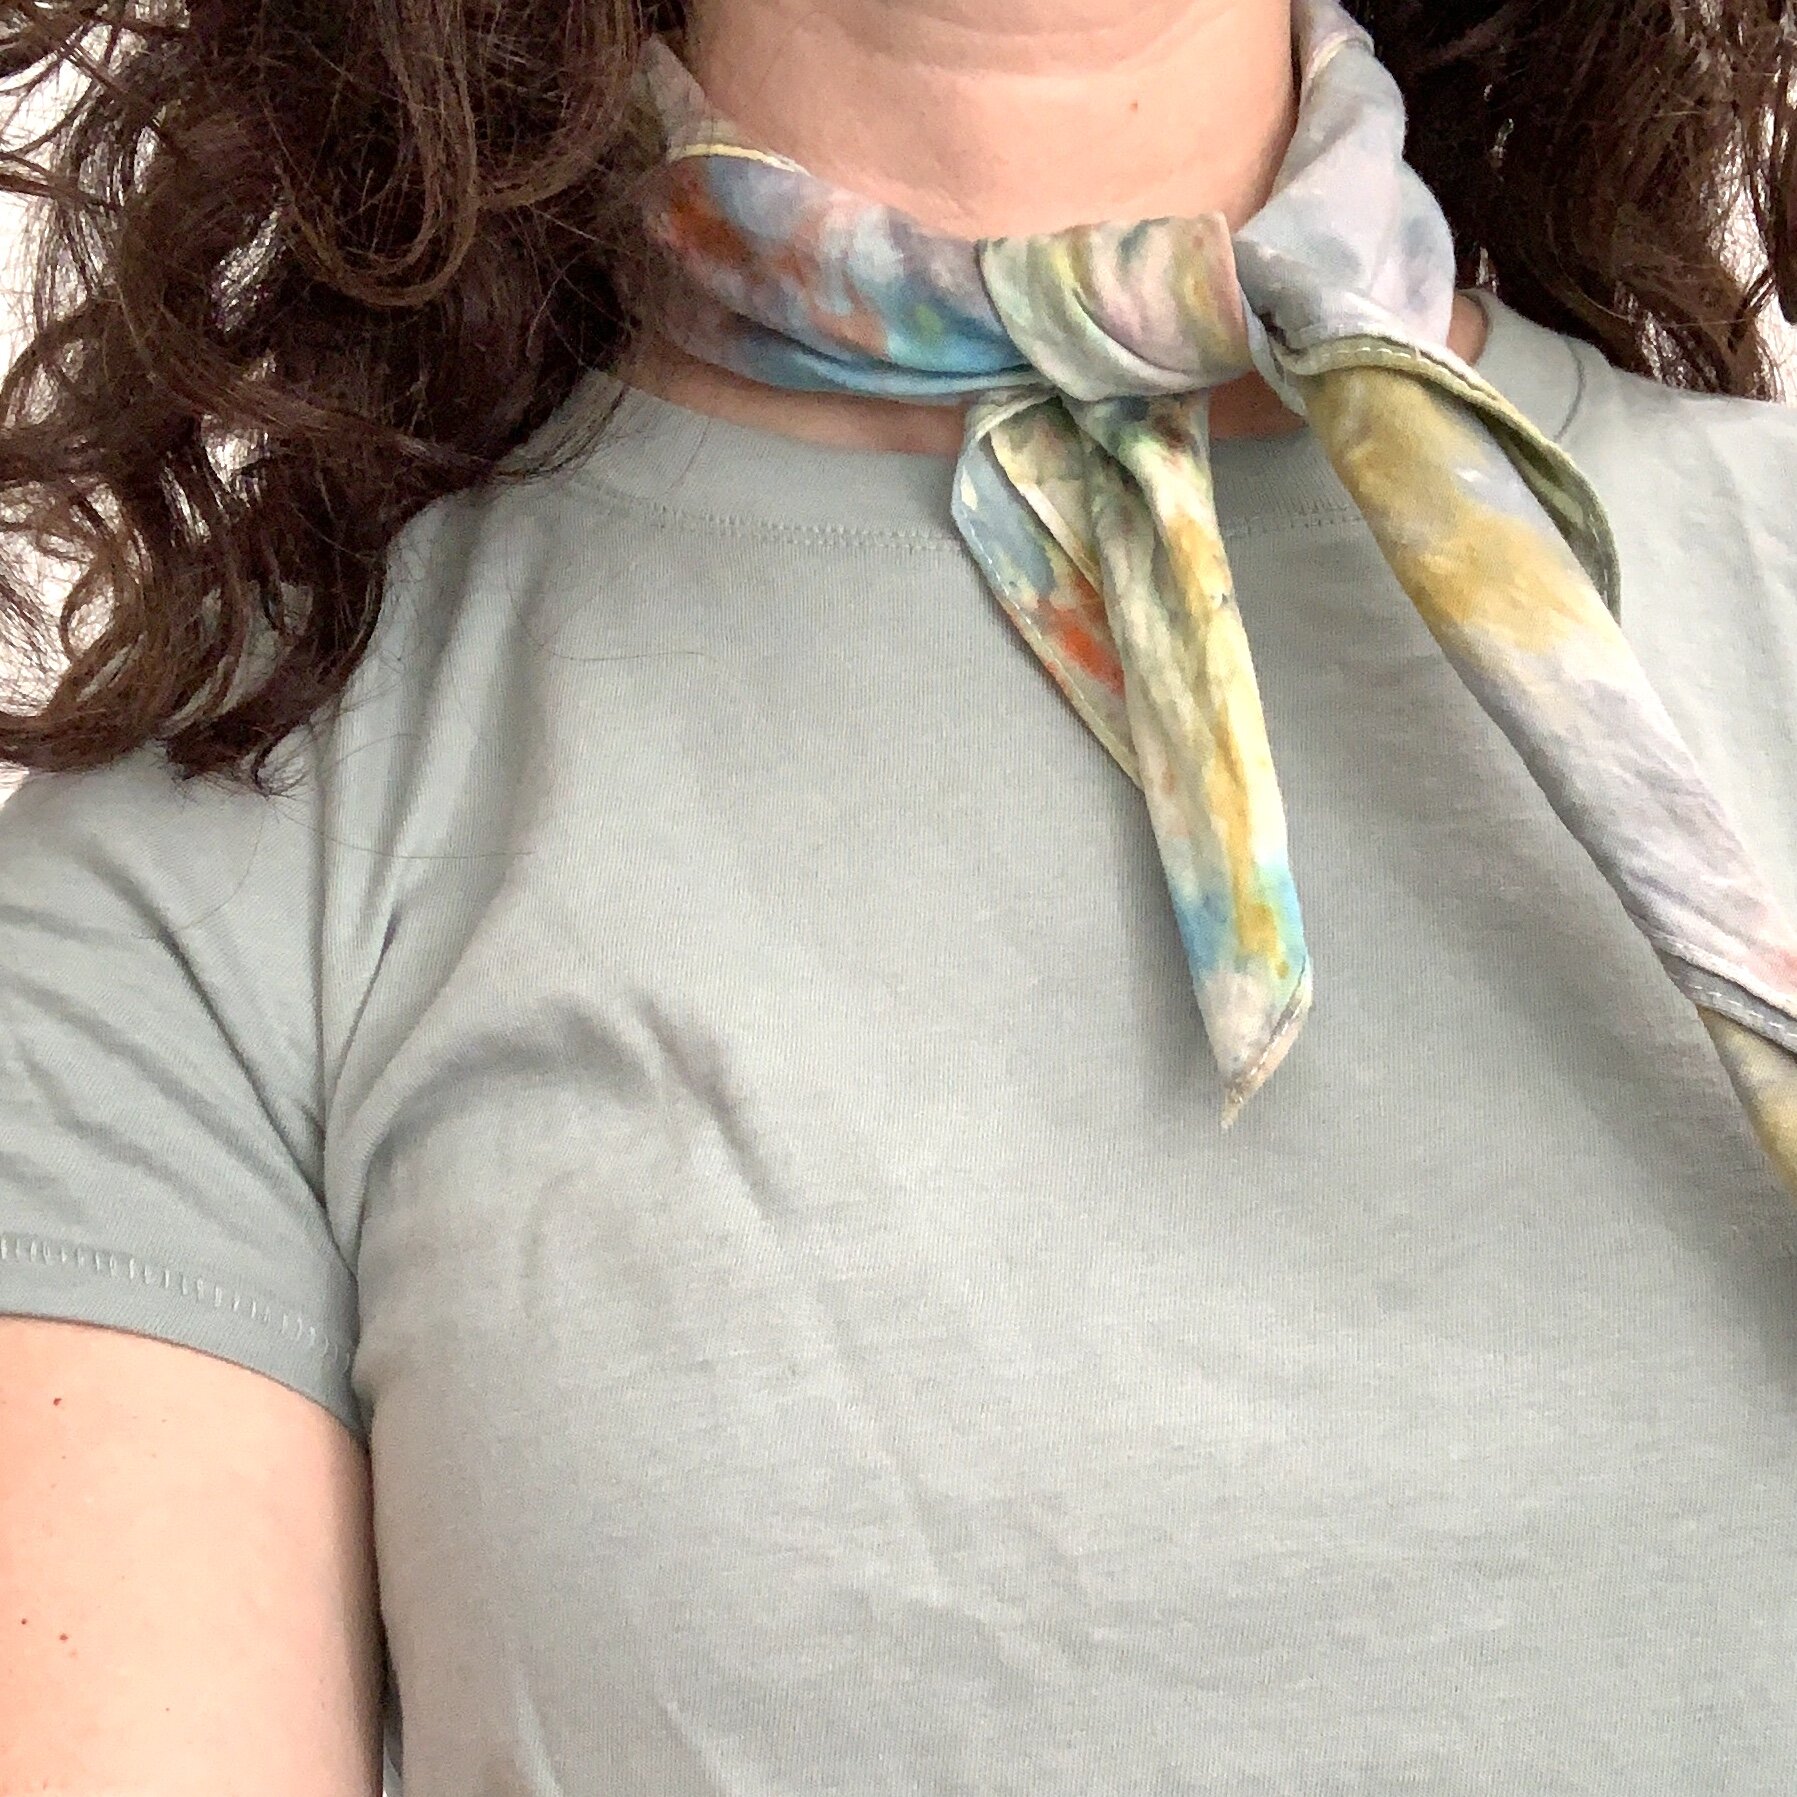
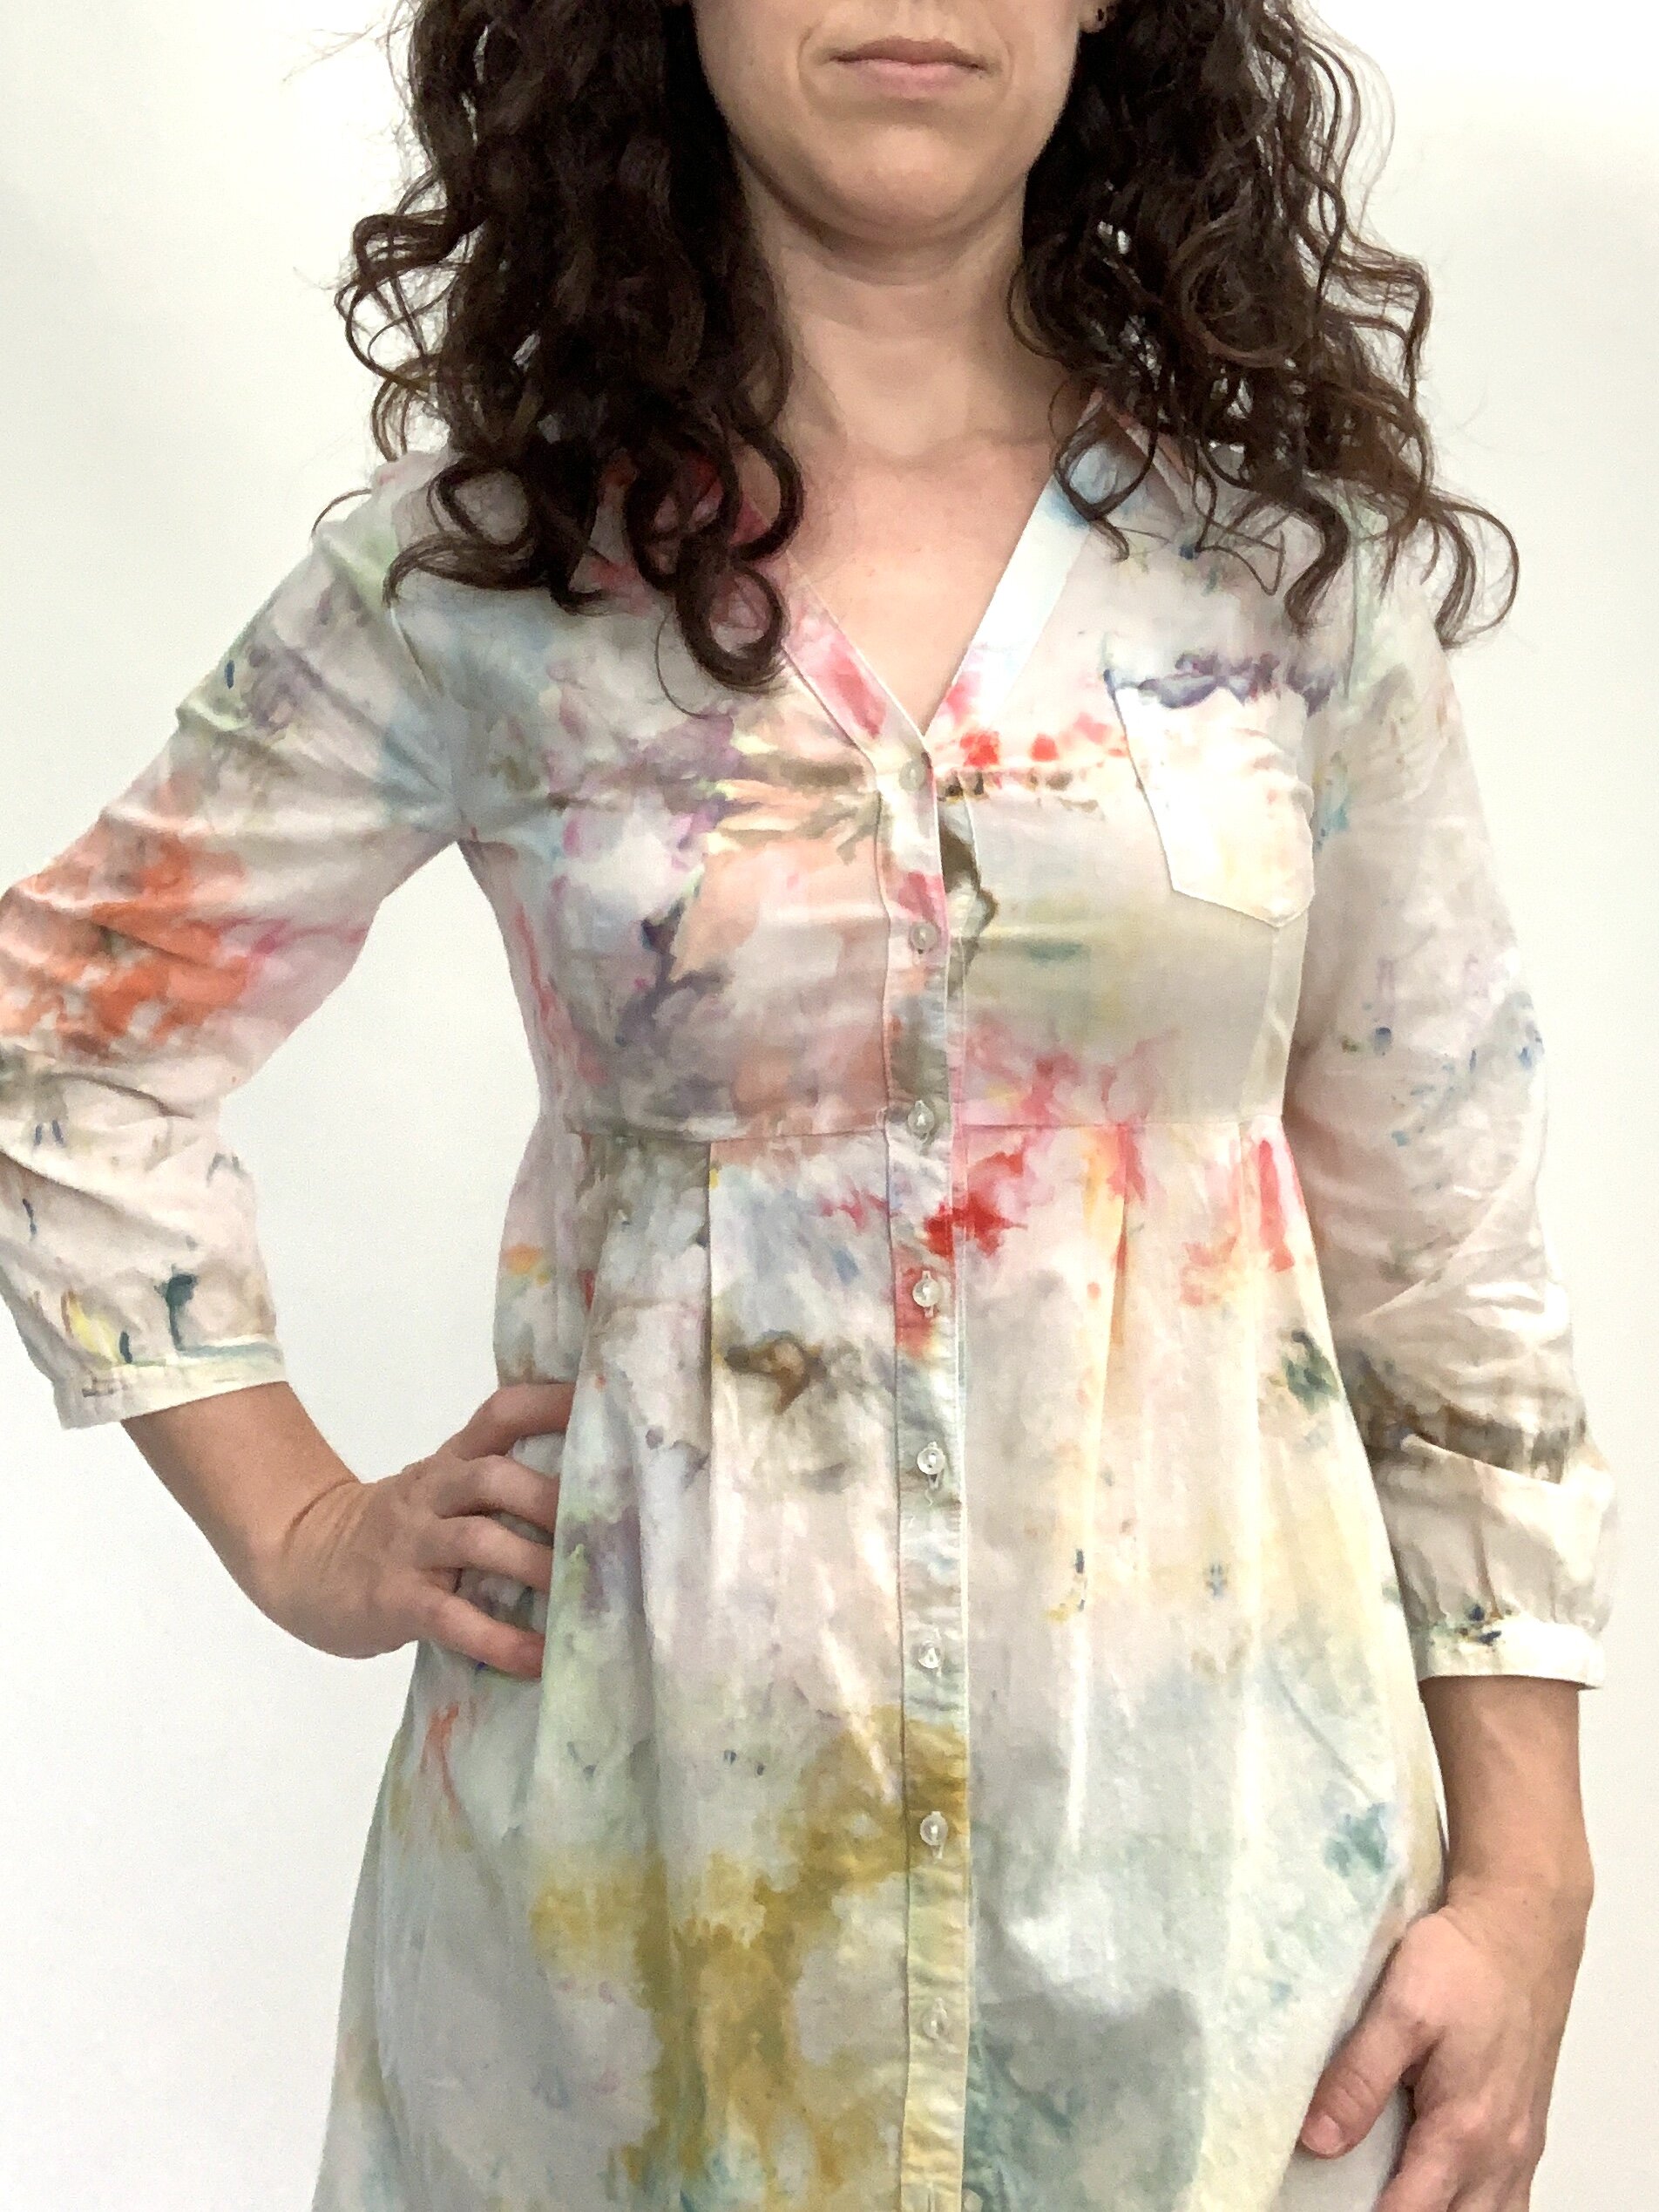
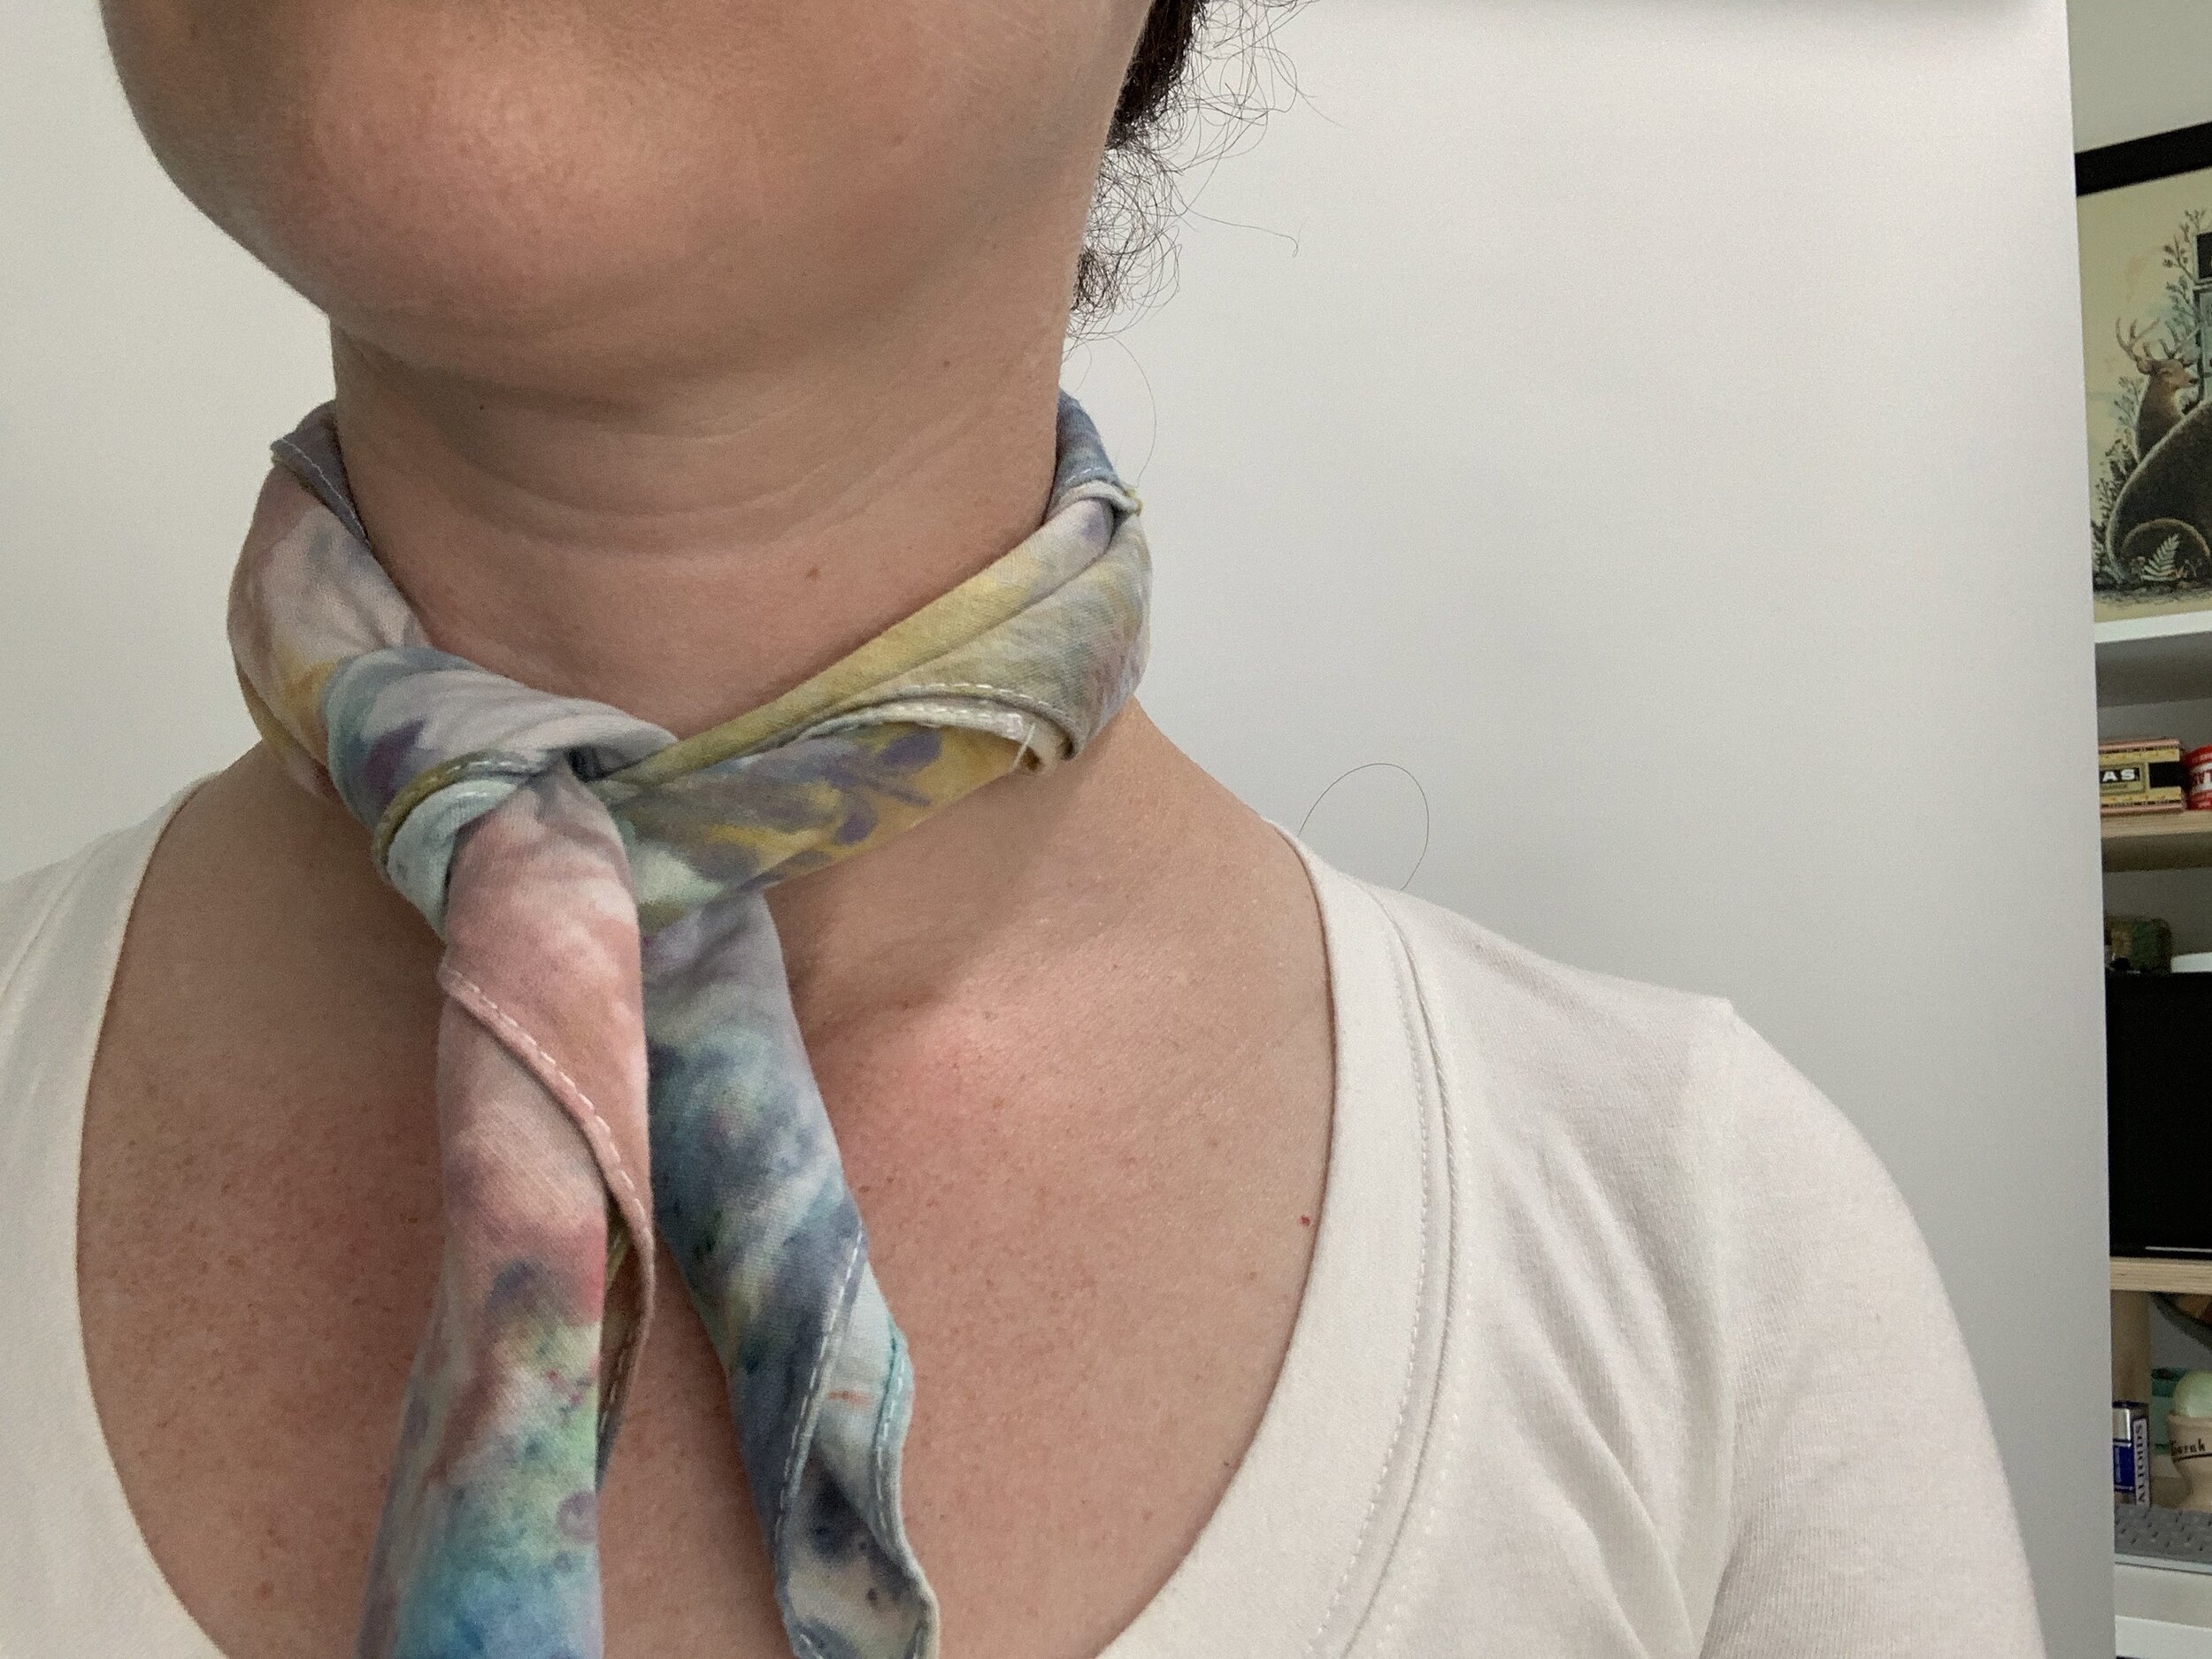
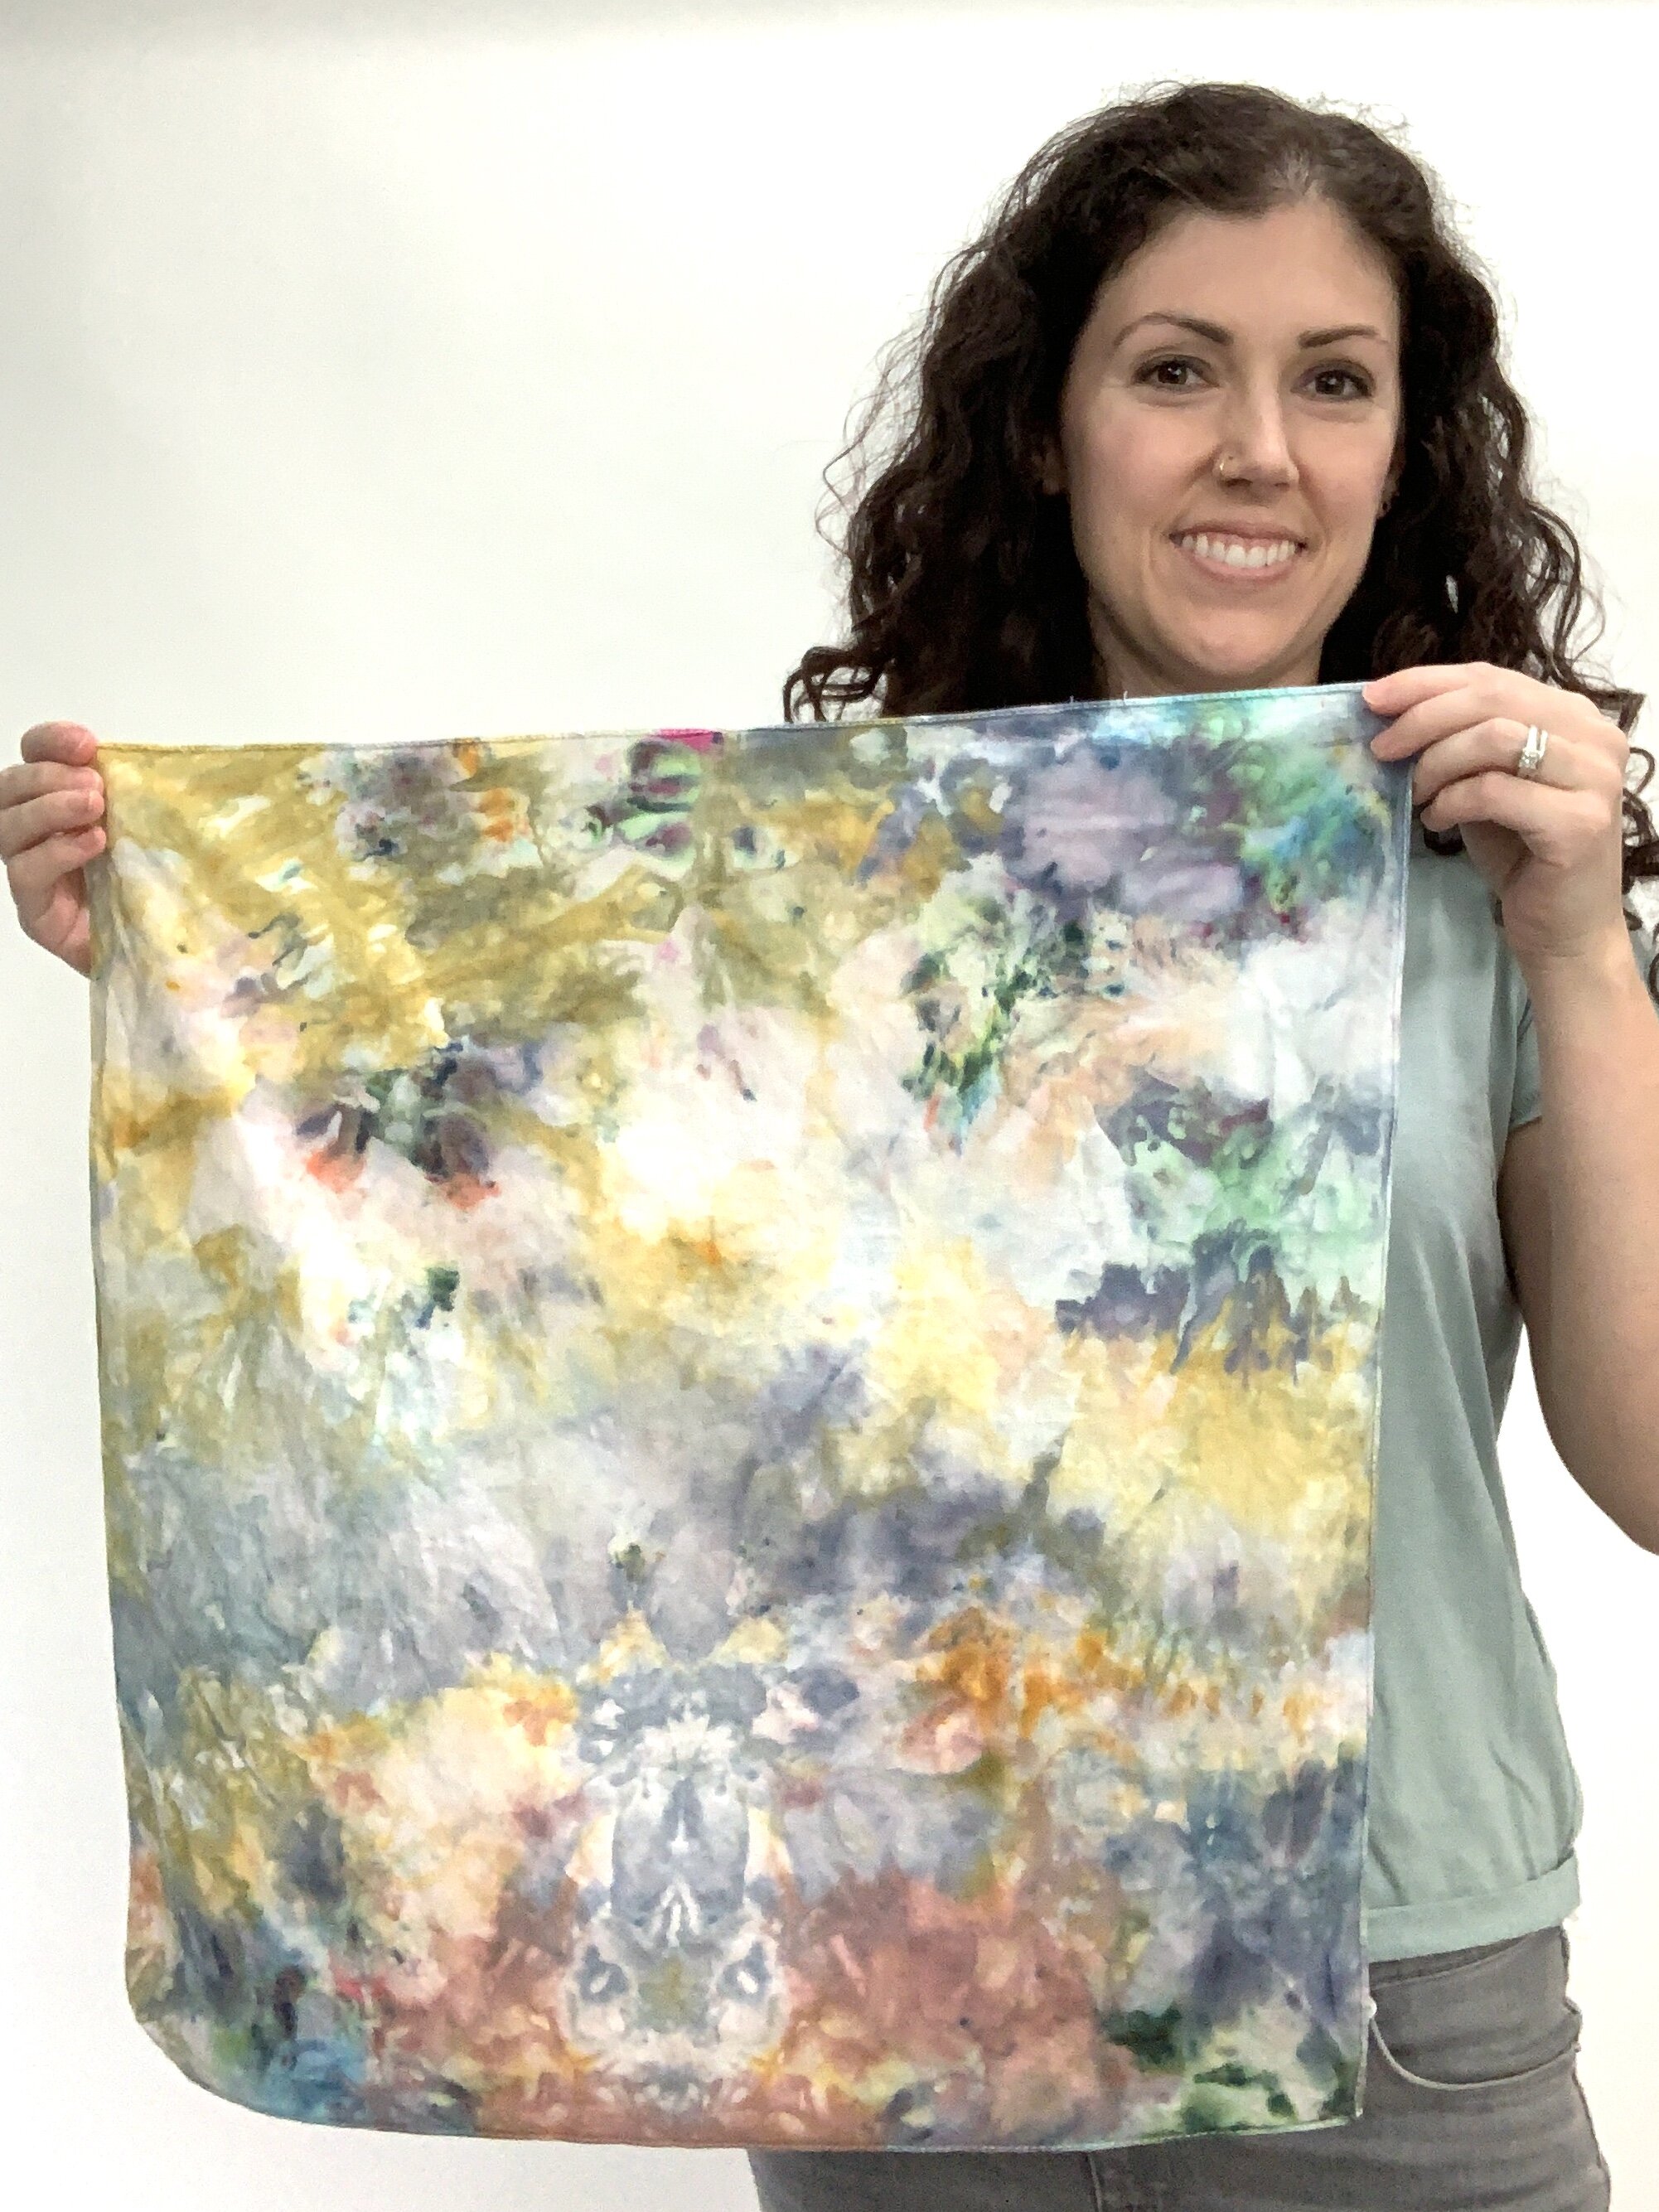
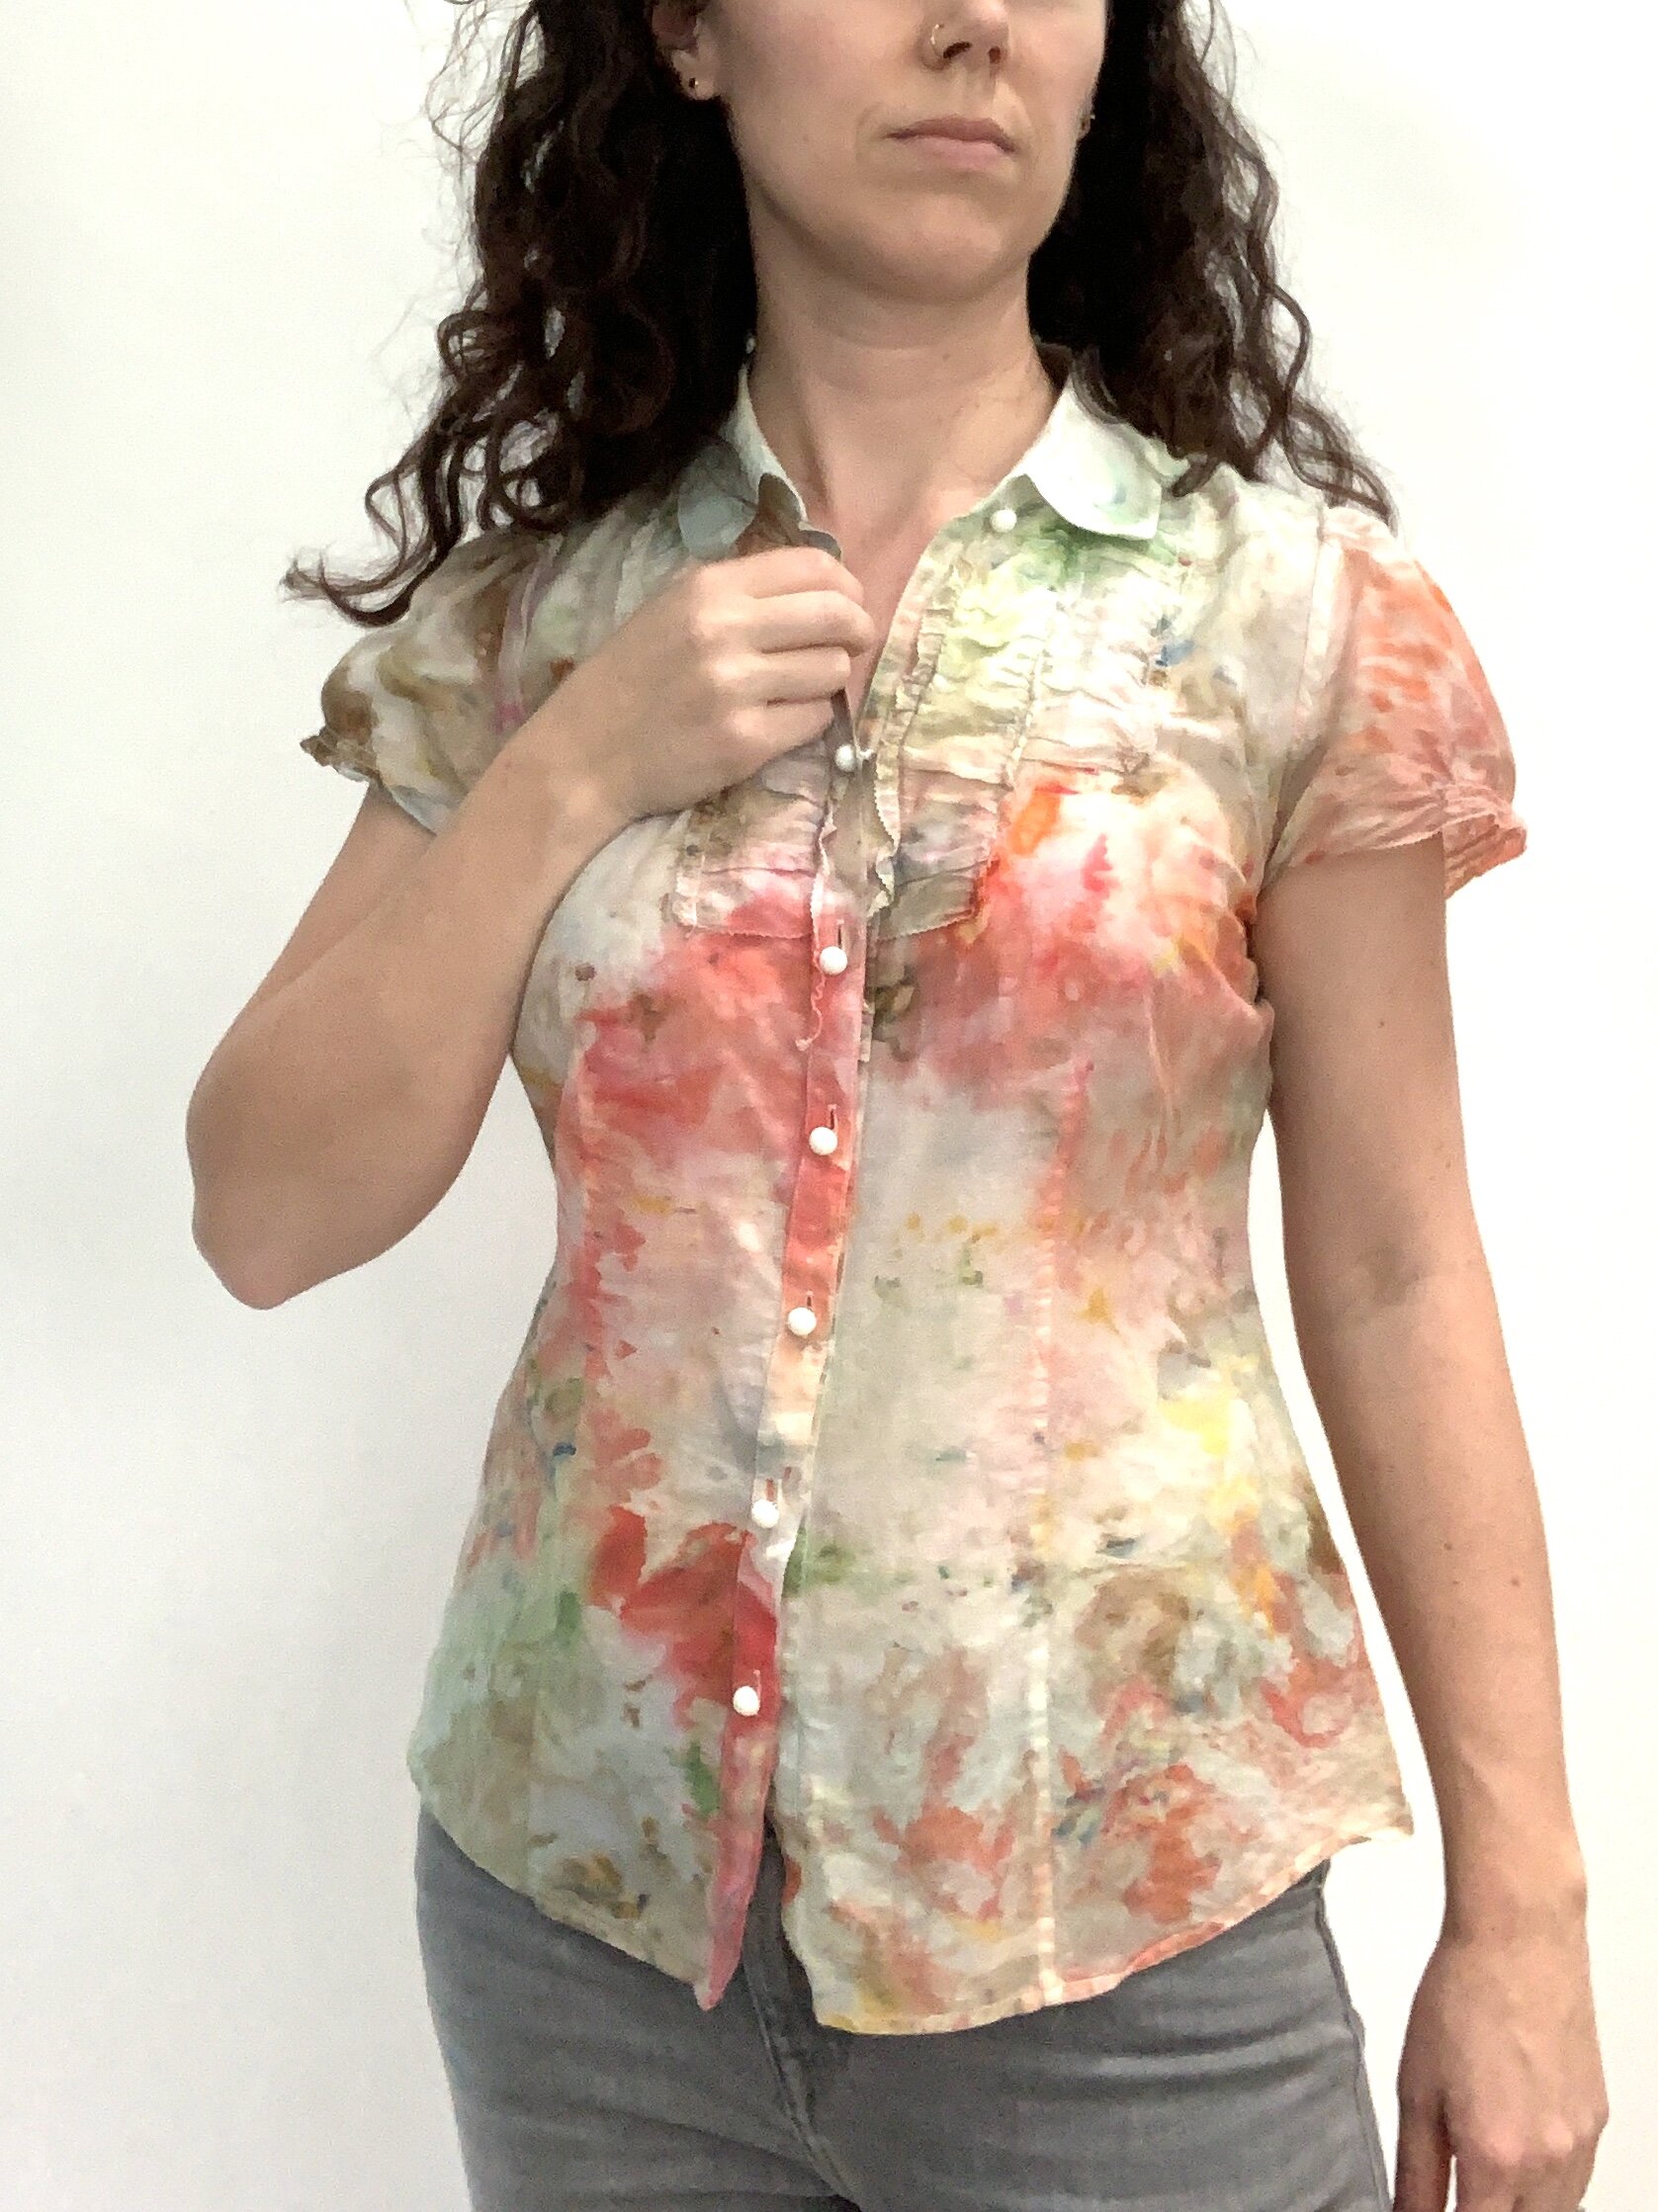
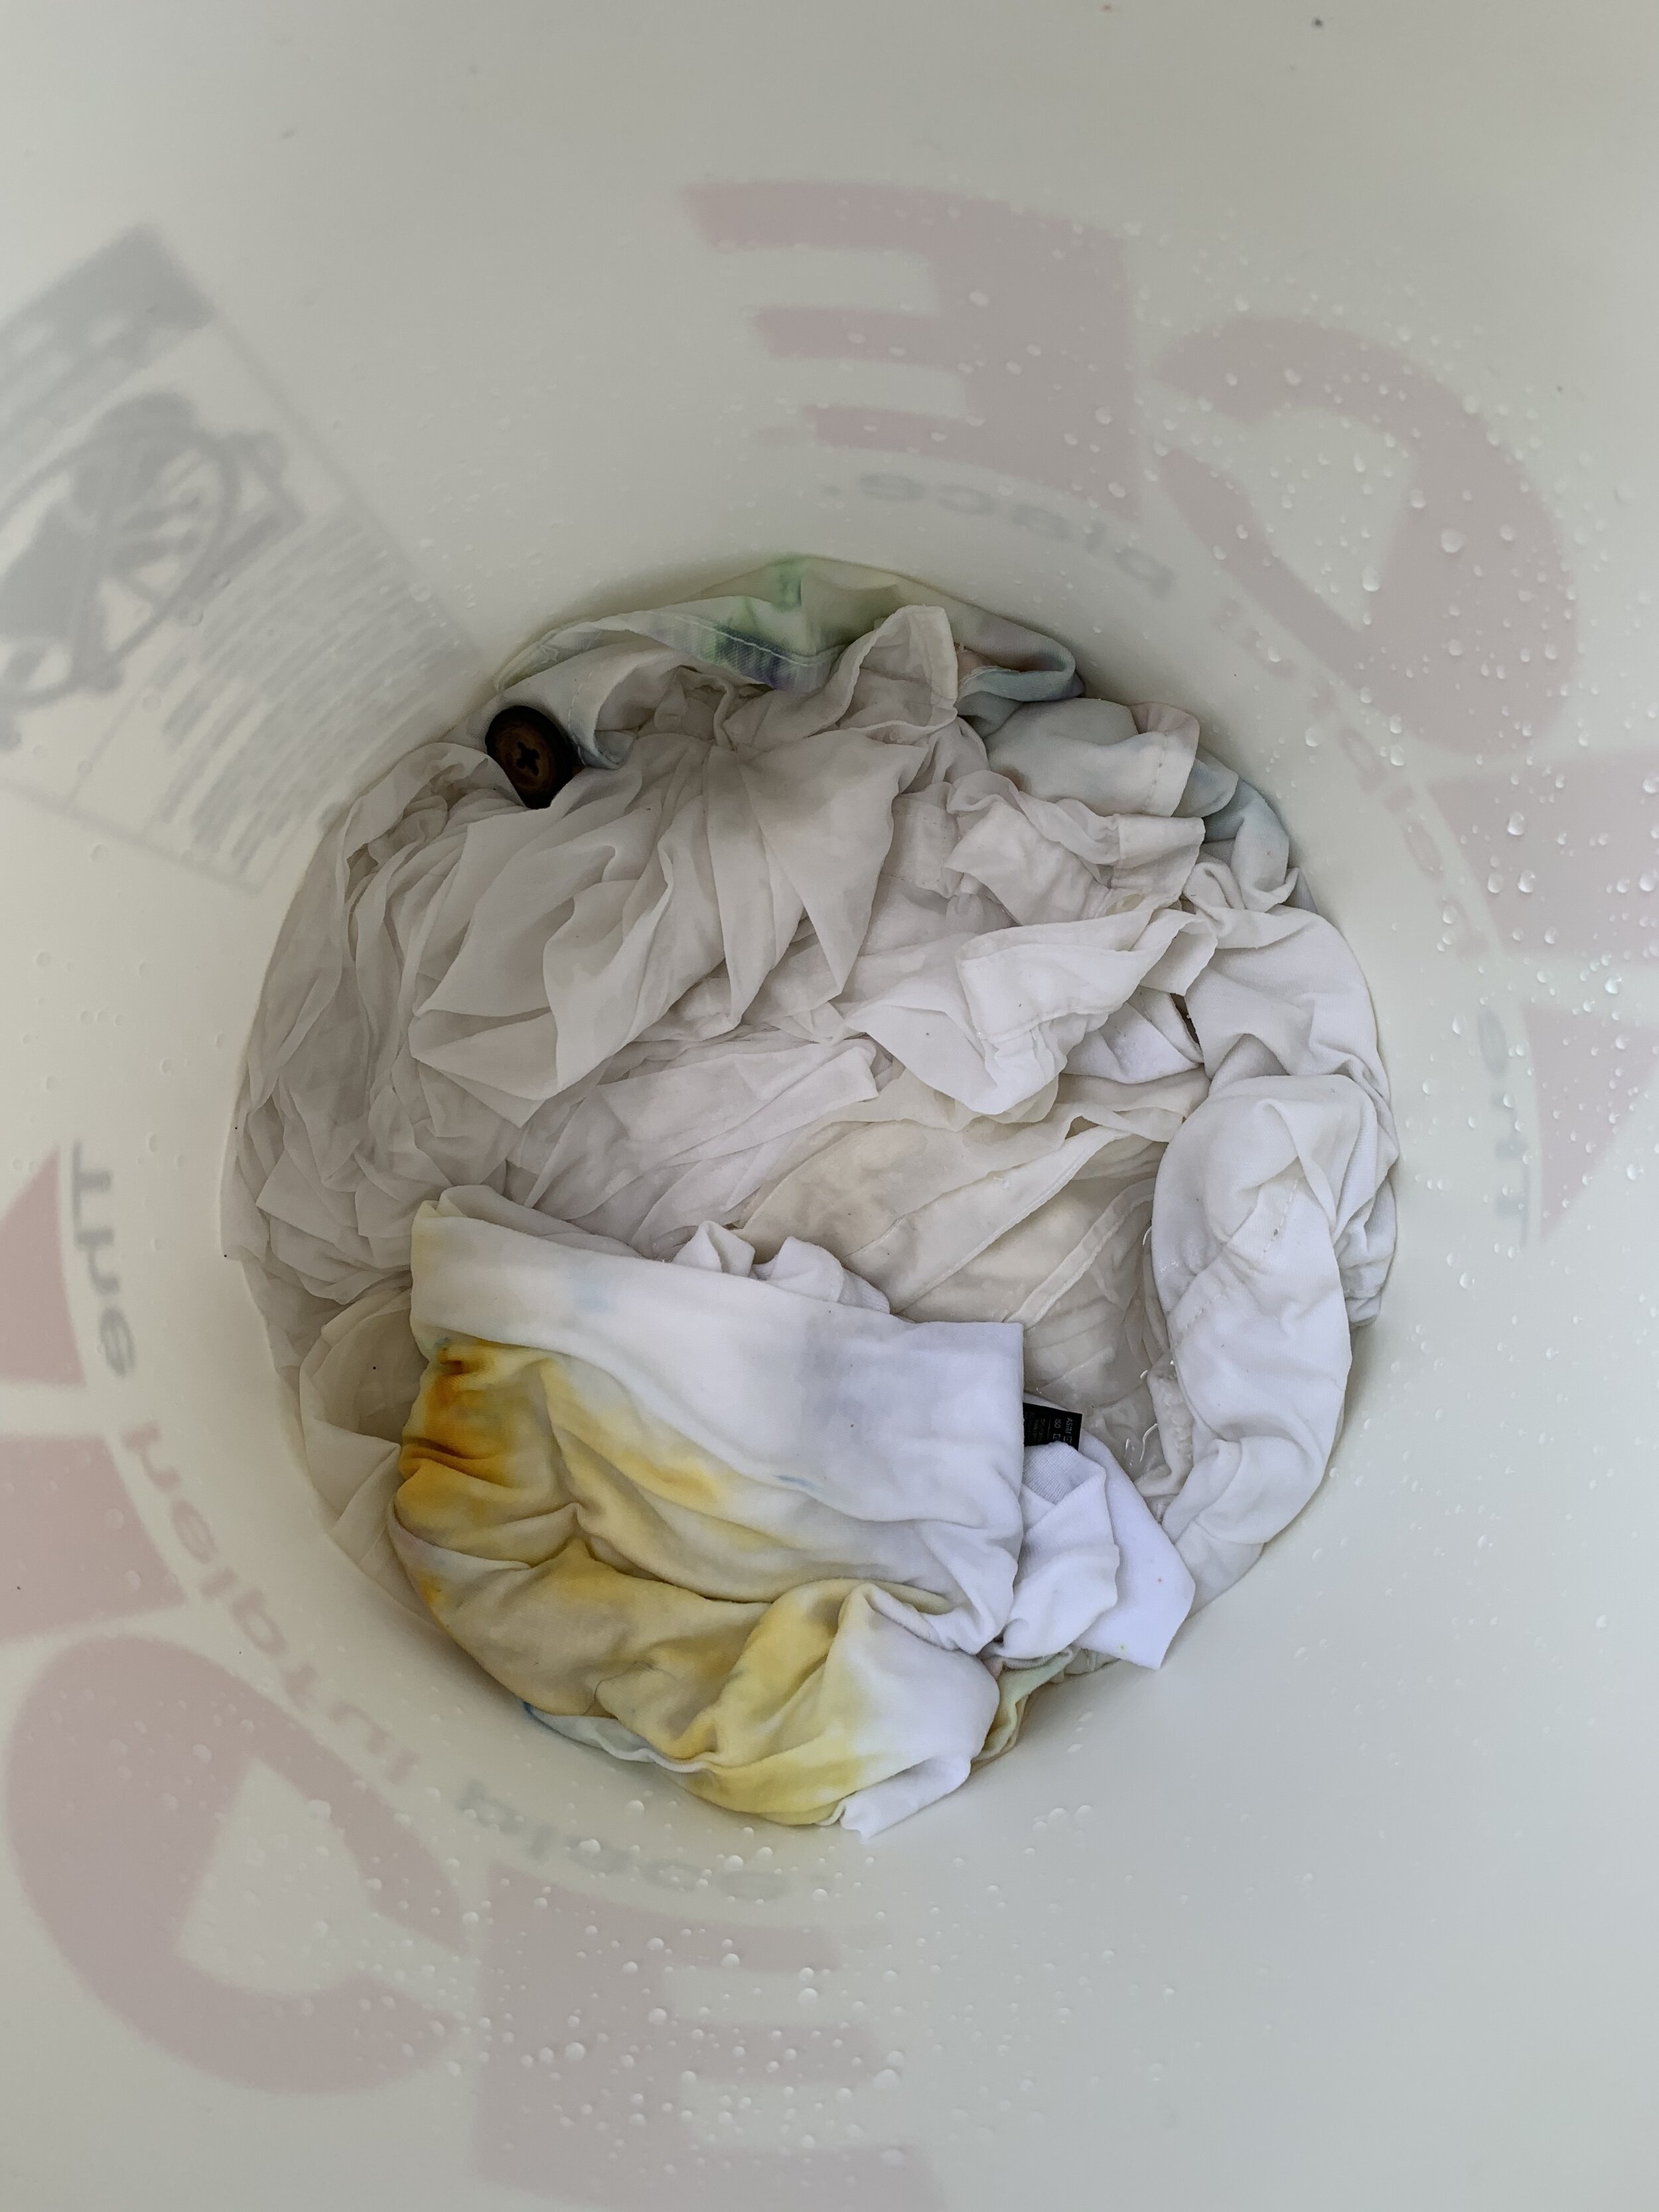
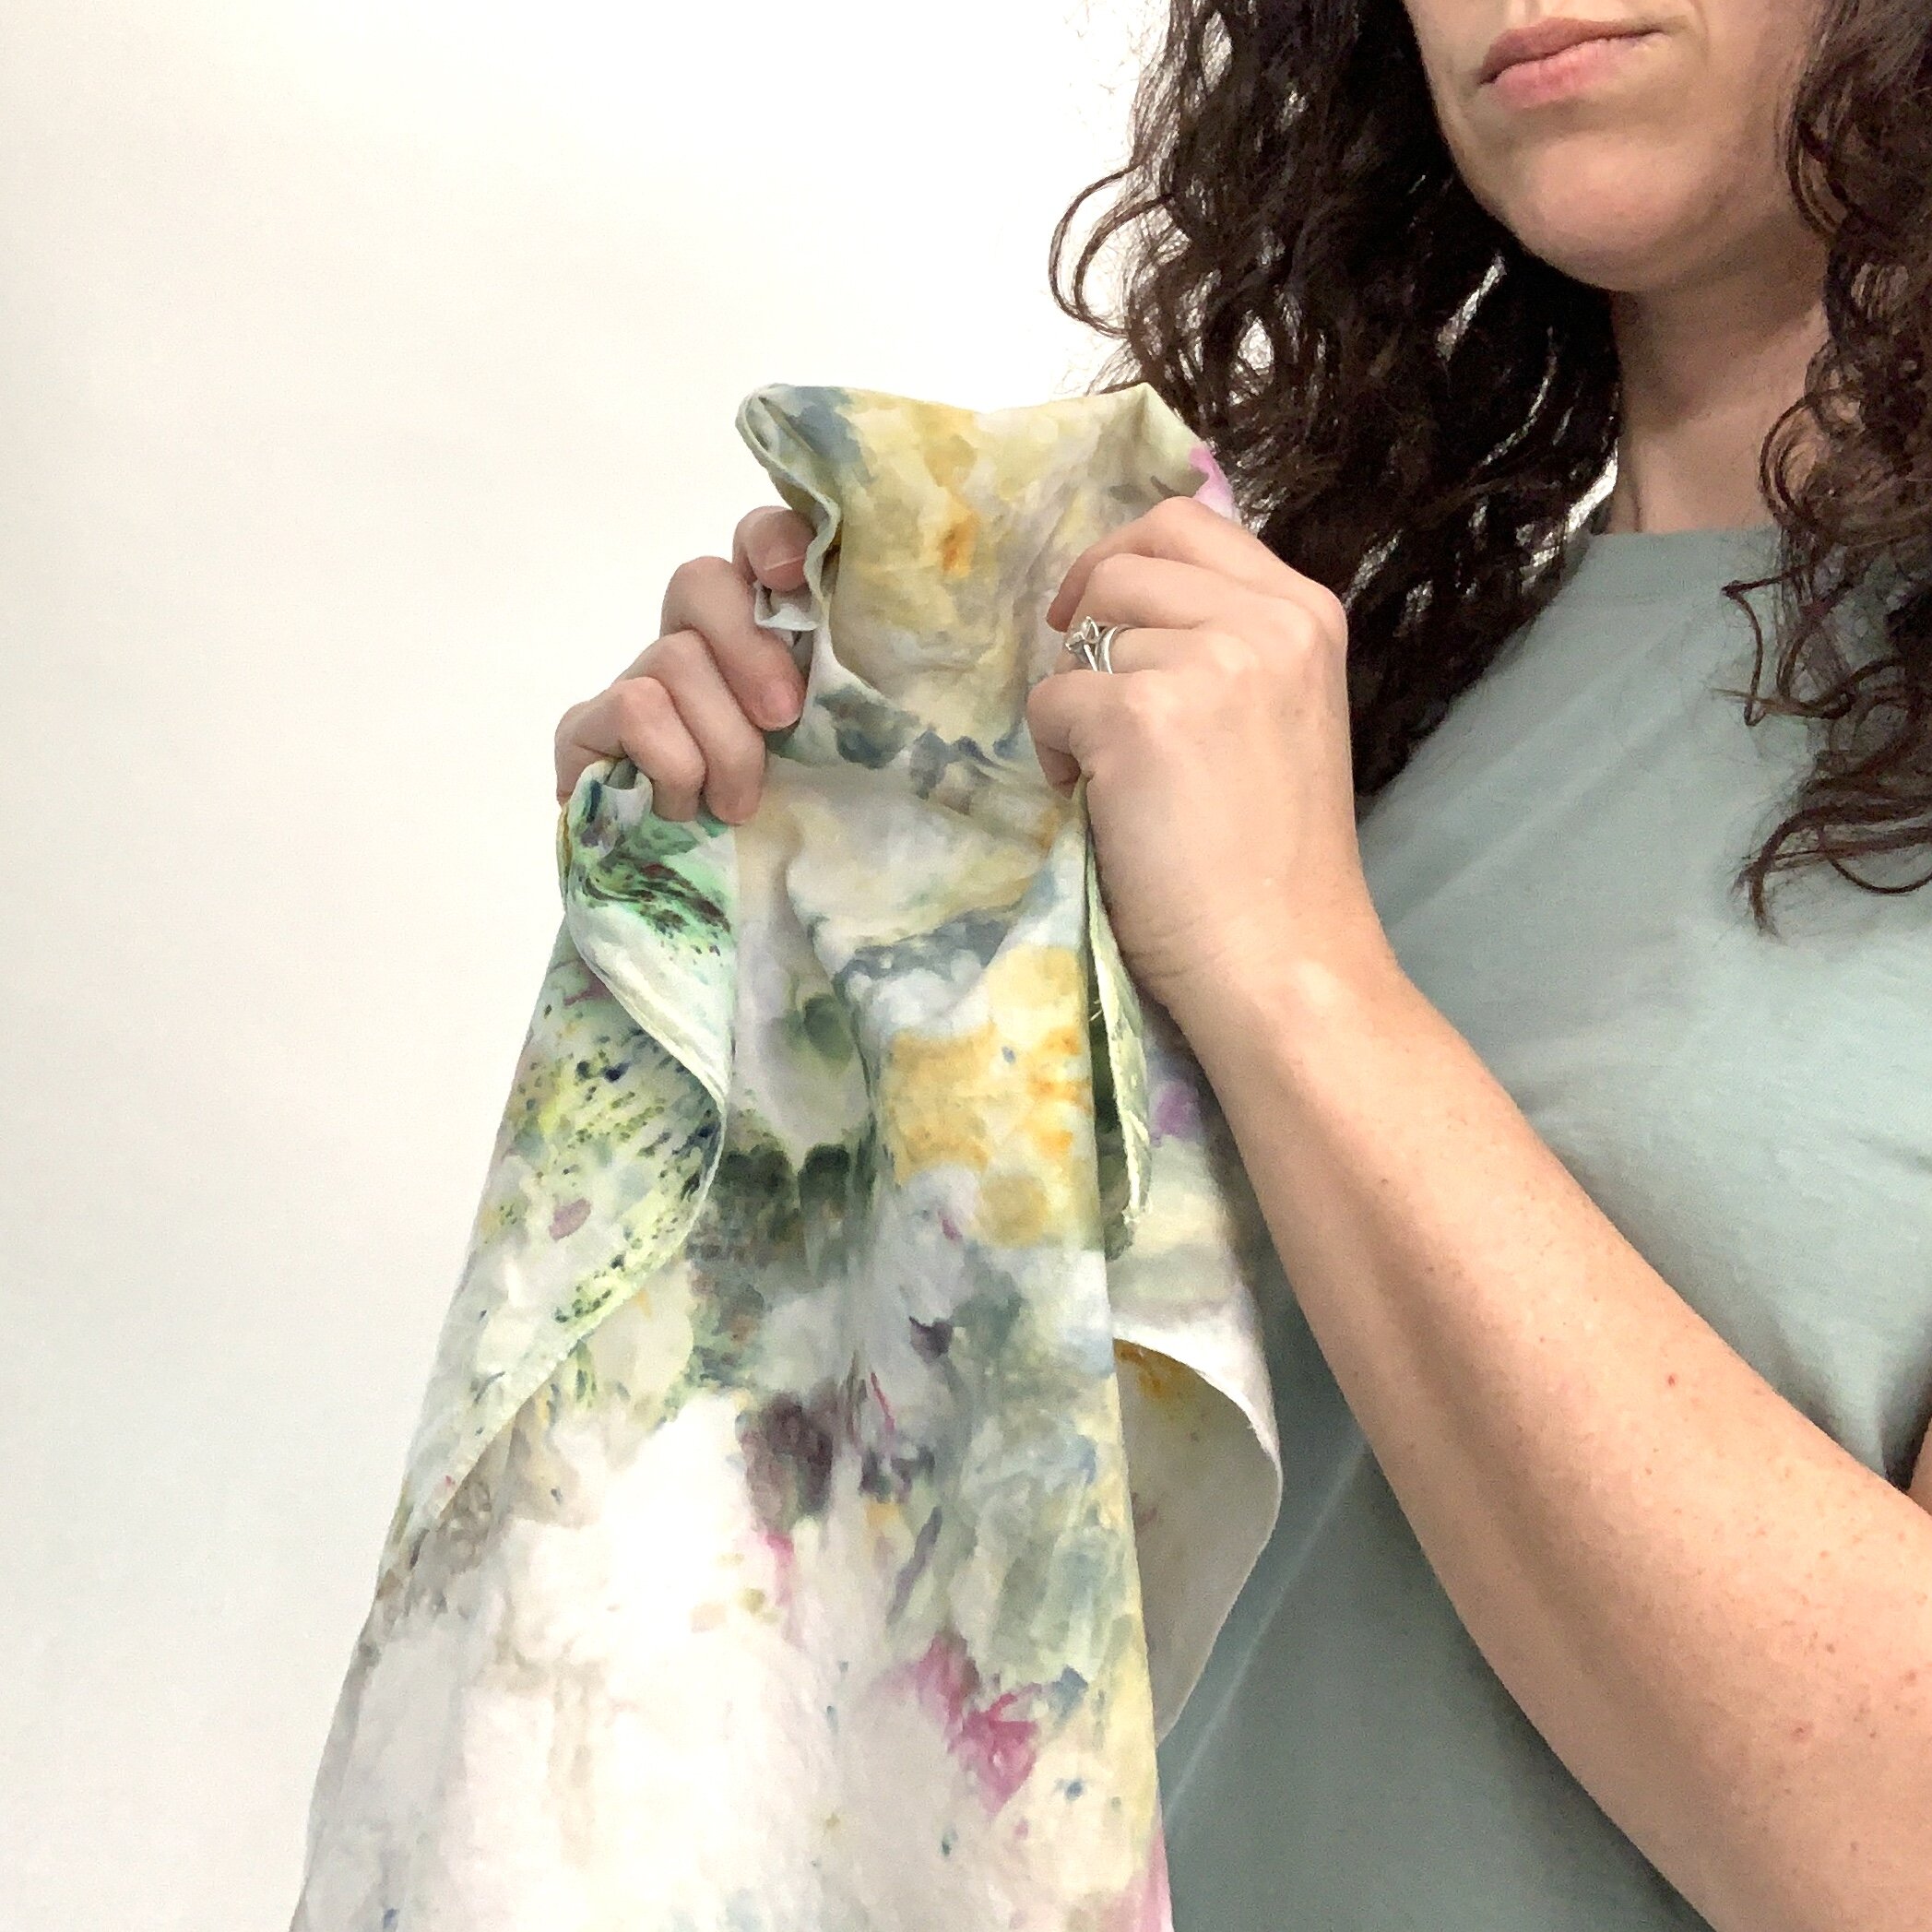
FABRIC: I found white or light colored clothing at Goodwill that had a high cotton content. I also purchased some blank white items from the craft store (bandanas, t-shirts, zipper pouches, etc.)

10 Step DIY:

  1. Pre-wash the fabric with Synthropol and allow to dry.

  2. Mix soda ash and water, and soak fabric for at least 20 minutes.

  3. Wring excess soda ash water, and place fabric on your racks.

  4. Place generous amounts of ice over clothing.

  5. Sprinkle powder dye over ice. If you want intense color sections, use more dye in one area. If you want a light wash, sprinkle dye lightly over ice.

  6. Allow ice to melt.

  7. Once ice is melted, squeeze fabric to remove excess dye.

  8. Rinse fabric under cold tap water to remove excess dye.

  9. Wash with Synthropol and allow to dry.

  10. Iron if needed.


Flat Out Under Pressure Competition

IMG_6018.jpg

Every year in June the Metropolitan Arts Council hosts the Flat Out Under Pressure competition for local artists. It’s a fun thing the community looks forward to every year. We bring our surfaces to get stamped the morning of the competition, then have 24 hours to complete the work. This year, due to the COVID19 pandemic, the whole thing is virtual. Instead of getting our surfaces officially stamped at the MAC office, we signed and dated the blank piece before starting.

IMG_6021.jpg

The last 2 years I have summited a needle felted wool landscape, but this year I changed things up just a bit. Since MAC is the whole reason I learned rug hooking last year (thanks to a continuing education grant) I thought it would be cool to show them what I have been doing with my new skills!

IMG_6027.jpg

This year’s piece includes needle felting, rug hooking, and punch needle techniques. I used over 40 materials and colors, and 8 different tools for the 3 fiber art mediums. It’s SO much fun to combine materials like this! Here’s a look at my progress from yesterday - I took photos every few hours to show how the piece was coming along. It was really slow going at first. I only covered a few inches of my surface in the first few hours, but I kept at it and 12 hours later, I was happy with my finished piece. I did take a few breaks during the day so I think all in all I spent about 10 hours on the 16x16 piece.

IMG_6028.jpg

The Flat Out Under Pressure exhibition will be virtual this year, and will begin on July 1. The winner of the competition will be announced Monday by noon, and of course all the runner’s up as well (which is also a pretty big deal!). There are quite a few other “winners” and they’ll get a cash prize plus the honor of having their work prominently displayed on one of Greenville’s recycling bins downtown.

IMG_6030.jpg

My finished piece, plus 2 other test pieces I did prior to try out ideas and see how large I could go for the 24 hour competition, will all be available for purchase soon. I’m so glad I found out I couldn’t finish a 20x20 in the amount of time aloted BEFORE it was the actual competition. That would have been a pretty frustrating thing to learn when it mattered most.

IMG_6031.jpg

My wrists are sore, but I’m so happy I was able to participate in FOUP2020 this year, even though there will be no big party to announce the winners as before. Even still, this has been a bright spot in my week!

OnceAgainSam1729.jpg

The Studio Graffiti Collection

AbstractAcrylicEarrings_SquareGridPromo.jpg

I’ve been making a mess in my studio and it’s all for a good cause. The new “Studio Graffiti Collection” is a colorful combination of many materials, techniques and styles I’ve been working in for years, but never quite like this. The modern jewelry collection features hand painted acrylic which is laser cut into bold shapes, and no two pair of earrings or pendants will ever be identical due to the nature of the brushstrokes.

OnceAgainSam1543.jpg
AbstractAcrylicEarringsOnModel_NightGarden-DoubleTeardropCombo.jpg

While developing this idea in the last few weeks, I’ve tested out several color palettes and landed on a few favorites to launch the collection. Some of these color combos may come back later if they sell well, and I certainly have ton of new ideas for upcoming colorways, but for now, here’s Night Garden, Carnival, Pool Party, and Urban Sky - all available on the website!

AbstractAcrylicEarrings_SquareModelShots-BarEarrings.jpg
OnceAgainSam1317.jpg

To shortcut your shopping on the website, you can type in “Studio Graffiti” into the search bar to see ALL items in this collection, and you can even search by colorway name if you see a color you like and only want to view jewelry pieces that come in that colorway.

AbstractAcrylicEarrings_SquareModelShots-blue.jpg
OnceAgainSam1379.jpg

Here’s a peek at my process. Watching painting done as a time-lapse video is kinda magical and you can really see how the pattern builds up on the clear acrylic from the backside. I never quite know what the painting is going to look like until I peel off the protective layer of film and man, that’s a happy moment every time! Enjoy this quick look at how this collection is created. The colorway shown in the video is “Night Garden” and is available on my website.

Ready to do a little shopping! Here’s a 25% off coupon code which is valid on any jewelry item now through the end of June!

Coupon Code: STUDIOGRAFFITI25

Coupon valid on any jewelry item(s) only at www.onceagainsam.com

Coupon not valid on Etsy, fiber art items, or commissions.

AbstractAcrylicEarringsOnModel_NightGarden-RoundCombo.jpg

Virtual Workshops

This has been months in the making, and I’m excited to finally share my first virtual workshops with you! I don’t know if or when I’ll be teaching again in-person this year due to the COVID-19 epidemic, so it was finally time to take my workshops to the virtual realm. Check out the new DIY section on my website!

OnceAgainSam5230.jpg

I have always had students who live in other states and countries who were never able to participate in my classes, and I’ve also had local students who just can’t make the in-person workshops work with their schedules, so I hope this new option will be a good thing for everyone.


The first two virtual workshops I’m offering are my 2 most popular classes - Needle Felted Succulents and 2D Hoop Art. Both of these classes are beginner level so no prior experience is required, but you’ll work up to a more advanced project by the time you go through the lessons. I’ll also show you everything you need to know about tools, materials, and techniques, plus I’ll share some tips and trips I learned the hard way when I first started needle felting in 2009.

If you prefer to purchase your own supplies, or you already have some, that’s totally fine! I’ll let you know what you need for each class. However, if you need to purchase materials, I have kits available on my website that have exactly what you’ll need to follow along with the workshop. Enroll in the workshops and shop supplies in the new DIY section on my website.

What other classes would you like to see me offering in the future? Leave your ideas in the comments below or send a message through the contact form. I would love to hear from you!