Artist in Residence: Leland, Michigan
I had the honor of spending the last week in Leland, Michigan, creating work for Two Fish Gallery, a fabulous store near historic Fishtown in the northern part of the state on Lake Michigan in Leelanau County. I’ve worked with Jennifer & Michael at Two Fish for many years, but it was such an incredible opportunity to go see this little lake town in person, explore, and create work on-site. I flew up to Traverse City on May 14th and spent the next 7 days hiking, needle felting, and sharing my love of this medium in a state I had never been to before. What an amazing week!
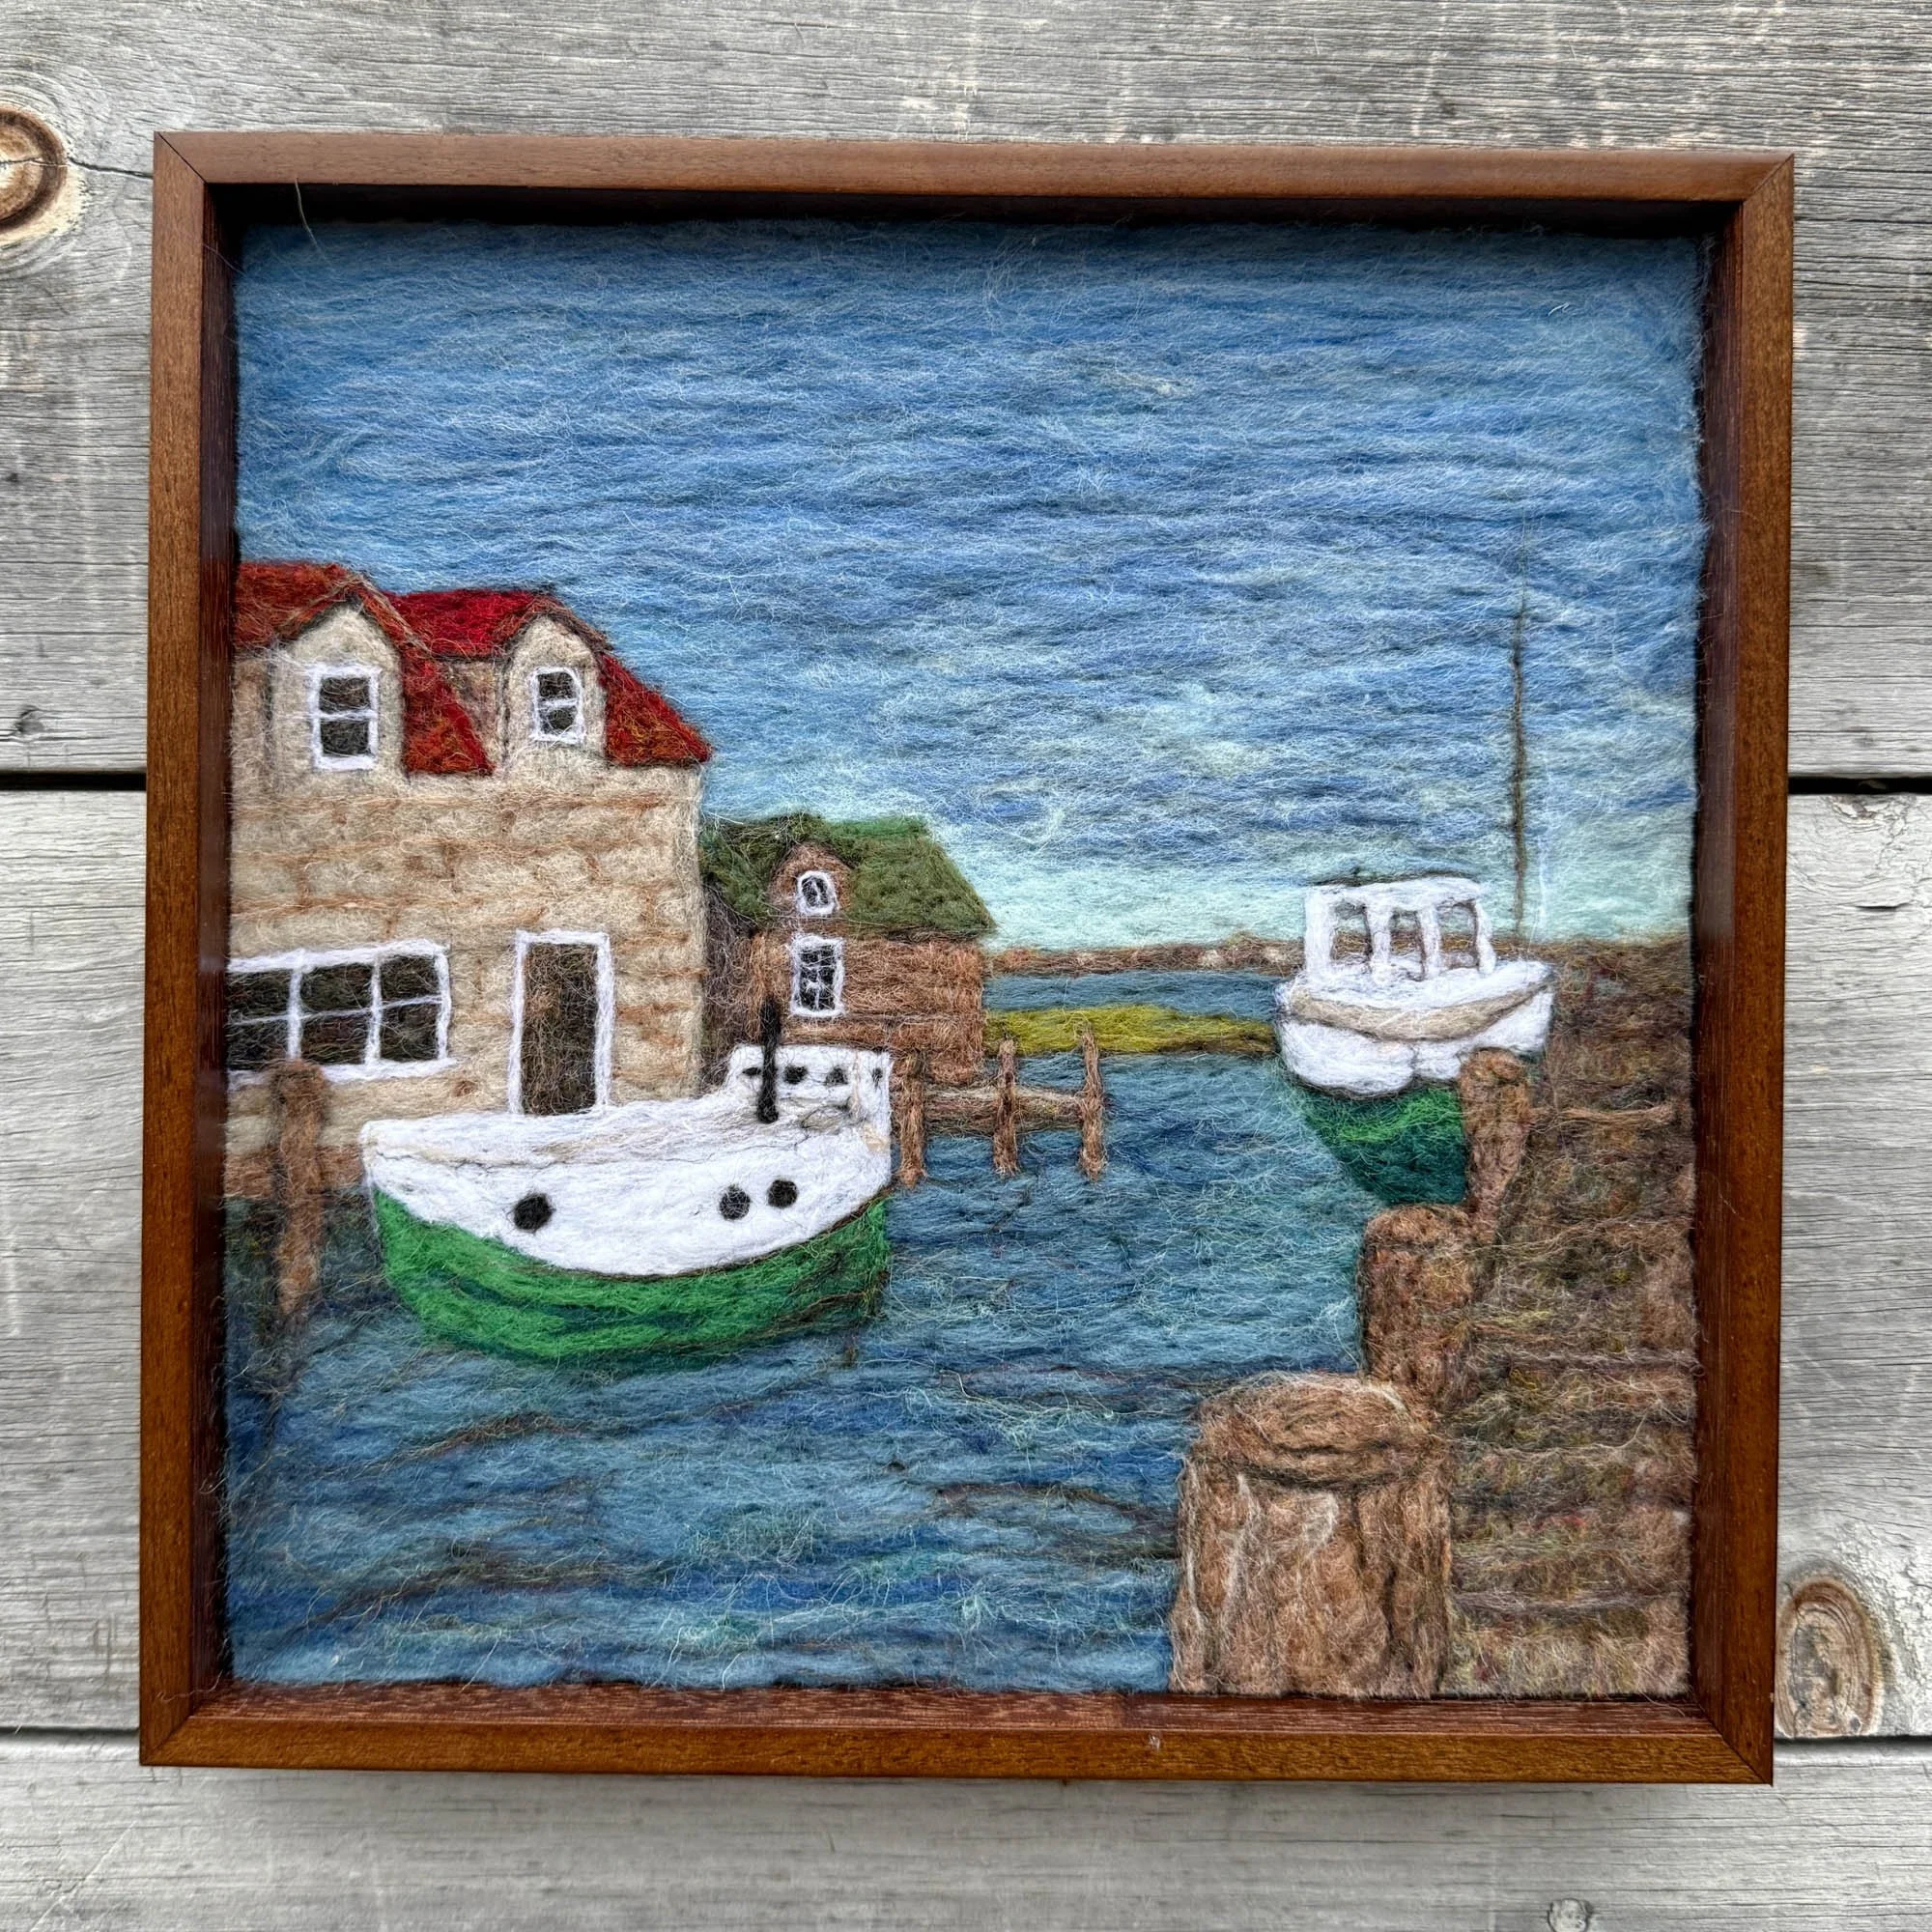

Fishtown is a very unique place, it’s famous for its “shanty” buildings right on beautiful Lake Michigan. These shanties and the famous tug boats, Joy and Janice Sue, have been featured heavily in my work for Two Fish Gallery in the past, but it was so special to finally see them in person. Fishtown also has a small marina, several beaches, a variety of little shops and boutiques, and some delicious restaurants. My favorite meal of the trip was the halibut at Riverside Inn, just down the street from Two Fish! I also enjoyed a cheese sub from the famous and highly recommended Cheese Shanty (even the guy at the rental car place recommended it when I told him I was heading to Leland).

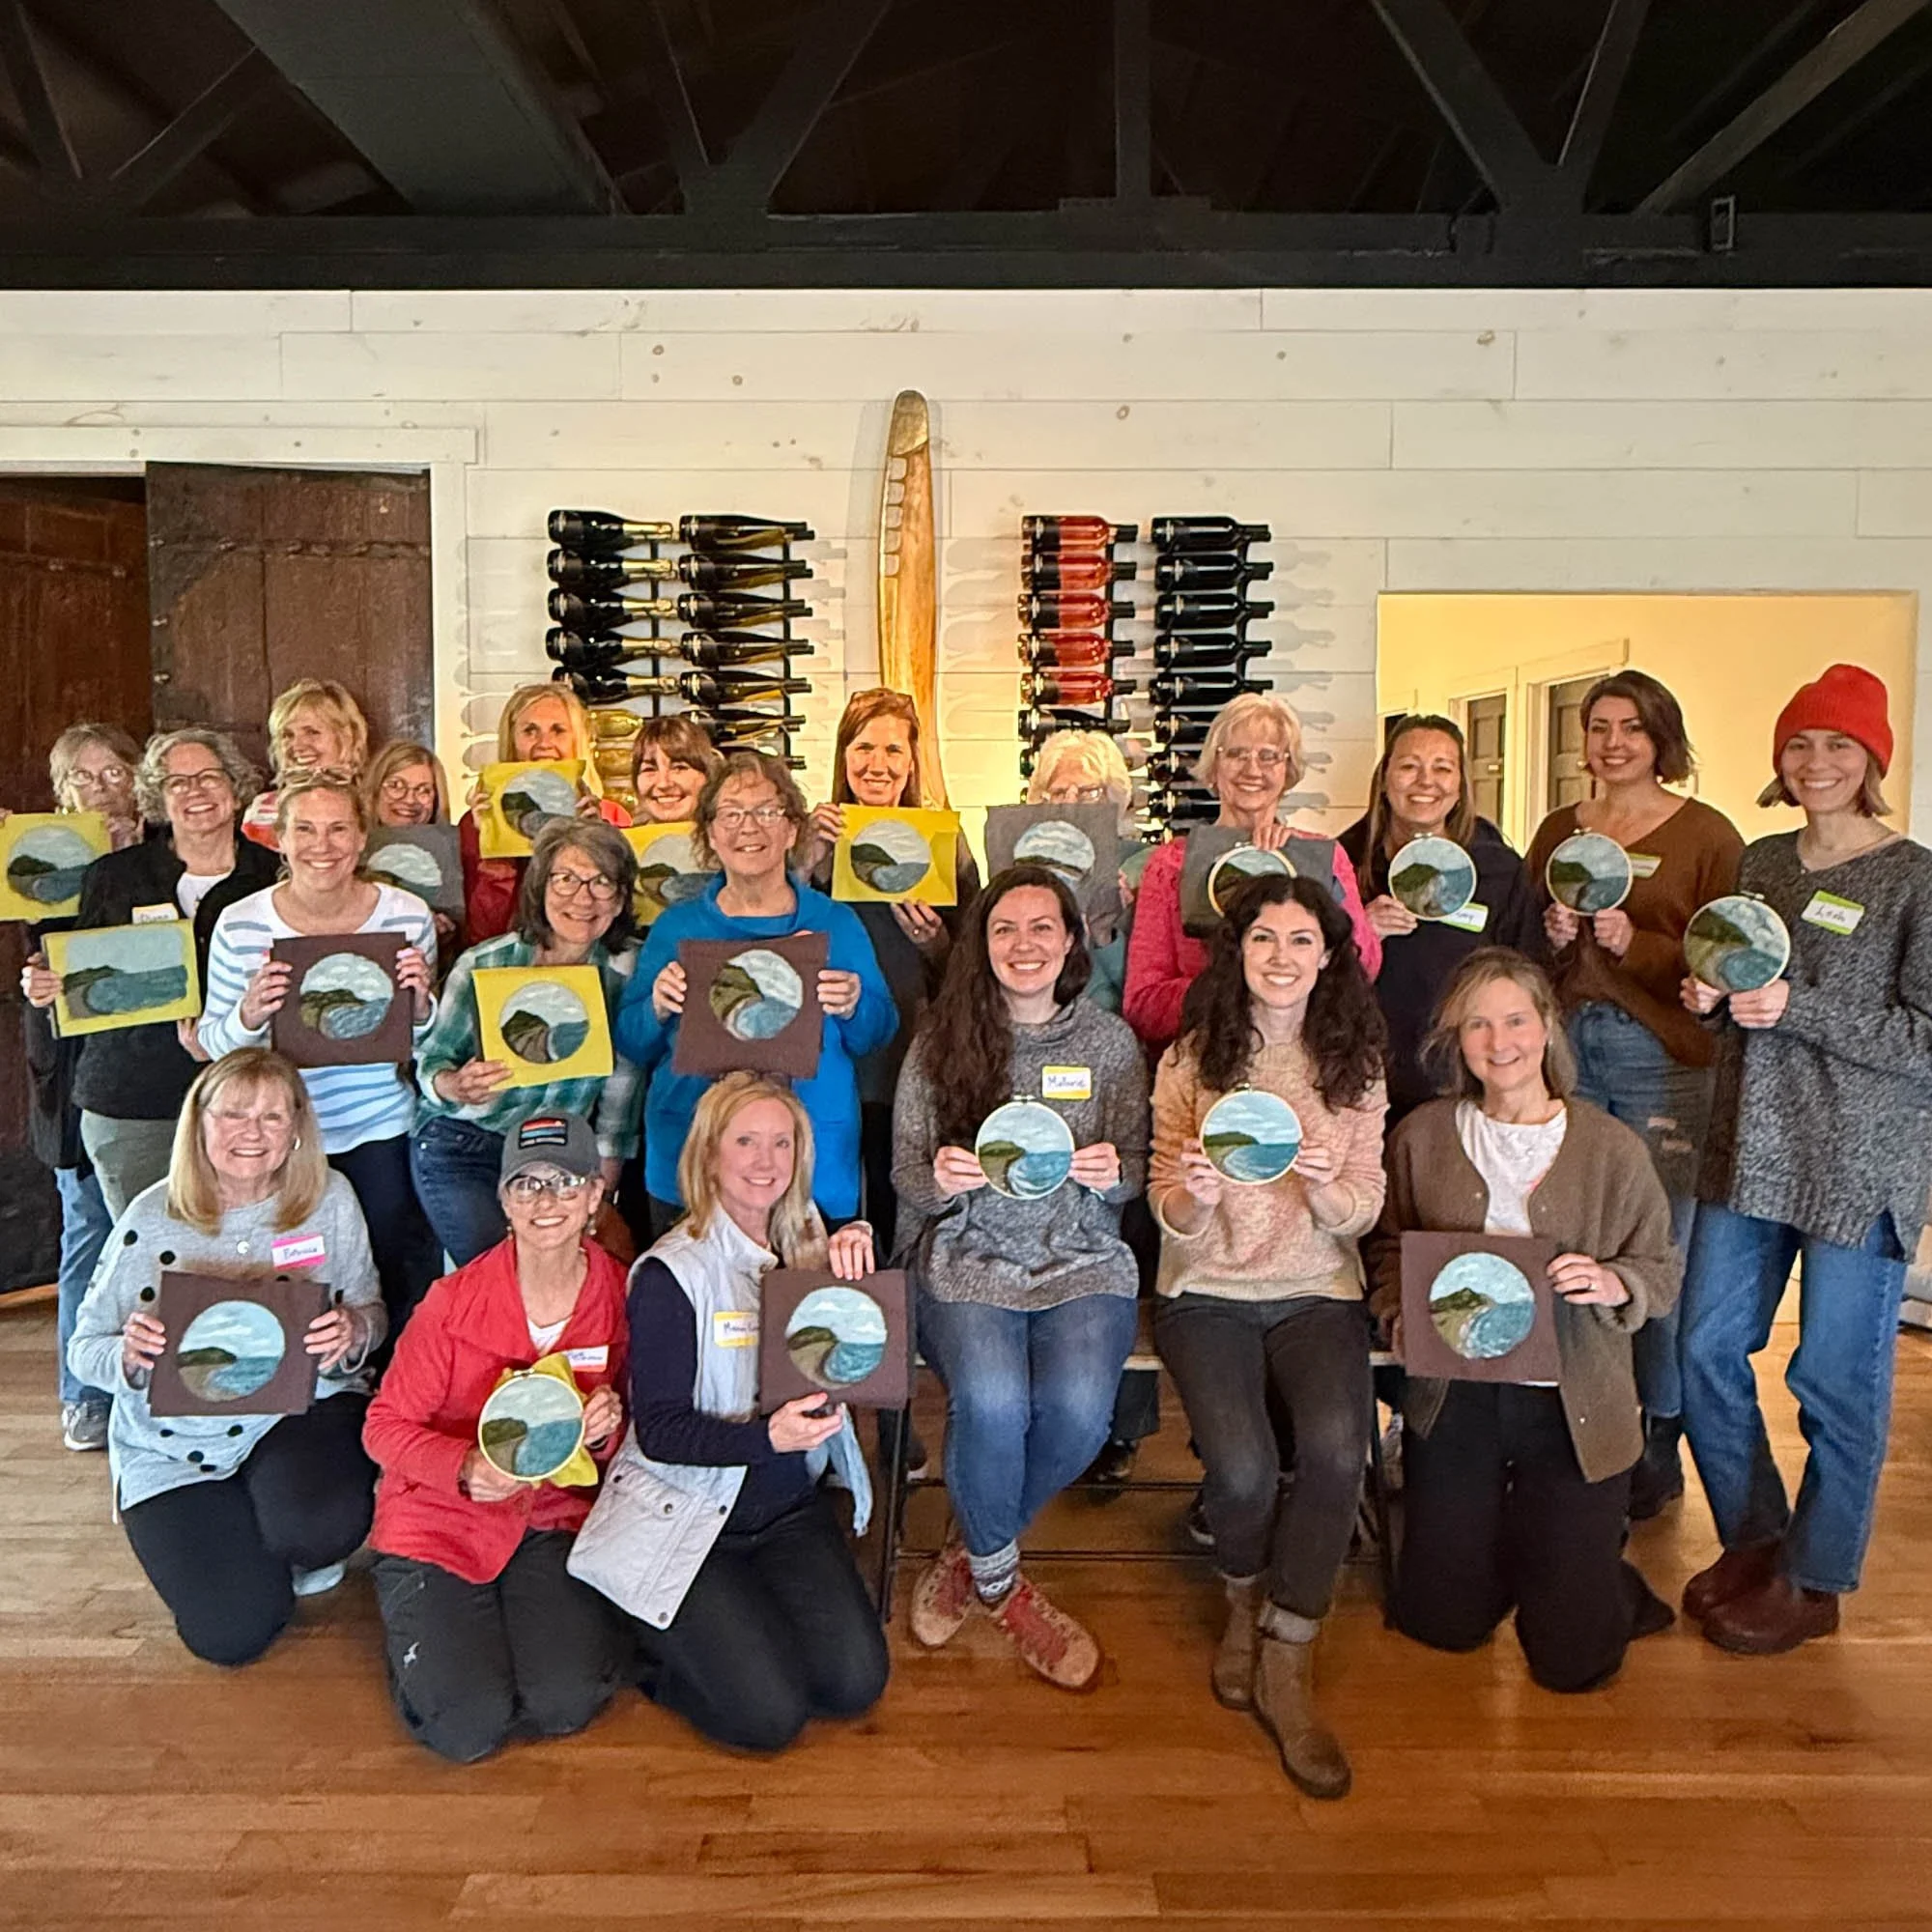
During my time in Leland I did 2 in-person needle felting demos inside Two Fish Gallery, creating work for those interested in my process and answering questions while working in realtime. On Sunday May 18th, I got to teach 2 workshops at Dune Bird Winery to 44 students, most of who had never felted before. They did such a great job! Everyone was able to complete the 6” felted landscape featuring a scene inspired by the local dunes and beaches. The winery was a beautiful location for this event and I’m thankful for the space to teach the local crafty community.

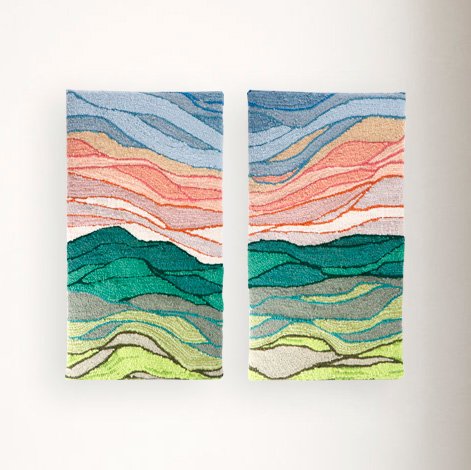
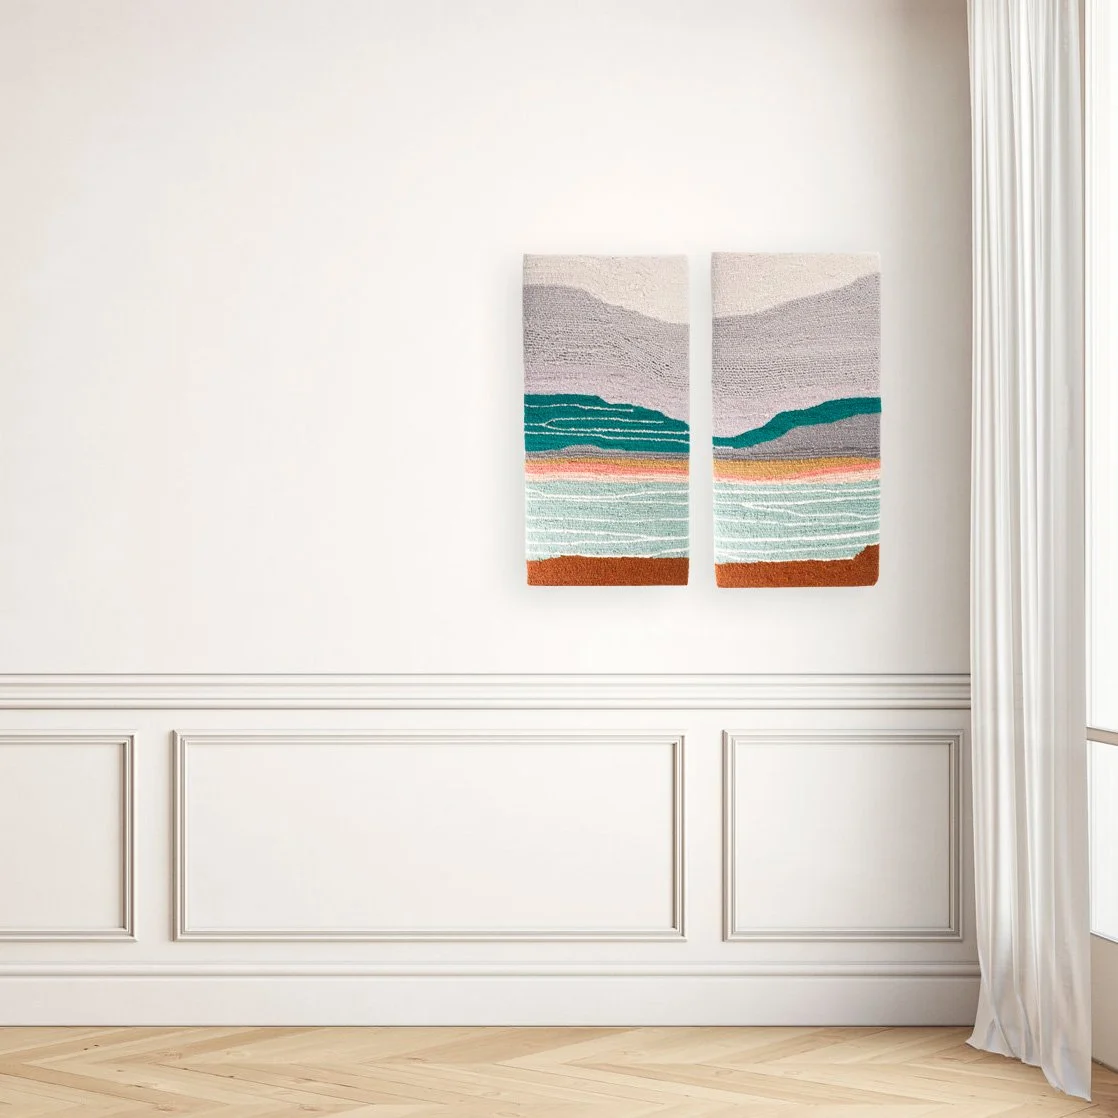
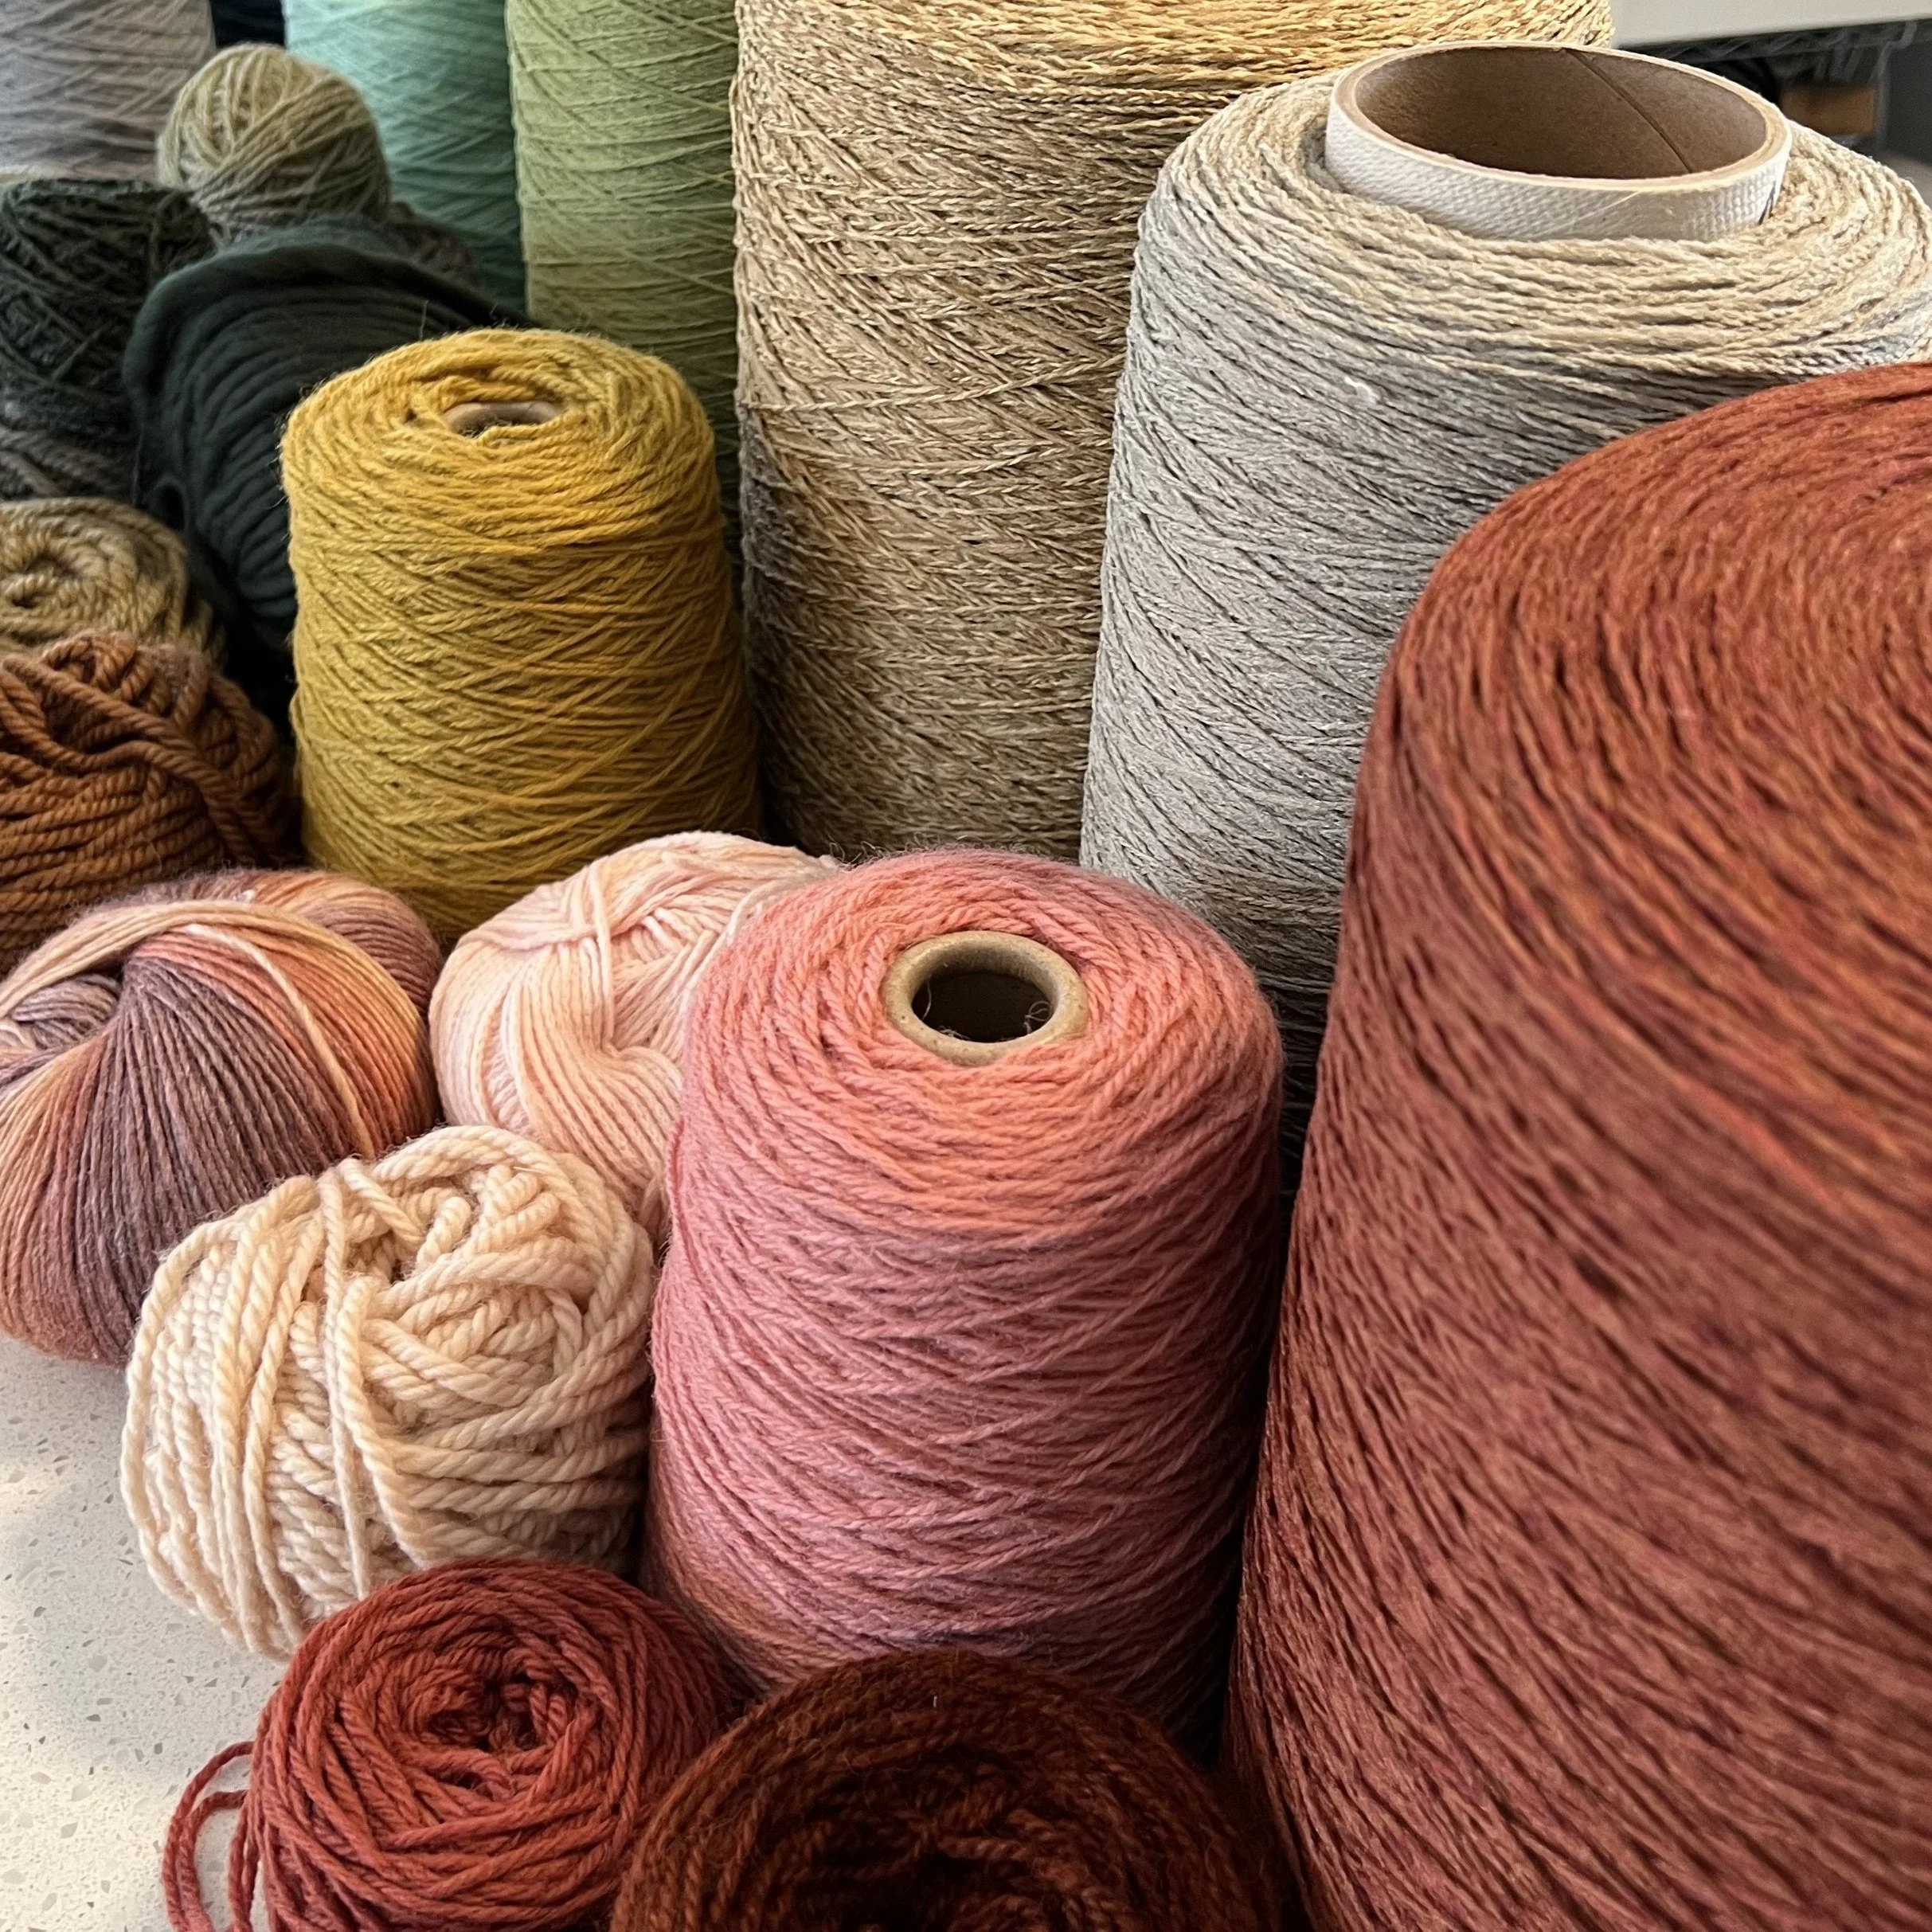
I hiked every single day, sometimes in 80 degree sunshine, sometimes in 40 degree wind and rain, and my favorite treks were Empire Bluff Trail and Pyramid Point, in Sleeping Bear Dunes National Lakeshore. The lake really is that blue, the sand dunes really are that bright, it’s almost too beautiful to be real and I even took small tufts of wool roving on my hikes to match them up to what I saw, to be sure my work was correctly reflecting the world around me. I loved hiking through cedar forests, seeing birch trees and a bald eagle. Hiking through the sand tunes was physically tough but worth it. There were several trails in Leelanau State Park near Grand Traverse Lighthouse that I also enjoyed, thanks to the rocky beach views.

There’s quite a few little towns within less than an hour’s drive from Leland, so I made time to explore them as well: Northport, Cedar, Port Oneida, Empire, Maple City, Glen Arbor, and my favorite, Sutton’s Bay, which is just 10 minutes east from Leland. If you visit Sutton’s Bay, I highly recommend eating at Martha’s Leelanau Table and shopping at Silver Slag and Stone. The artist behind the store uses unique rocks found the local beaches, particularly the Leland Bluestone and Petosky Stones. It was hard to choose just one!


I also spent time in Traverse City exploring the parks, trying some local cuisine, and shopping on Front Street. Although, as much as the downtown shopping area had to offer and I could have easily spent all day there (and eaten ALL the tacos at Mama Lu’s Taco Shop) I was really blown away by The Village at Grand Traverse Commons, which is a historic preservation project that has turned an old asylum into a mixed use property featuring shopping, restaurants, offices, and apartments. Plus, you can take a tour of the building and see the cool/creepy tunnel underneath!

I’m so grateful for the opportunity to travel to a new place, take a week to explore and create, teach others meet others, and get to know the owners of Two Fish a little bit better. Thank you again for hosting me and for this incredible opportunity, Jenn and Michael!


I hope you’ll enjoy this little recap video of my time in Leland. It’s such a beautiful place! All pieces are now available for your viewing and purchasing plesure exclusively at Two Fish.

NEW JEWELRY!
I’m excited to announce the addition of hand painted jewelry to the Once Again Sam website. Expanding on my palette knife painting series, I’ve added a new (and very bright) colorway called Great Lakes, inspired by the gorgeous turquoise and blue waters of Lake Michigan. Additionally, I have a limited series of painted landscape pendants avialbe online as well, featuring a scene from Sleeping Bear Dunes National Lakeshore.


Also, a huge thank you to SCAC for helping me get there:
This project is funded in part by the South Carolina Arts Commission which receives support from the National Endowment for the Arts. This project is also funded in part by a generous award from the John and Susan Bennett Memorial Arts Fund of The Coastal Community Foundation of South Carolina.