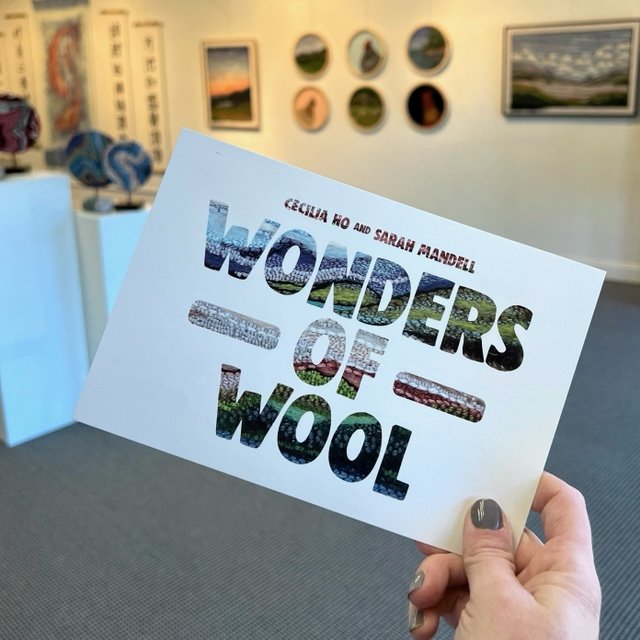
Flat Out Under Pressure Art Competition 2022

Every year in Greenville, SC the Metropolitan Arts Council (MAC) hosts an event that brings all the local artists out of the woodwork within this community. 150 artists competed this year, some professional some amateur, all very talented. Between 9 and 11 am on Friday, all artists must get their worksurfaces stamped (you can do up to 5 surfaces but in the end only one piece can be submitted), then you have 24 hours to create a piece of art.

The following morning we all bring our pieces back to MAC in downtown Greenville, and their doors close for most of the day while they install all of the finished pieces inside the gallery for judging. That evening, the party and awards ceremony takes place, and it’s always so impressive to see what others created during the same time period.

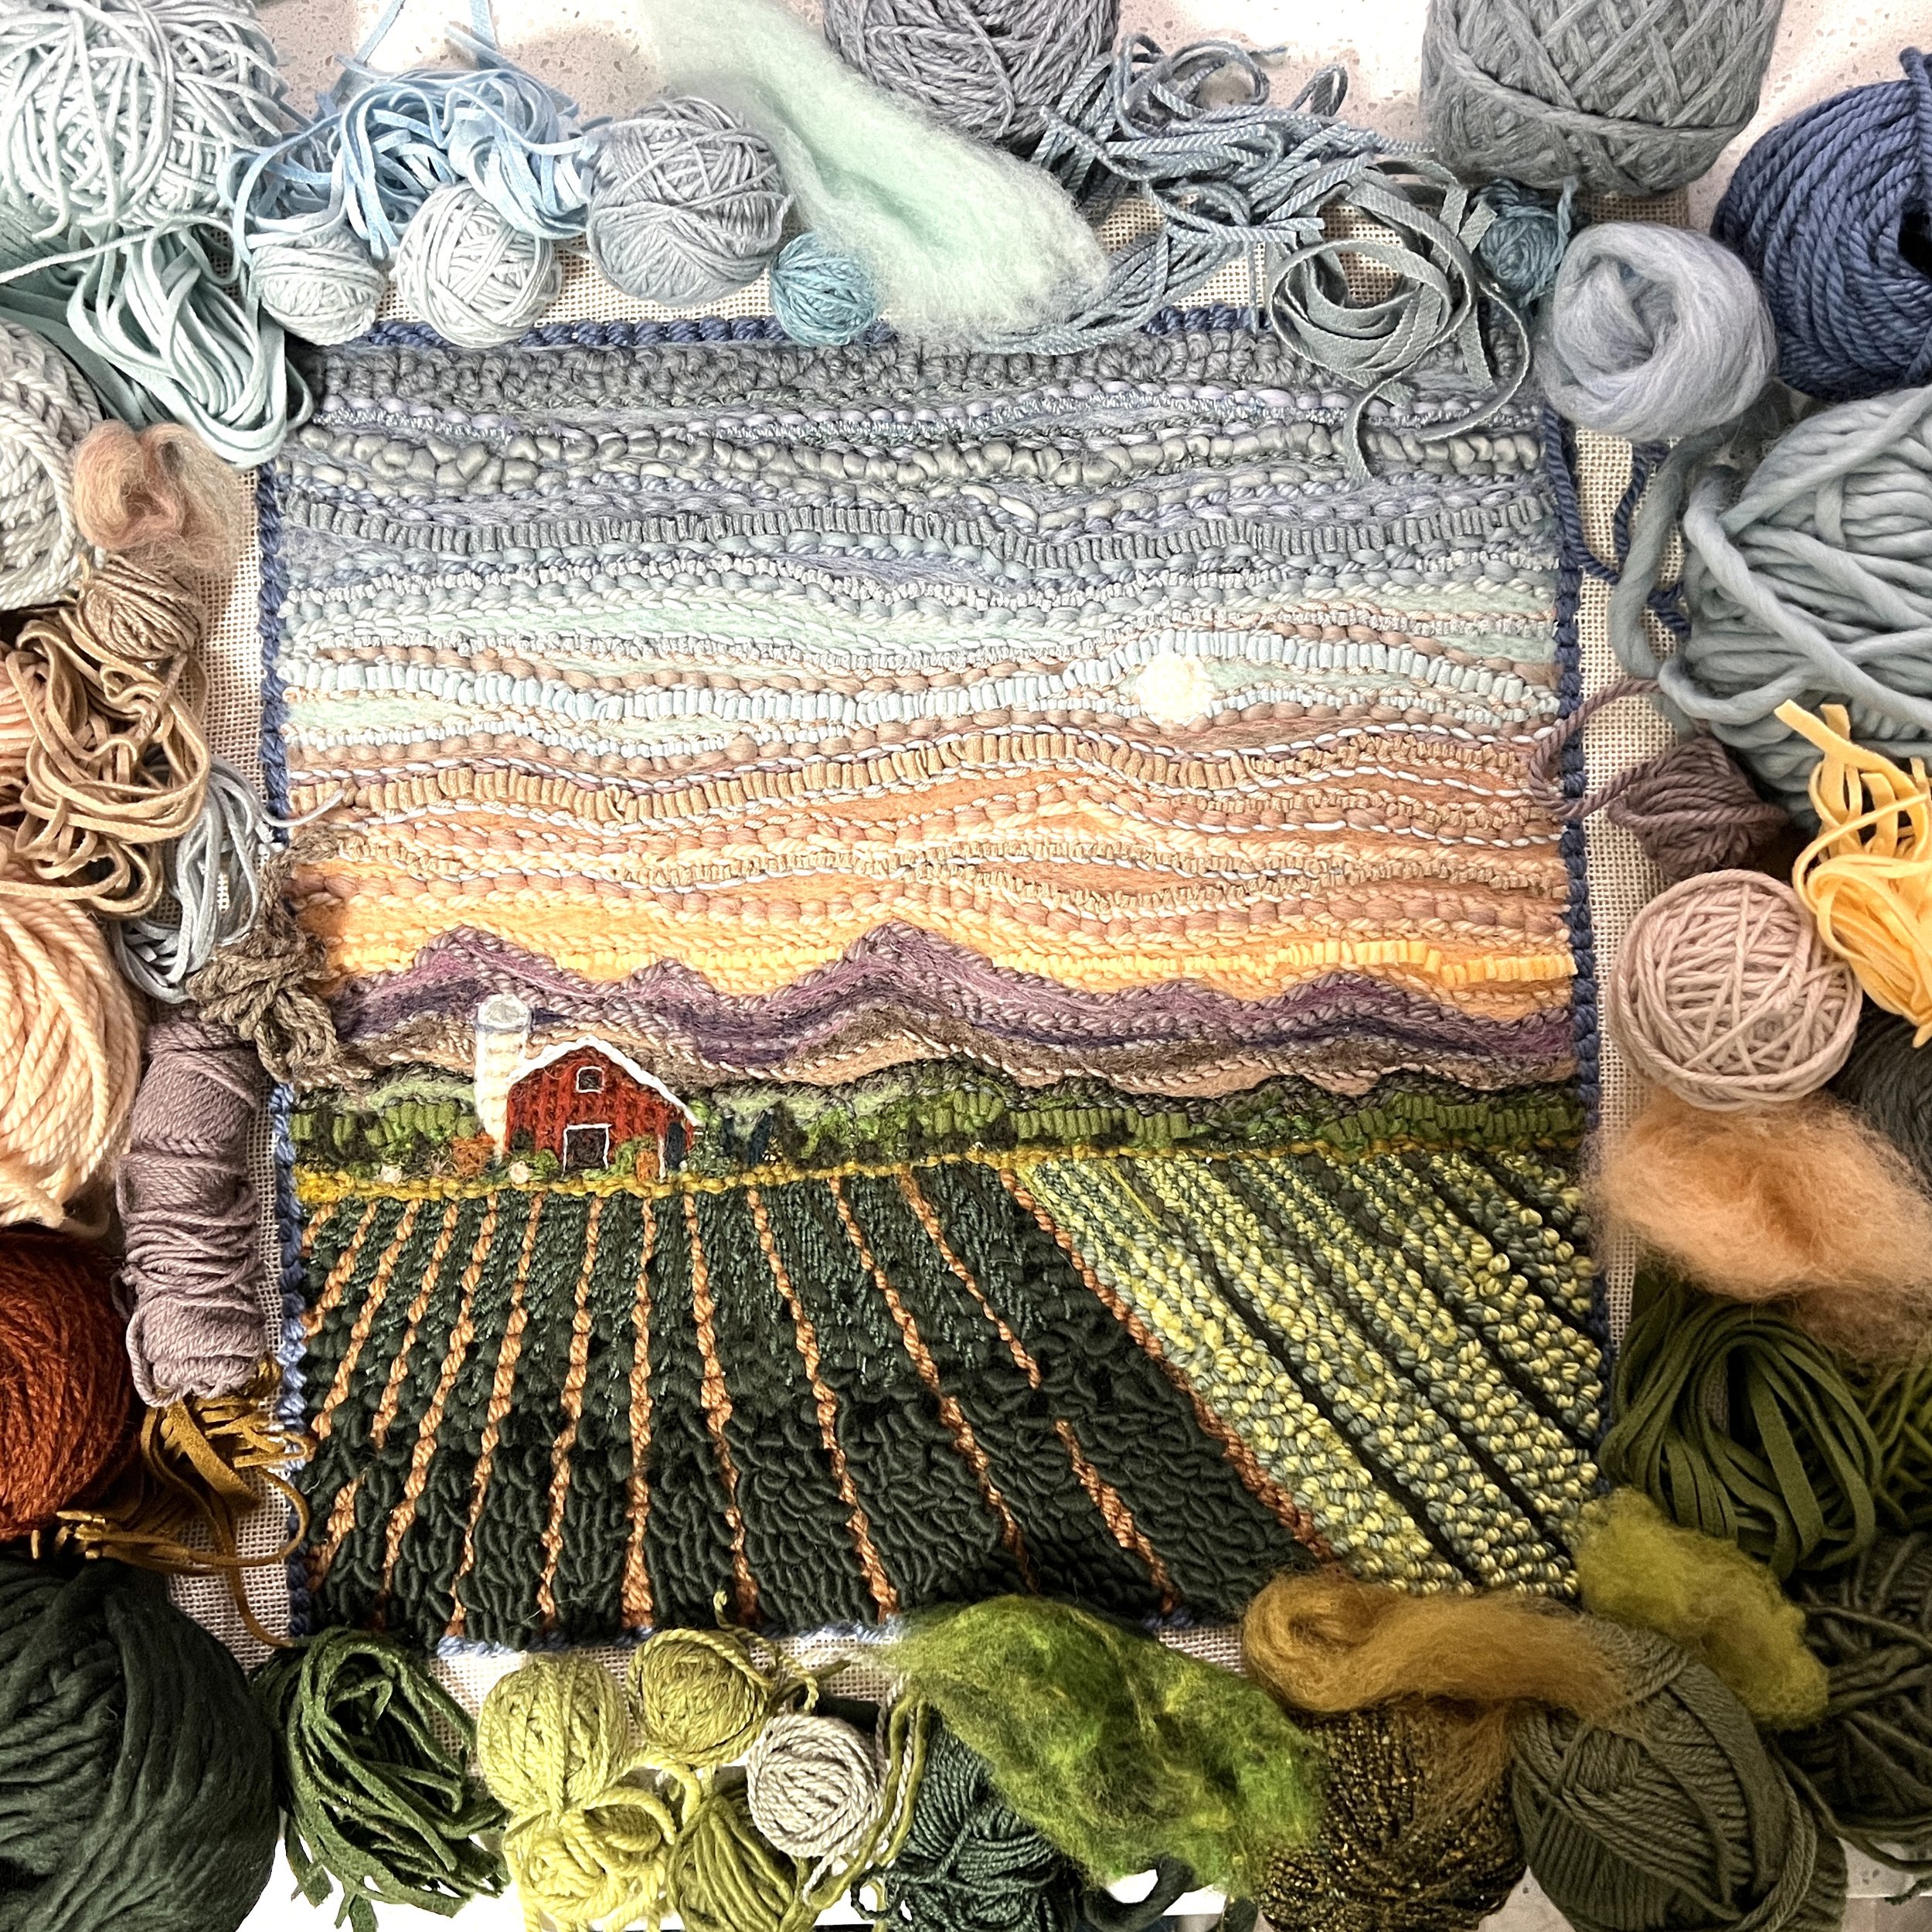
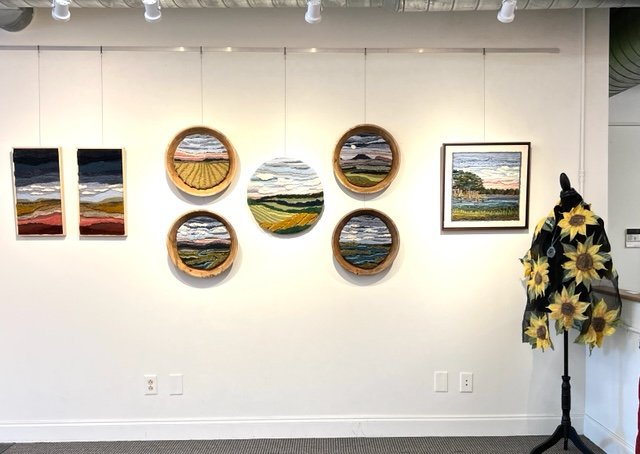
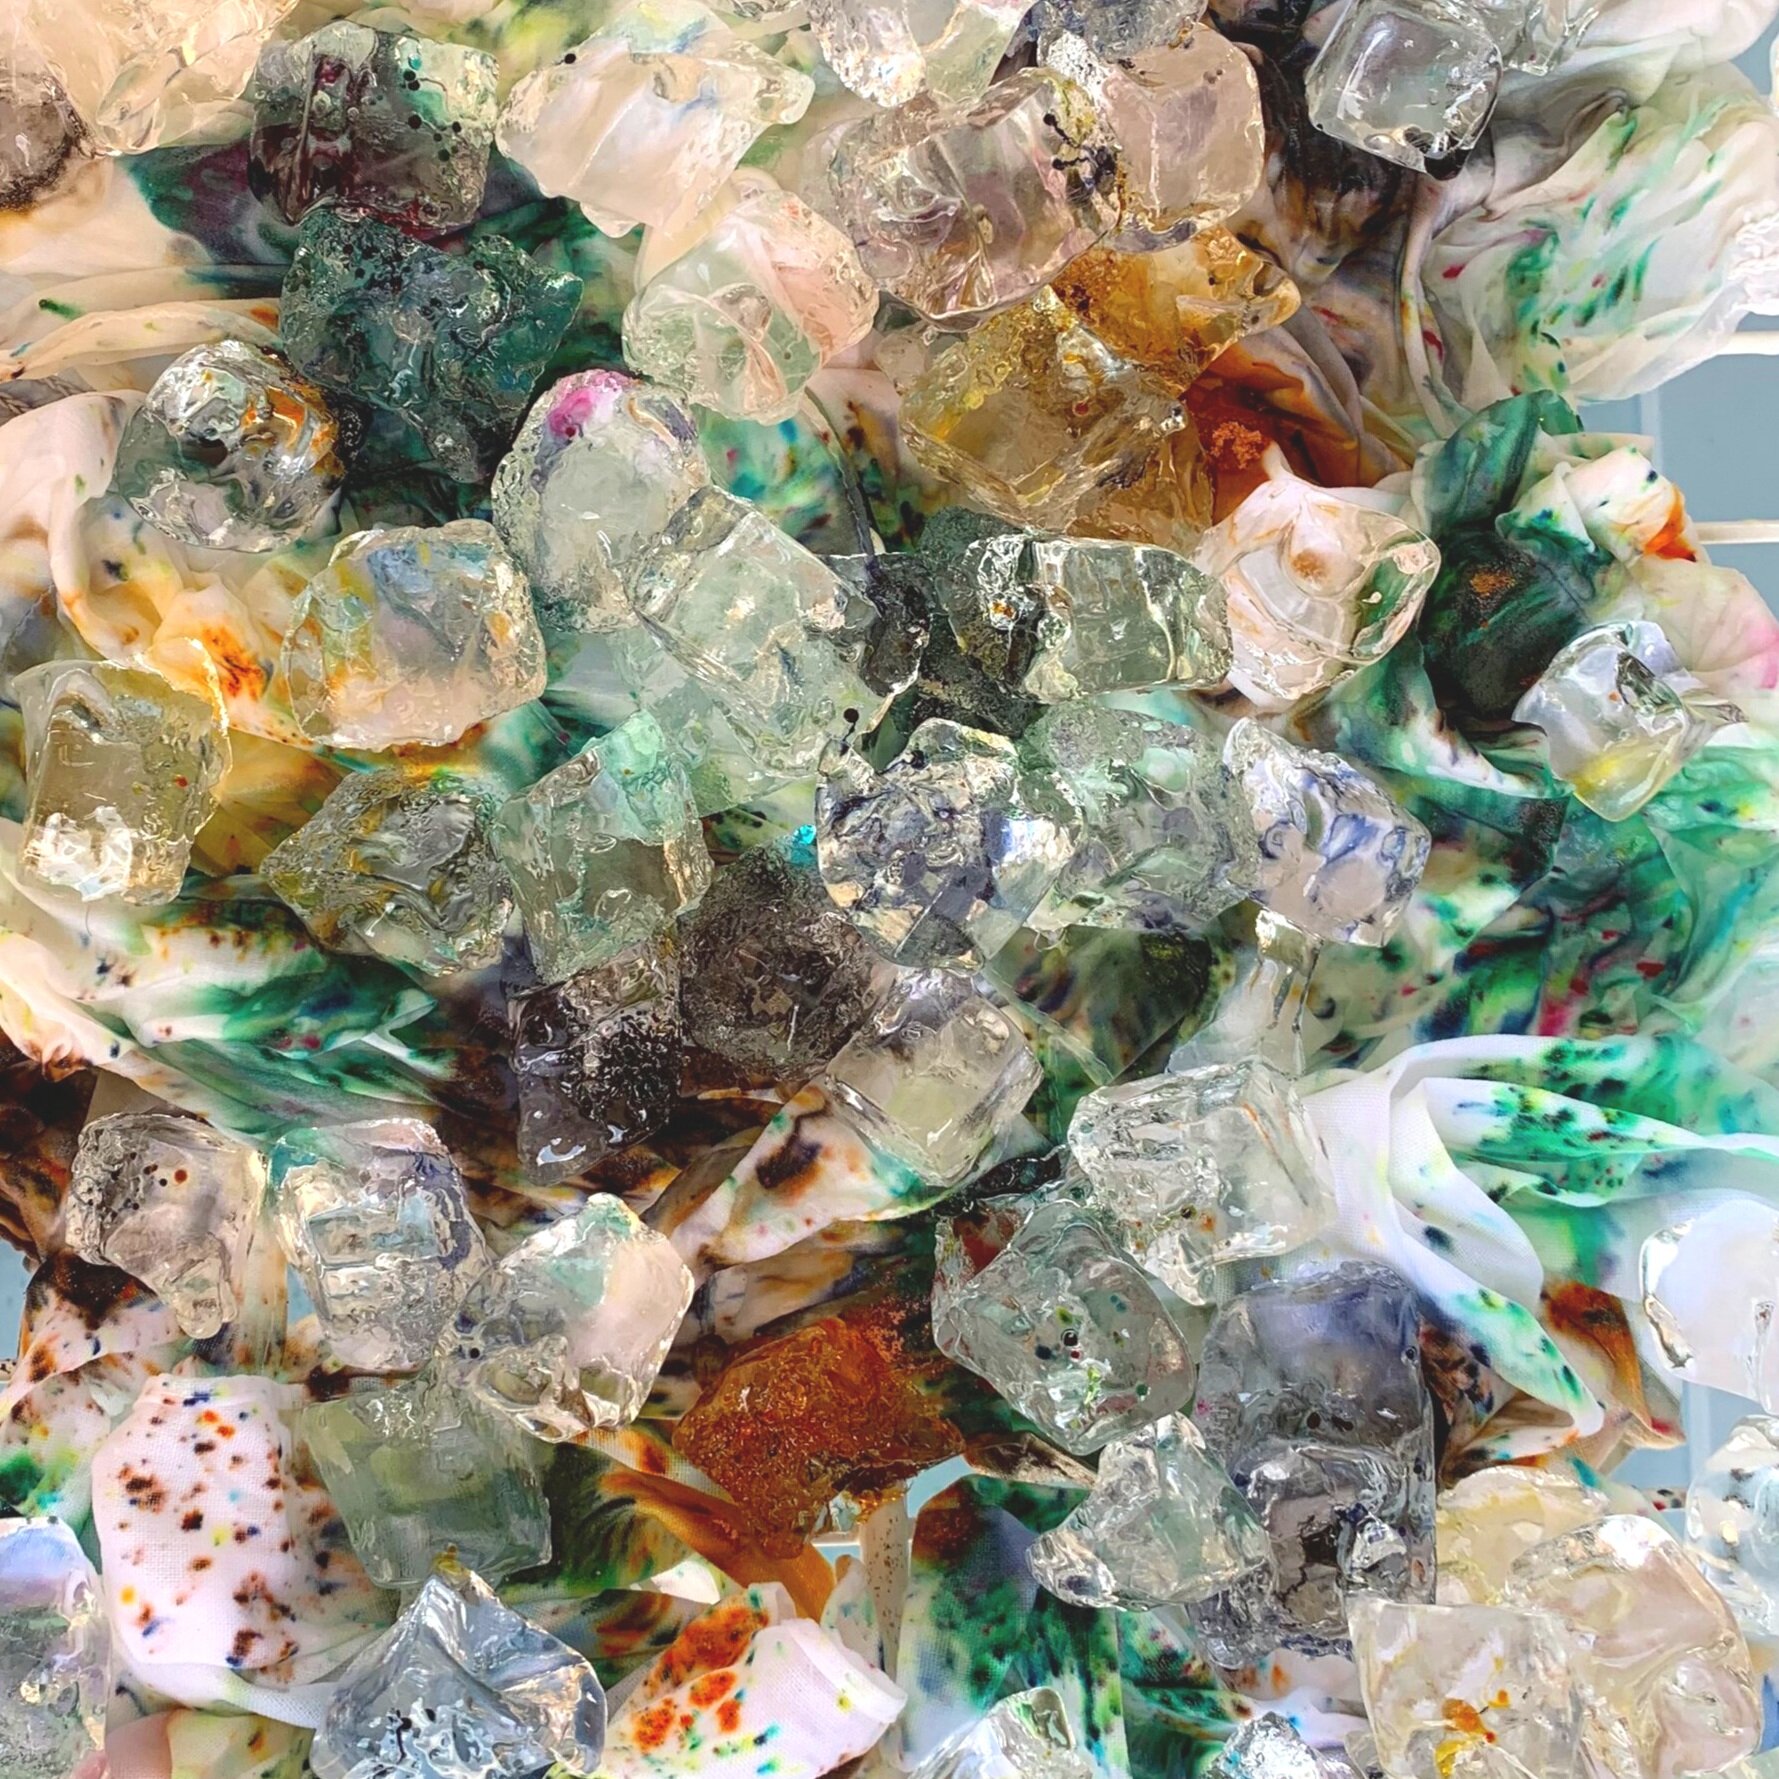
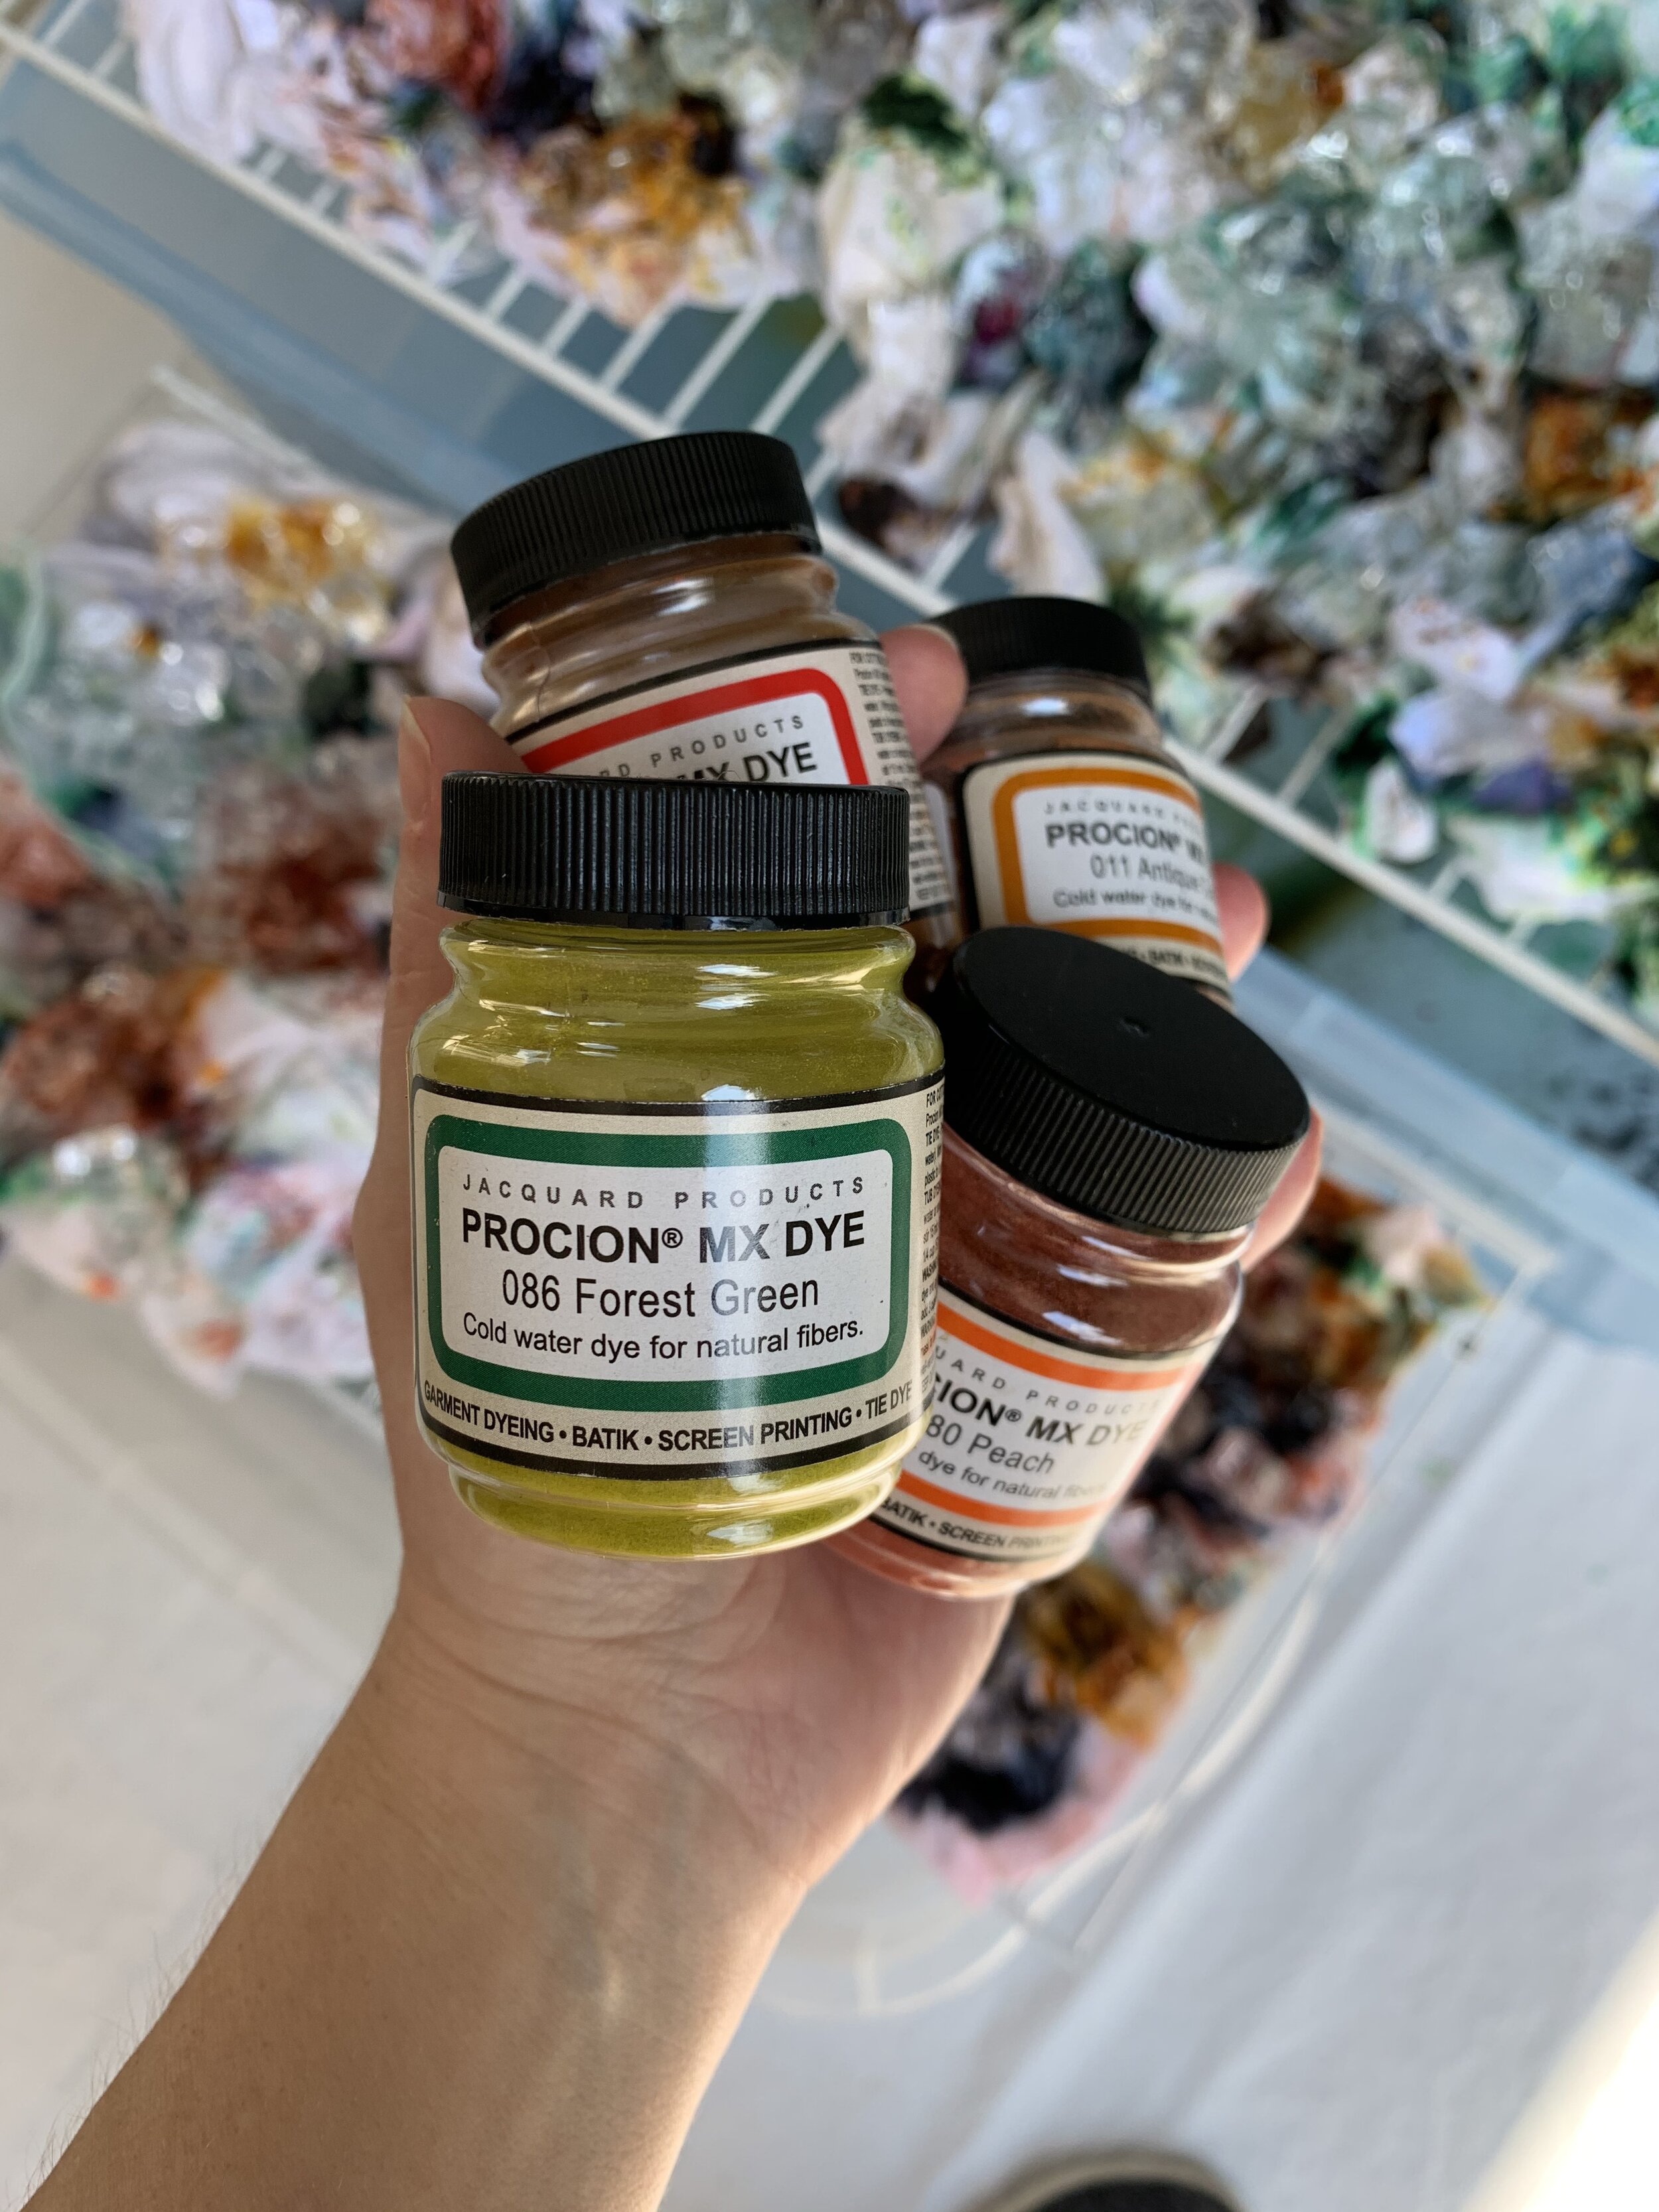
This year my piece was a 20x20 mixed media fiber art landscape featuring a farm at dusk and I used needle felted wool roving, punch needled yarn, and rug hooked fabric strips. A piece this size normally takes 3-4 days, but I was able to get it done on time (though it was an extremely full day and yes, my wrists still hurt)!

Hope you enjoy the process video from my 2022 piece, and if you missed my post from 2020, here’s a look back at a past submission to the competition: http://www.sarahmandell.com/blog/flat-out-under-pressure-competition

Wonders of Wool Exhibition

I’m thrilled to team up with fellow fiber artist Cecilia Ho for a joint exhibition at the Metropolitan Arts Council gallery now through February 18th. Cecilia and I are both self-taught and although we work in the same medium and have a few techniques in common, our work is very different. I love how the exact same materials can yield totally different results!

The opening reception is Friday January 21st from 6:30-9 at the gallery (16 Augusta Street, Greenville, SC). All are welcome! There will be food, wine and other refreshments, and Cecilia and I would love to meet you and share our work with you.

About the show:

Wool is all around us. It’s in our closets, our blankets, our shoe insoles, and even the insulation in our homes. This incredible natural material has been used for centuries for a wide range of practical solutions, but in this joint exhibition Cecilia Ho and Sarah Mandell explore the material purely for its beauty. With 25 years of combined fiber art experience, Ho and Mandell use needle felting, wet felting, nuno felting with silk fabric, rug hooking and punch needle techniques to create 2D and 3D work inspired by all aspects of nature.

Enjoy this sneak peek virtual tour of the gallery!

For more information about the gallery, or to purchase work, please contact Metropolitan Arts Council: https://www.greenvillearts.com/

Dapper Den Collection

Here we go - the first series of needle felted portraits of 2021! I don’t make these very often but when I do I sure enjoy giving these creatures personalities (and some fantastic accessories too). The new limited-edition collection features nothing but bears, and they’re now available on the website. Hope you enjoy the collection!

I’ve been wanting to focus on bears for awhile, but this kind of series takes way more time than you might guess, and between the holiday rush and moving, there was no room for a passion project in the last few hectic months. Thankfully I’m coming up for air now and back to having creative time in the studio.

OnceAgainSam2786-2.jpg

Fortunately I had a nice stash of accessories already built up from last year, so I rummaged through my tiny doll glasses, handmade pipes, and faux foliage, and came up with some fun backstories for these bears. Check out the promo video!

OnceAgainSam2791-2.jpg

Introducing the all new "Dapper Den" collection featuring 10 handmade needle felted bear portraits. These are sculpted with dyed wool fiber and are one-of-a-...


Ice Dying: The Art of Trial & Error

One of my recent passion projects has been to master ice dying. I love that unpredictable water color / ink running look on textiles, and I had dreams of incorporating something like that into my background fabric for future fiber art projects. Plus, I wanted some cool new colorful clothes for summer!

IMG_6555.jpg

With my schedule wide open due to COVID-19 cancellations, I read up on ice dying, collected materials, and gave it a go. My fist batch was a huge disappointment, but I learned a few things and kept at it. Here’s my DIY tutorial on ice dying (including all of my lessons learned along the way). This is such a fun summer project - use these hot days to your advantage!

IMG_7073.jpg

The beauty of ice dying is you have almost no control over the outcome. Sure, you can choose your colors and garments, you can sprinkle the dye or dump concentrated sections of dye, but other that that, the ice is going to decide your pattern. Try scrunching up your fabric, try laying it flat, try dying a second time overtop of your first round, if you’re not completely happy with the results. Just have fun!

Check out the 60 second process video at the end of this post so you can see the magic for your self.

IMG_6681.jpg

SUPPLY LIST

DYE: You’ll need a high quality powder dye. I tried a few dye products and had the best results with Jacquard Procion MX Fiber Reactive Cold Water Dye which can be purchased on Amazon or Dick Blick. There’s a huge range of colors, and the dye yields wonderfully vibrant colors on the fabric.

LESSON LEARNED: I know it’s tempting to use Rit dye. I know this because that’s what I did, and why my first three batches didn’t work out. Rit dye is easy to find, its inexpensive, they have enough colors to get you started, they even have an ice dying DIY article on their website, but I had zero success with it. Even after adding a Rit dye color fixer product, the color always appeared washed out.

SODA ASH: This can be purchased at fabric stores or online. You’ll mix water with the soda ash to make a soaking solution for your fabric before you dye it.

LESSON LEARNED: Be sure to soak at least 20 minutes.

MASK & GLOVES: we’re in a pandemic so you probably have these already! Wear both when mixing your soda ash, and when sprinkling the dye powder. Both products get airborne very easily and you do not want to be breathing that. Also wear the gloves when coming into contact with the soda ash soak even once the powder has dissolved (it’s caustic). I would recommend wearing the gloves when handling the wet dyed fabric as well so you don’t stain your hands.

SYNTHROPOL: This speciality laundry detergent is great for hand dyed fabrics. You can use it for a pre-wash if needed, and to wash out any excess dye at the end.

ICE: Depending on how many items you’re dying at once, you’ll need at least a 10 pound bag of ice.

LESSON LEARNED: Just go ahead and buy the $2.79 pound bag of ice from the store. The ice maker in your fridge probably can’t keep up with this project.

DYE AREA THAT DRAINS: Use a tub or tray (that’s deep enough to catch an inch or two of water) with a rack overtop. I used large storage bins and some wire shelving that I already had on hand from a closet up-fit. You could also use a a cookie cooling rack, a window screen, a dish drain…get creative and don’t feel like you have to spend a lot here!

FABRIC: I found white or light colored clothing at Goodwill that had a high cotton content. I also purchased some blank white items from the craft store (bandanas, t-shirts, zipper pouches, etc.)

10 Step DIY:

  1. Pre-wash the fabric with Synthropol and allow to dry.

  2. Mix soda ash and water, and soak fabric for at least 20 minutes.

  3. Wring excess soda ash water, and place fabric on your racks.

  4. Place generous amounts of ice over clothing.

  5. Sprinkle powder dye over ice. If you want intense color sections, use more dye in one area. If you want a light wash, sprinkle dye lightly over ice.

  6. Allow ice to melt.

  7. Once ice is melted, squeeze fabric to remove excess dye.

  8. Rinse fabric under cold tap water to remove excess dye.

  9. Wash with Synthropol and allow to dry.

  10. Iron if needed.


Introducing Wool Color Studies

Back in October, I took a week-long rug hooking course at the John C. Campbell Folk School in Brasstown, NC. I had big plans for this new skill, plans that involved combining other materials and techniques, specifically needle felting. I’ve been needle felting for over 10 years now, and have fallen in love with the texture of wool, so the thought of achieving a whole new level of texture through rug hooking was extremely tempting. During my week at the Folk School, I tried out some preliminary pieces where I hooked wool fabric strips using traditional rug hooking techniques, but I intentionally left gaps and came back to fill those in with needle felted roving. I really loved the combo – it was everything I hoped it would be!

OnceAgainSam0050.jpg

Fast forward to late January. Where did the last 3+ months go? Oh yeah, the holidays! The Folk School feels like ages ago, but I haven’t forgotten my original mission, despite the craziness of the 4th quarter. After returning home from Brasstown in October, I used the remaining funds from my Metropolitan Arts Council grant to purchase the basic supplies needed for rug hooking – a frame, 2 hooks, foundation cloth, curved scissors, etc. This stash of new supplies and tools has been sitting in my studio, waiting for me to return to a normal schedule. Now that the holidays are behind me, and I’m back from my big wholesale tradeshow (Atlanta Gift Show), it’s finally time to dive into this new crafting realm.

OnceAgainSam0054.jpg

I started out small – nothing larger than 8” or so. Practicing on a reasonable scale is purely for my own sanity. If a piece isn’t working, it doesn’t feel like a huge let down when it’s smaller. Plus, I wanted to try out a bunch of different ideas so that’s a lot more manageable when I can finish a piece in a few hours rather than investing in something for a few weeks only to discover I don’t like how it turned out. I’m a beginner in this new medium, and I want to set myself up for success and allow for exploration.

OnceAgainSam0020.jpg

I’m excited to share this new series of mixed media color studies. This first collection is inspired by the colors of gemstones like yellow topaz, aquamarine, kyanite, obsidian, and rose quartz. Each hoop art piece is really about exploring texture and features an overall monochromatic color palette. Each piece has a dyed wool backdrop that sets the tone for the color palette, but also acts as a fantastic foundation cloth. I wasn’t thrilled with the primitive linen look that’s traditionally used for rug hooking, so I tried out a few other options before discovering washed wool fabric. It’s way more expensive to work with, but I love love love how it looks!

OnceAgainSam0031.jpg

Each hoop art piece has rug hooked wool strips, needle felted roving, punch needled yarn (wool, acrylic, chenille, and others) and I also flipped the piece several times throughout so that I can showcase both the “right” and the “wrong” side of the loops. I think it’s so cool how the “wrong” side of the loop can look – it’s so much tighter and shorter, but then the “right” side is so plush and has incredible density. To me, there’s no right or wrong side – it’s all about which texture you’re going for. As for me, I want ALL of the different textures represented!

OnceAgainSam0069.jpg

All wool color studies are available on my website under Fiber Art / Textile Art and I’m also offering a custom option – choose your size and color palette and I’ll make it just for you!

OnceAgainSam0070.jpg
OnceAgainSam9990.jpg