Etsy Manufacturing

I’m an American maker, a creative entrepreneur, and as of a few months ago, an Etsy Manufacturer. I’m thrilled to be a part of this marketplace for many reasons. First and foremost, I want to be involved in the vibrant maker community on a local, national, and international level, and Etsy connects us like no other. I’ve been offering laser cutting services for years now, so this new extension of Etsy is a wonderful (and much needed) way to simplify the process of matching up those who need help with those who are able to offer it.

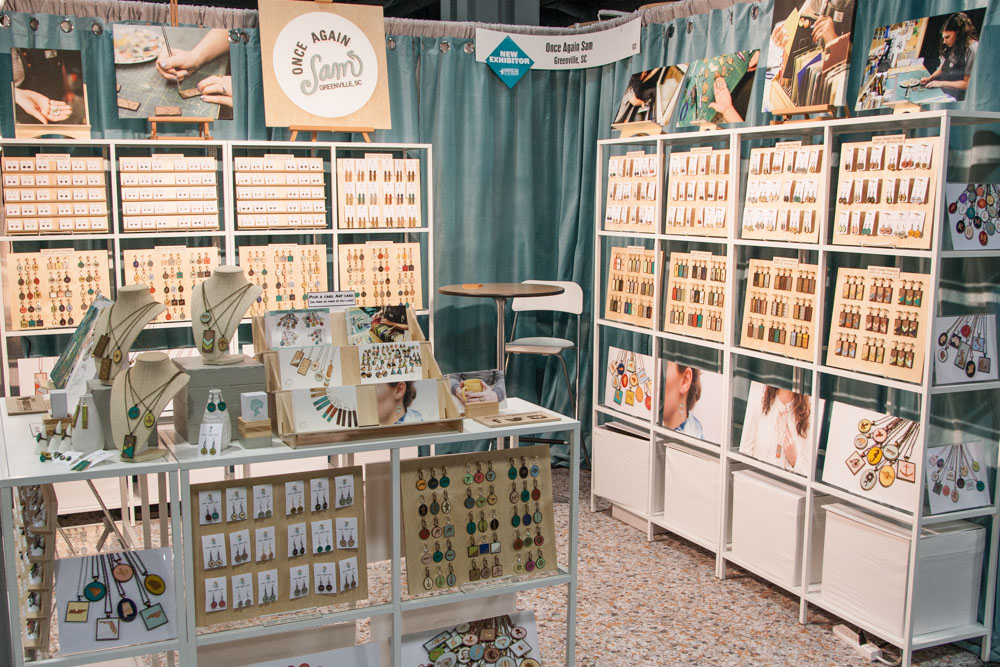
I have invested in equipment for my own business Once Again Sam, and I have skills that are beneficial to others, so Etsy Manufacturing is the perfect fit. Over the years, various businesses have found me and hired out prototypes, production of parts and pieces for their own designs, and in some cases, I have made their entire product from start to finish based on their sketches. There are many many ways these partnerships work, and I think the hardest part of the whole process is finding each other to begin with. Not anymore!

Manufacturing can sometimes be a dirty word in the world of handmade. Negative images come to mind, (shady business practices, unhealthy work conditions in factories, the death of old fashioned craftsmanship, etc.), but it doesn’t have to be that way. There are responsible ways to grow your business by increasing production, or developing your inventions, or even just expanding your product offerings, and Etsy Manufacturing is a fantastic new resource. You can search for assistance by location or by the type of production needed. Some of these Etsy Manufacturers are also Etsy sellers, just like me, and some are small businesses that have been in the manufacturing business for decades. Whatever it is you need, I’m certain you can find someone on Etsy Manufacturing who can make it for you.

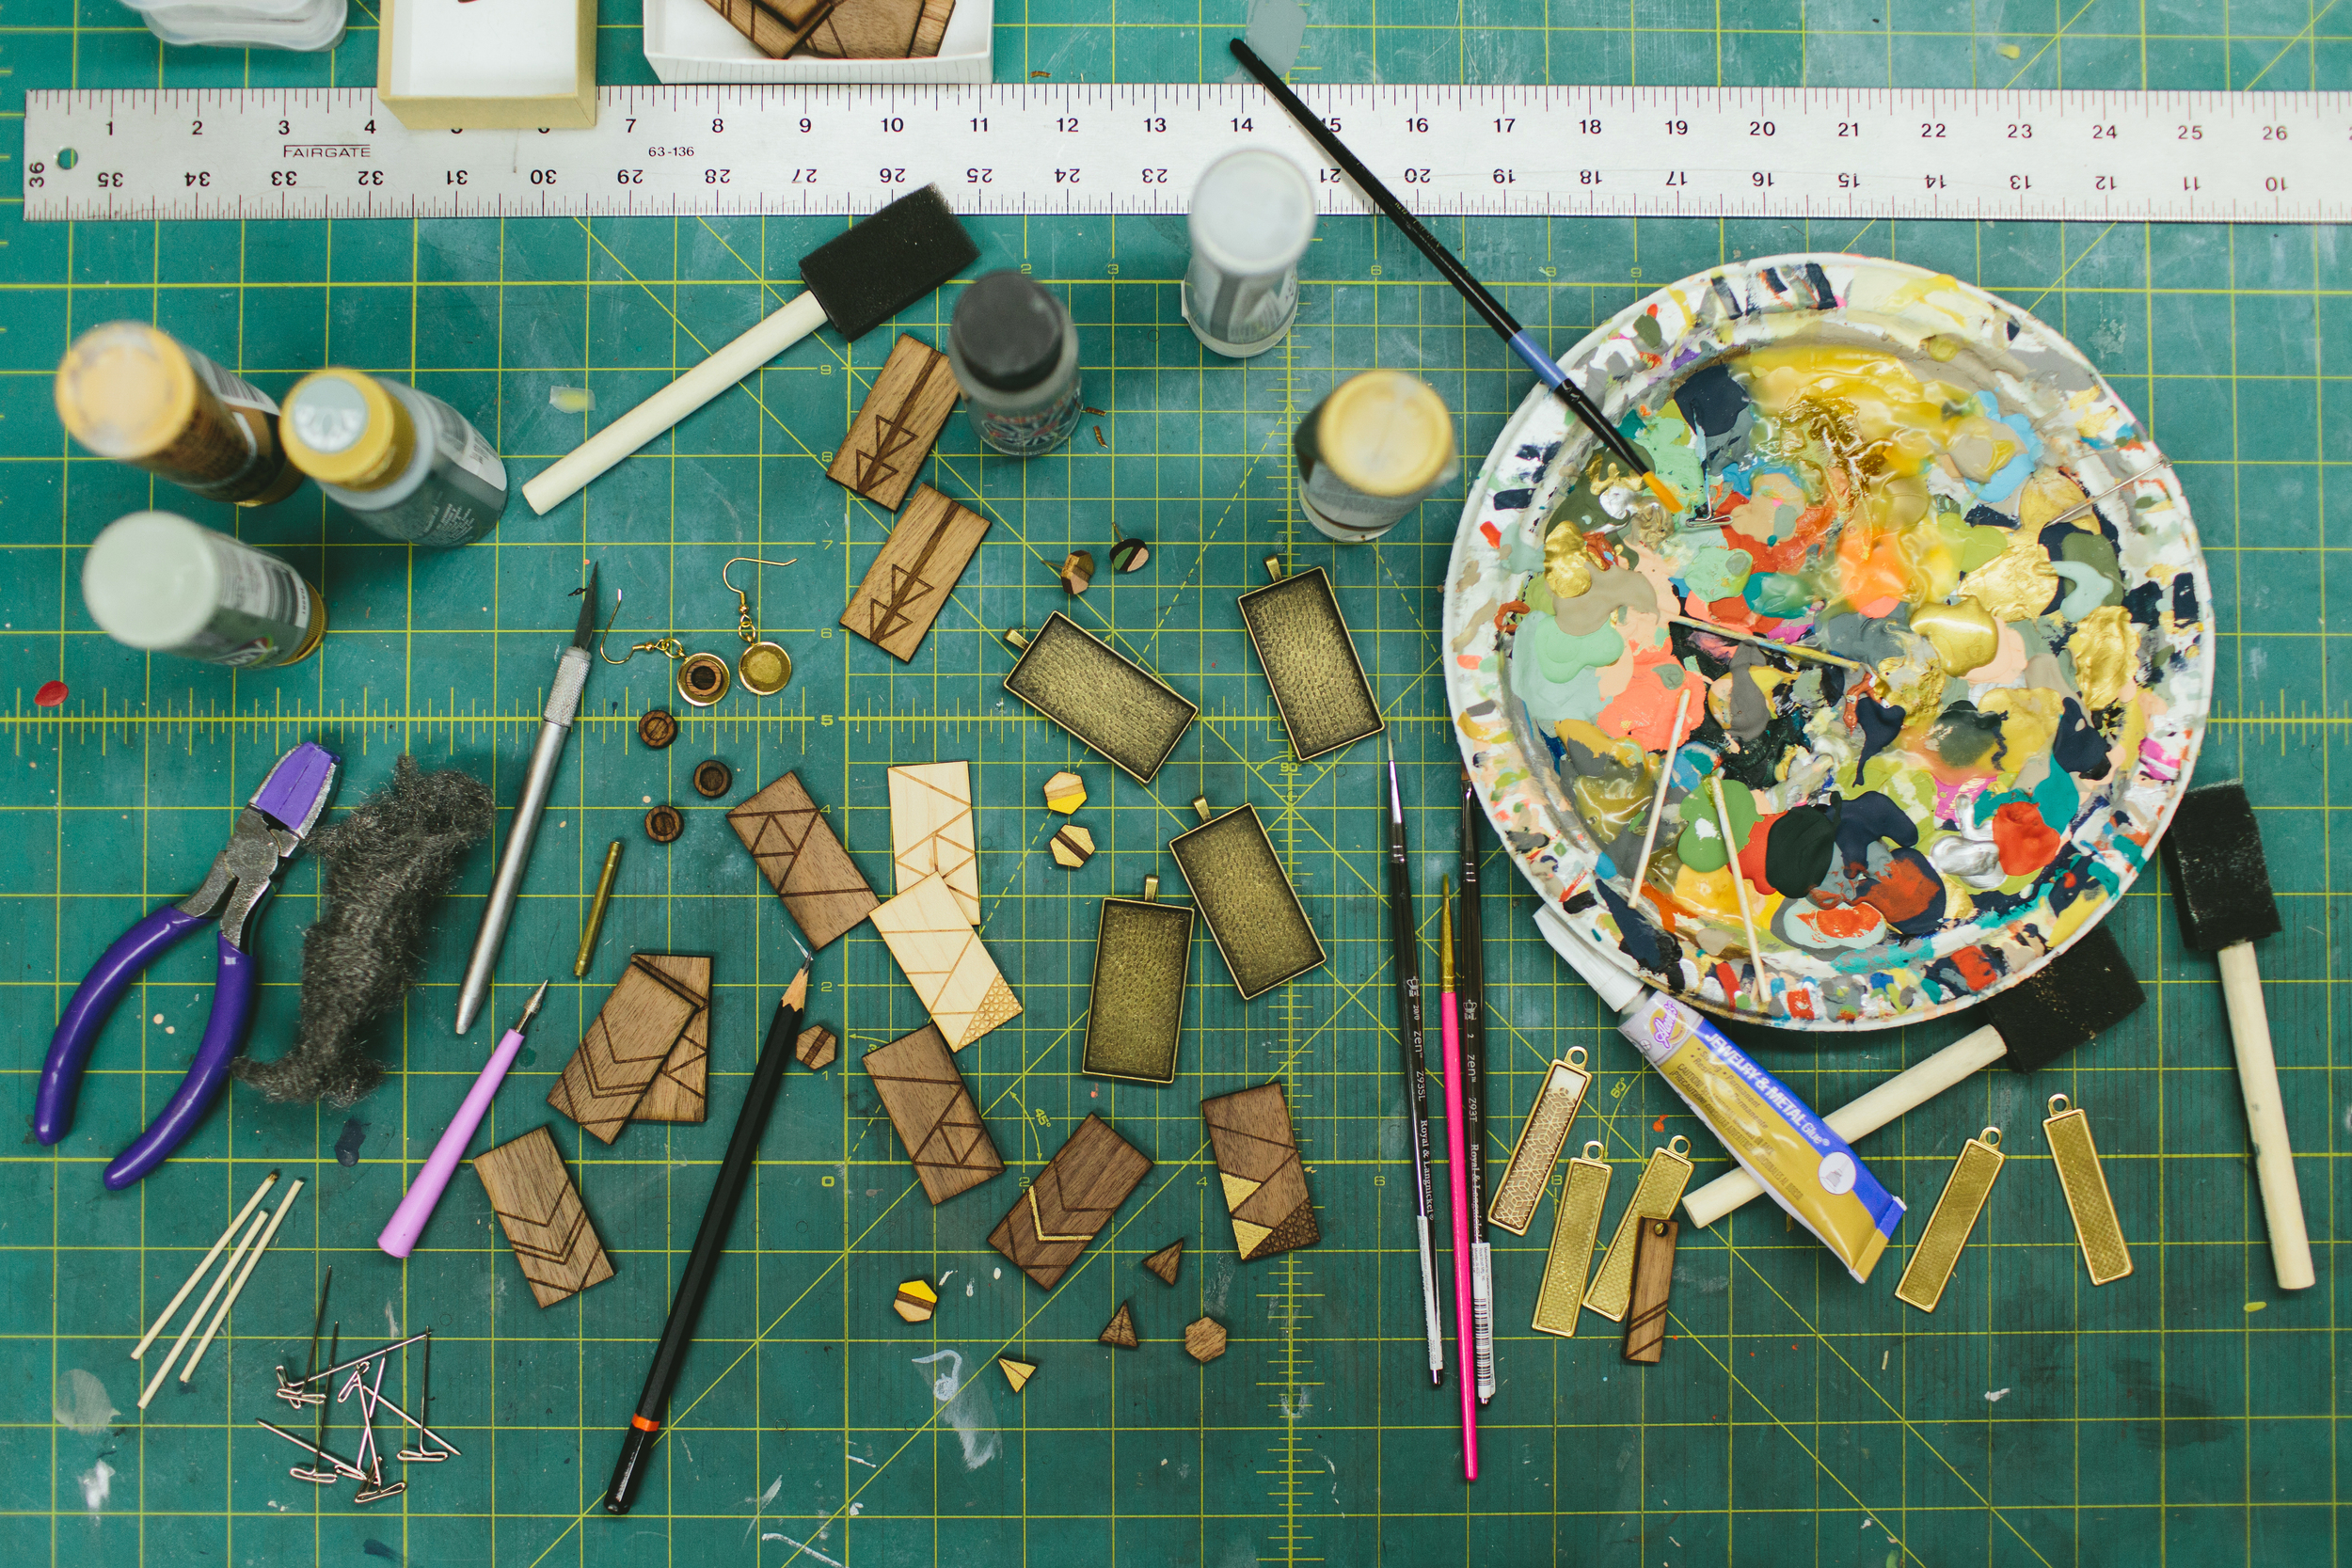
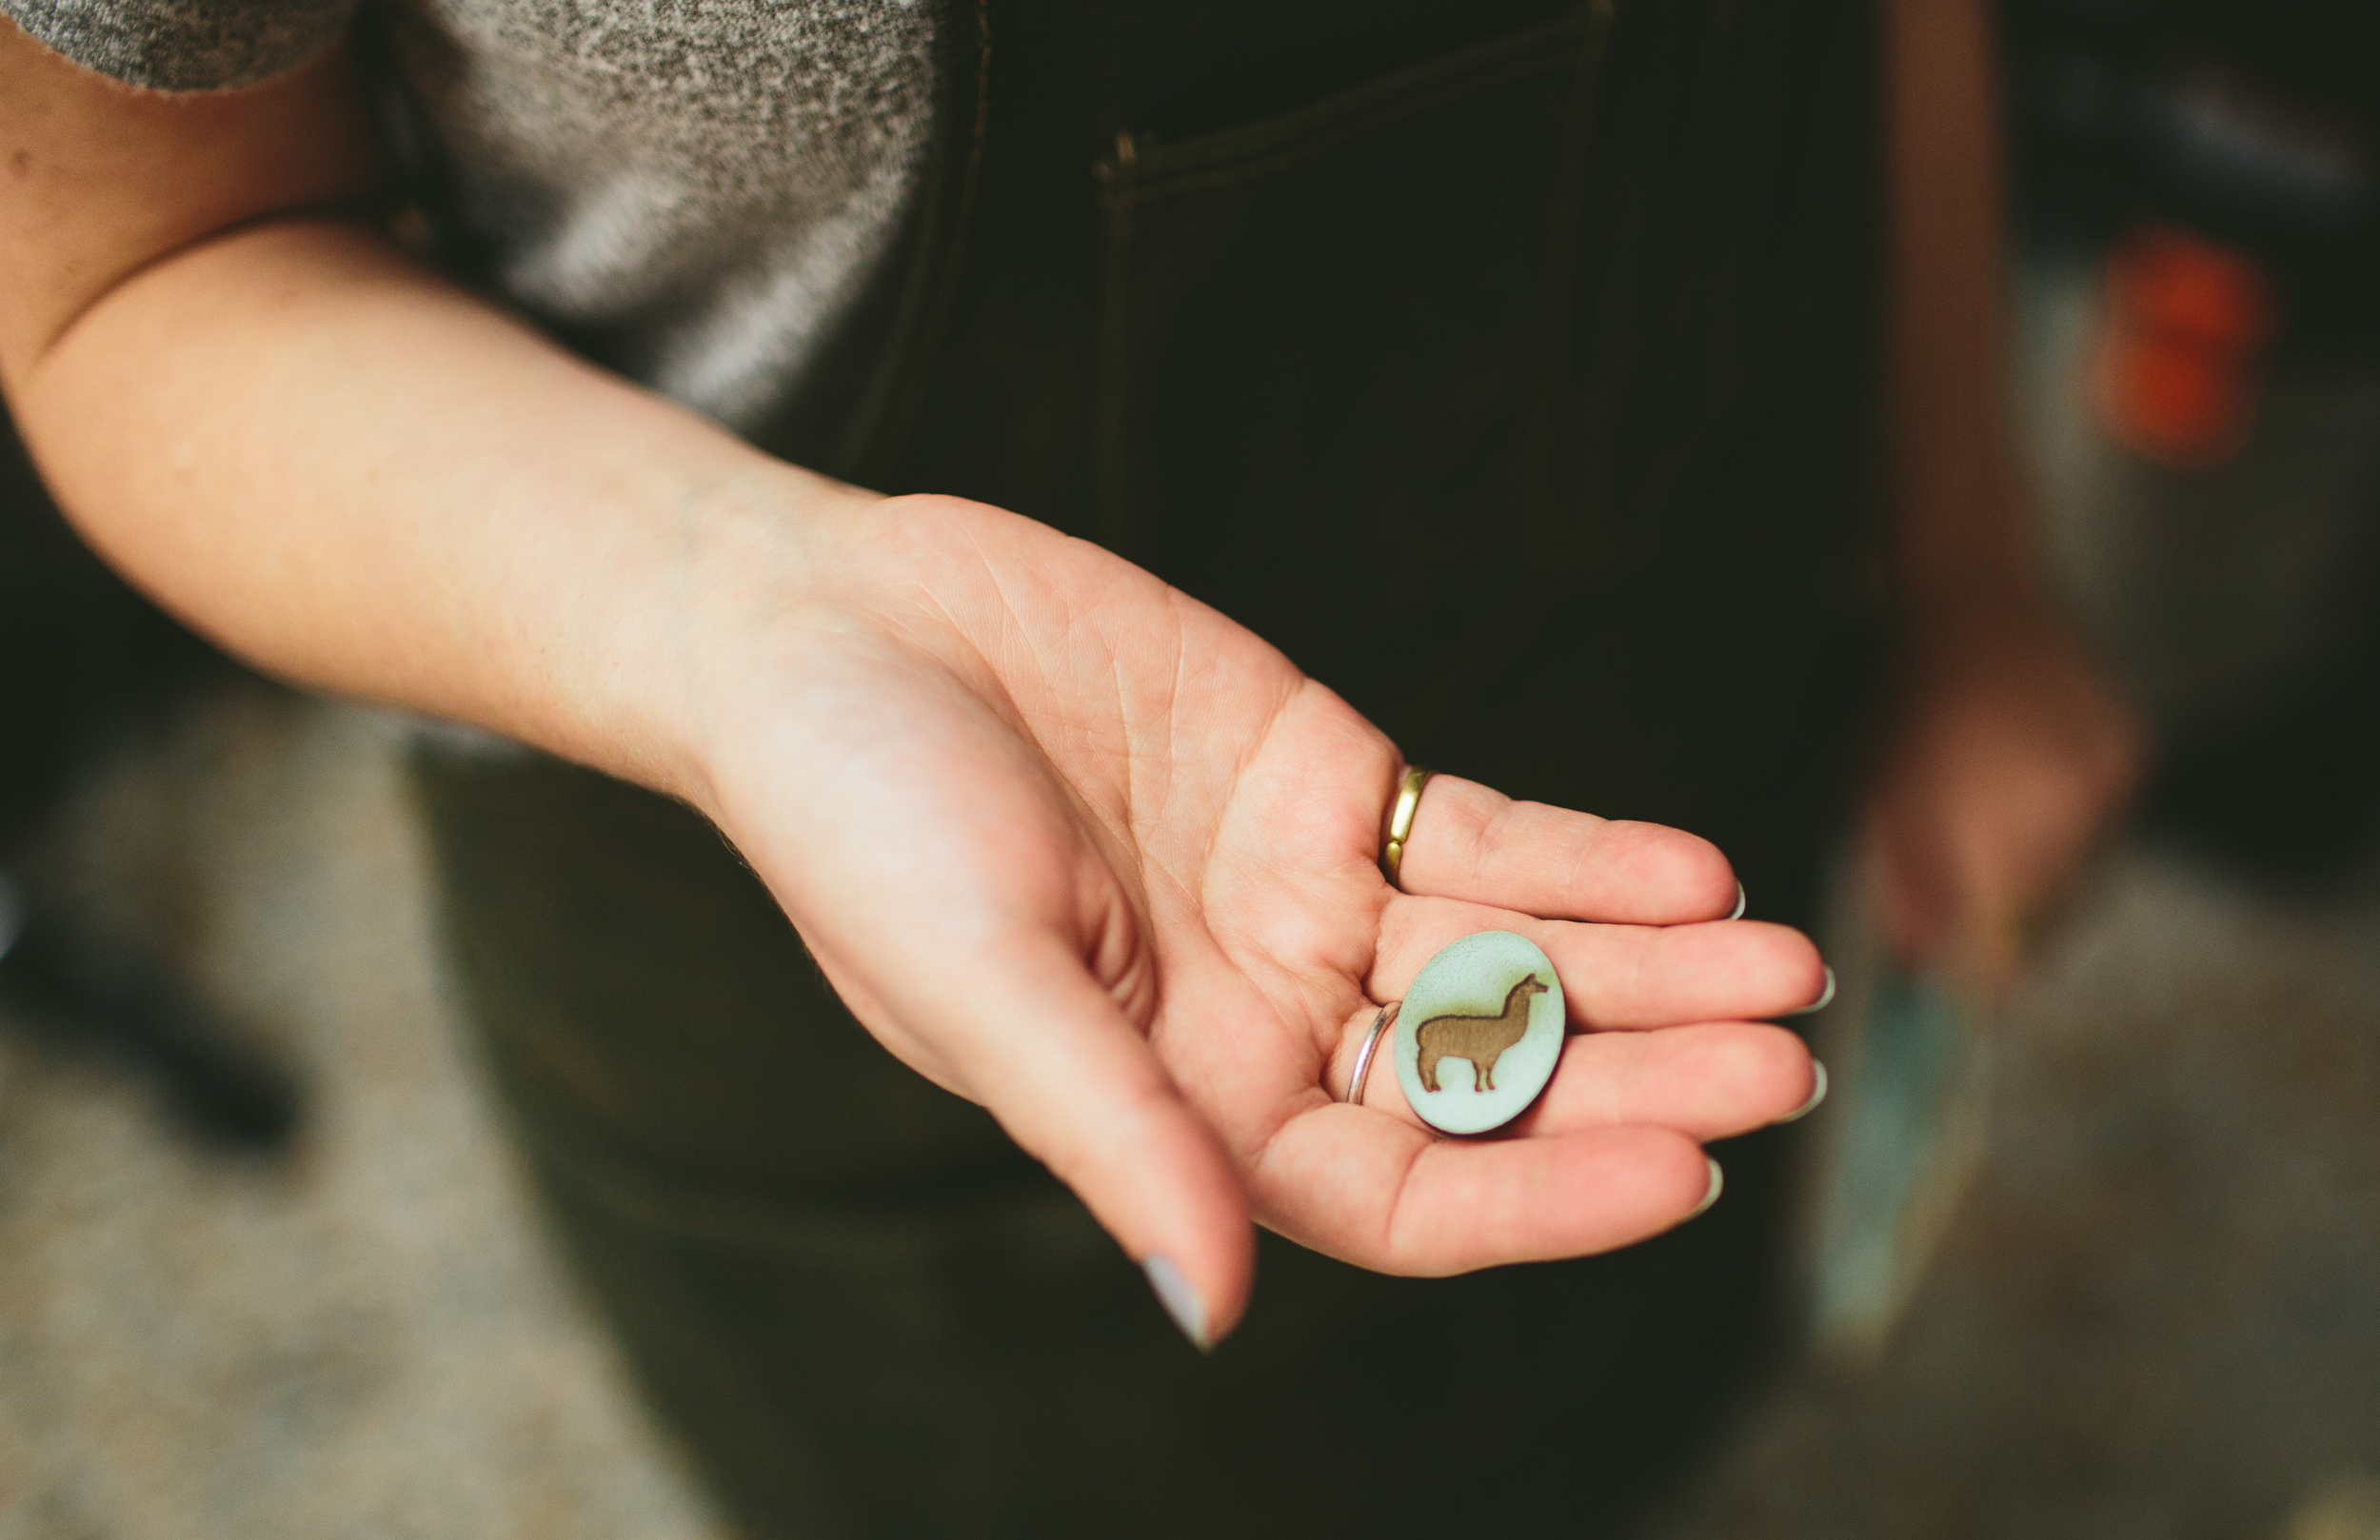
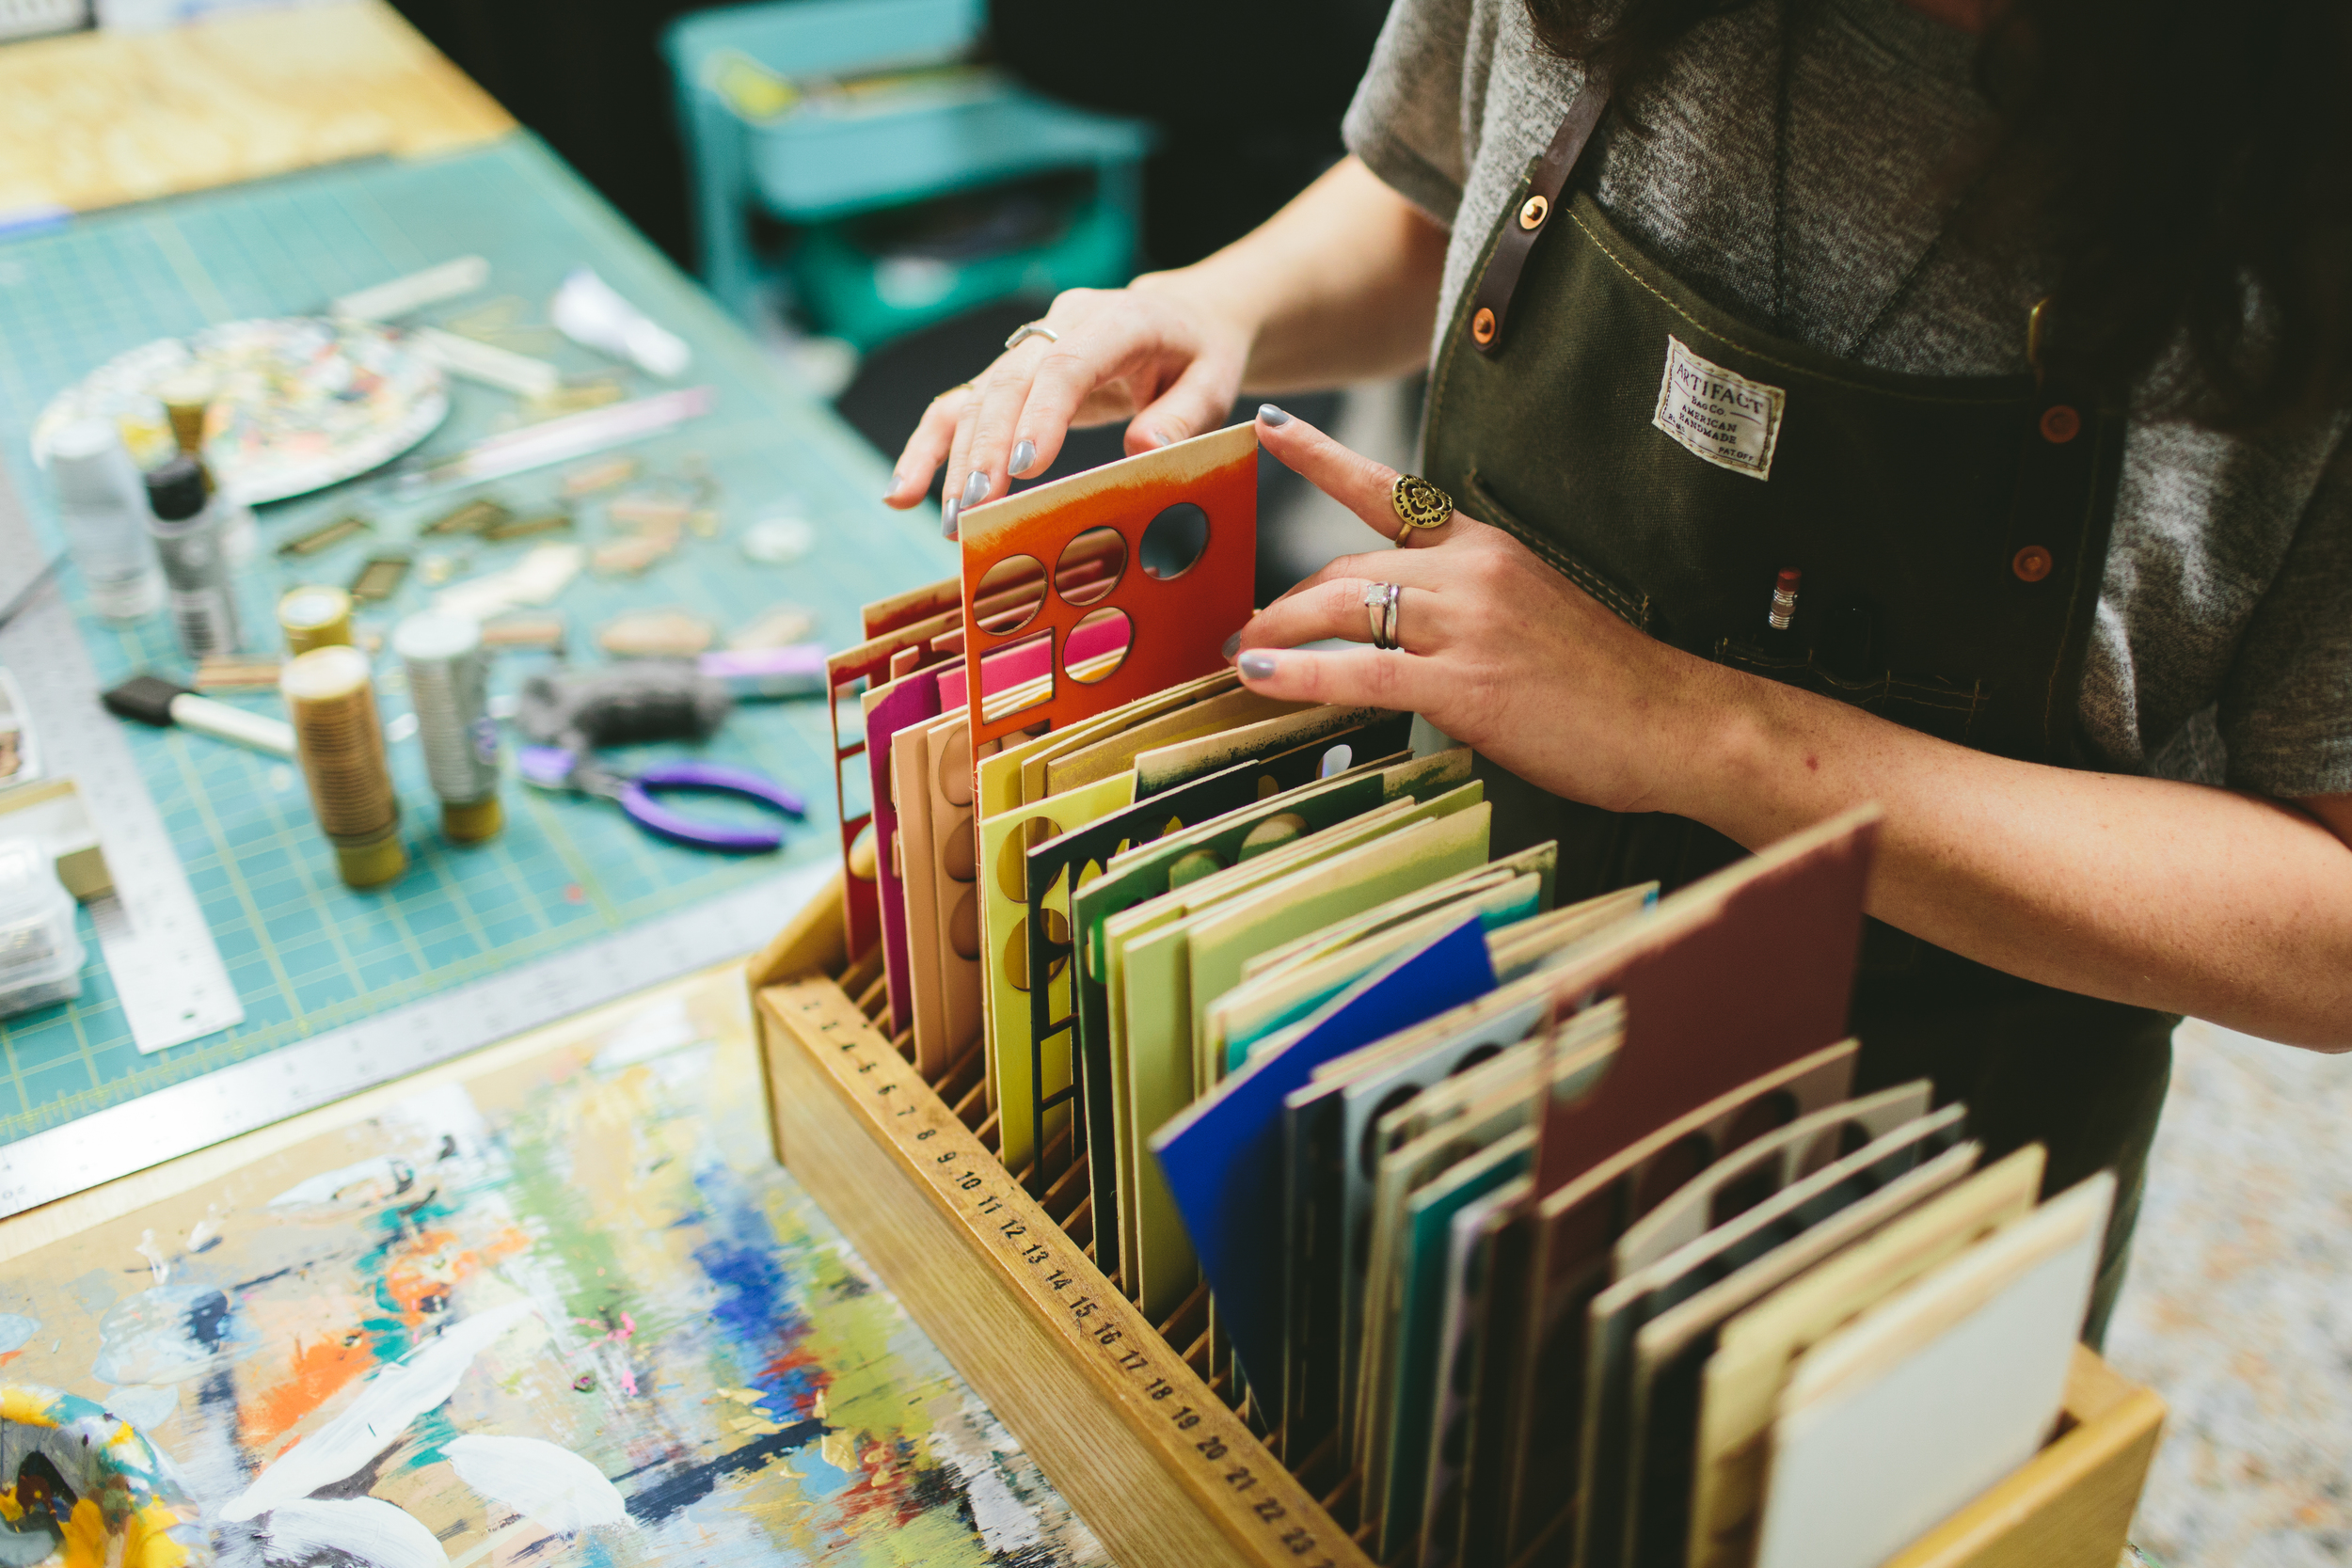
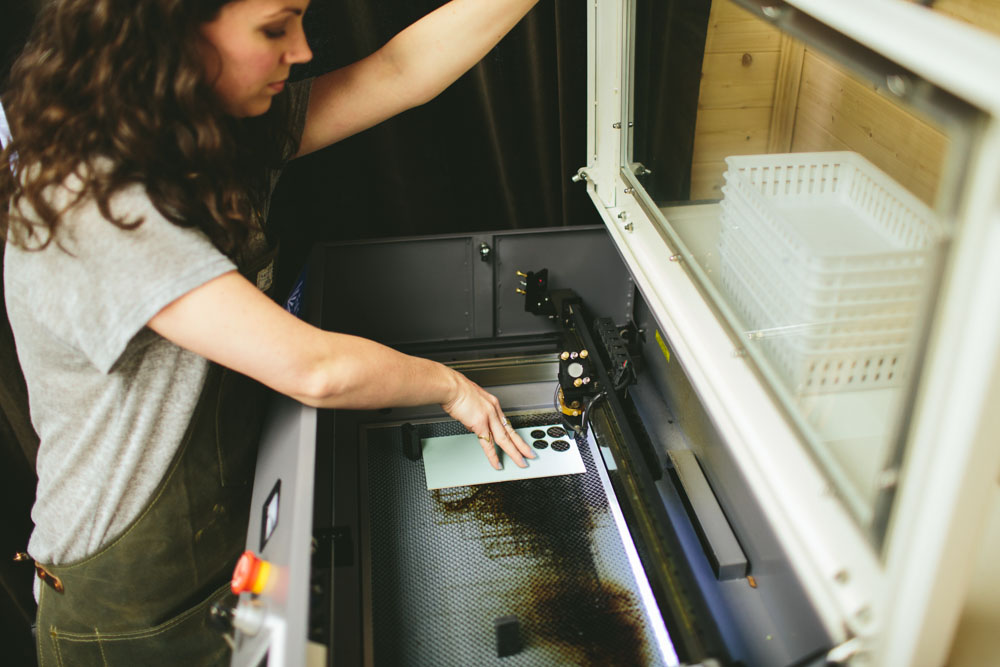
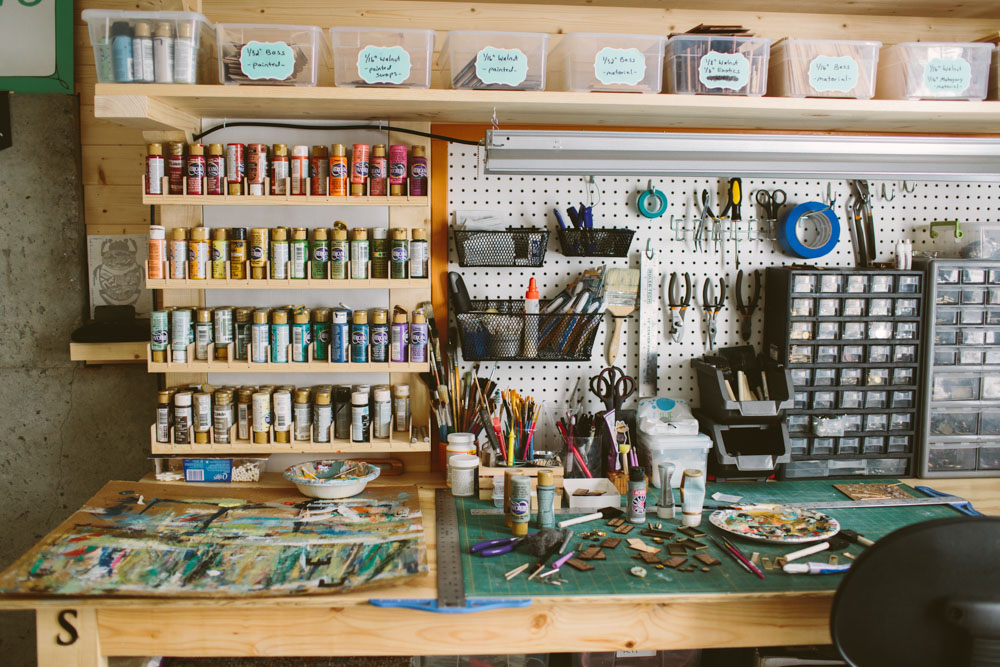
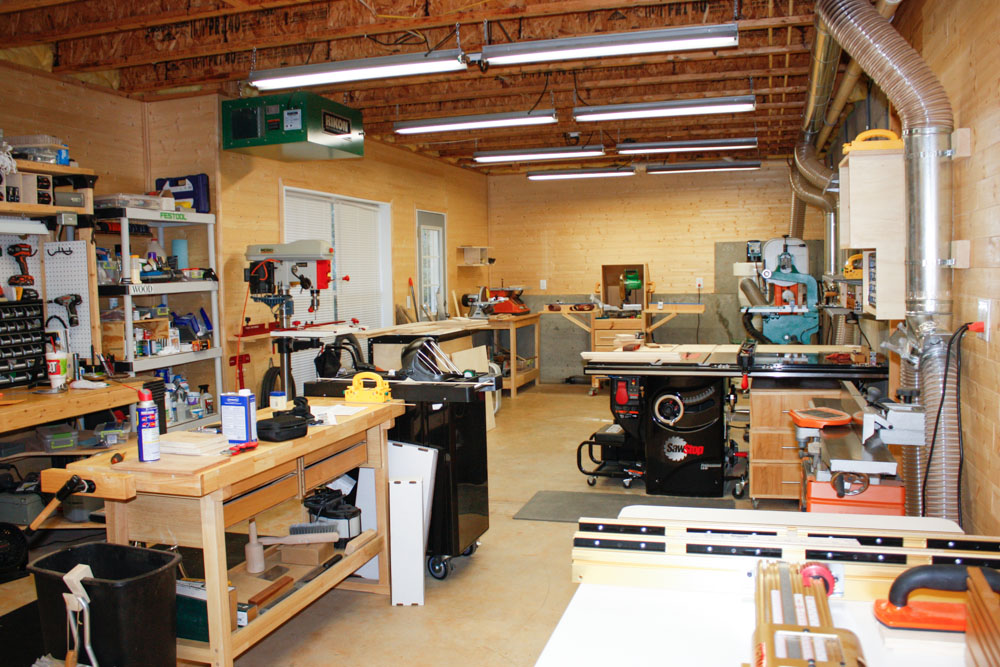
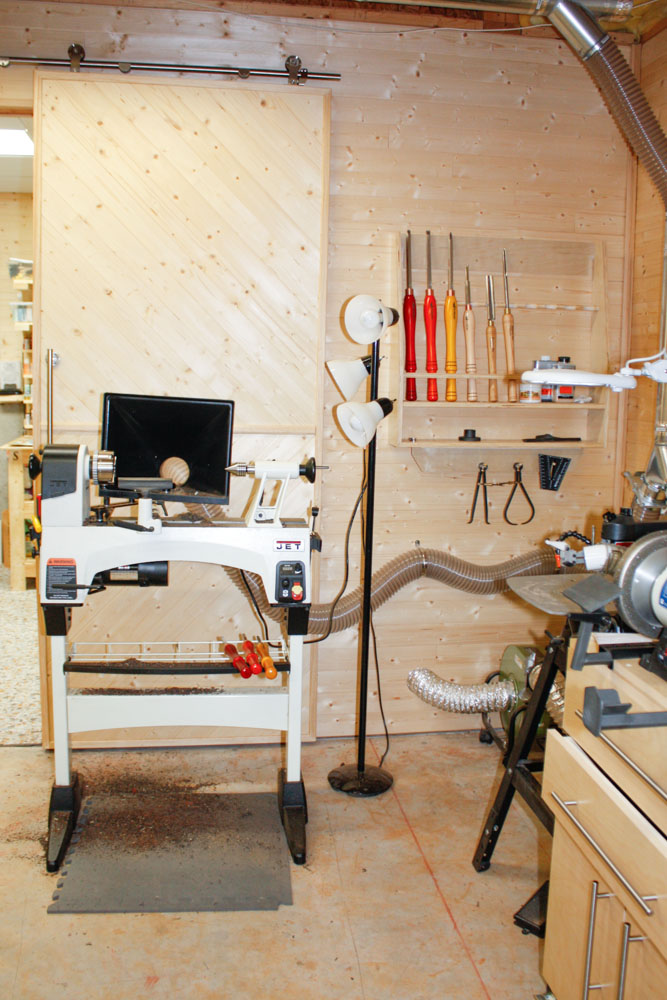
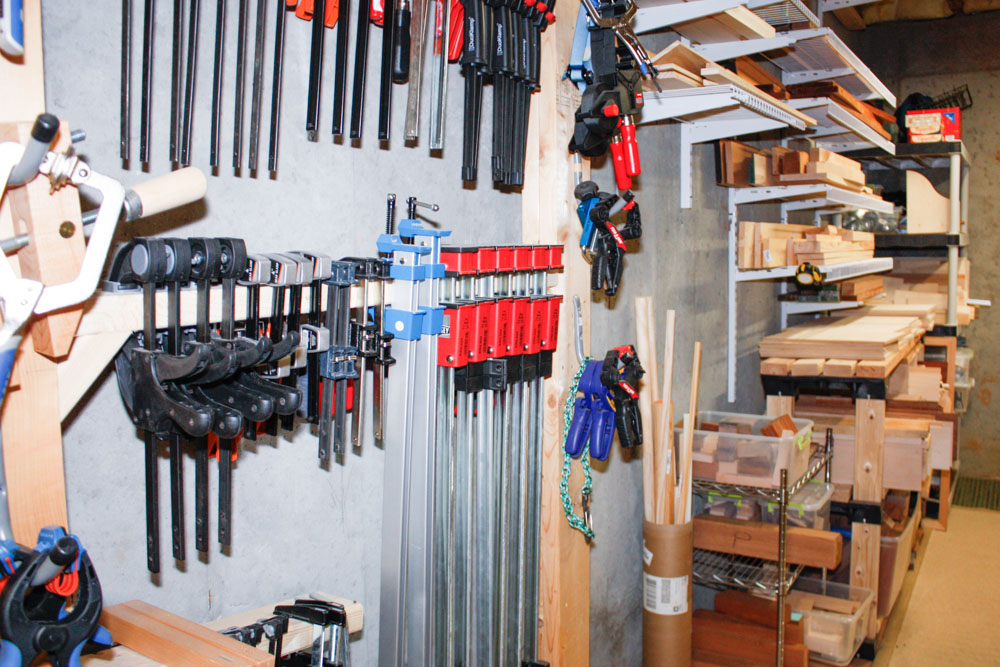
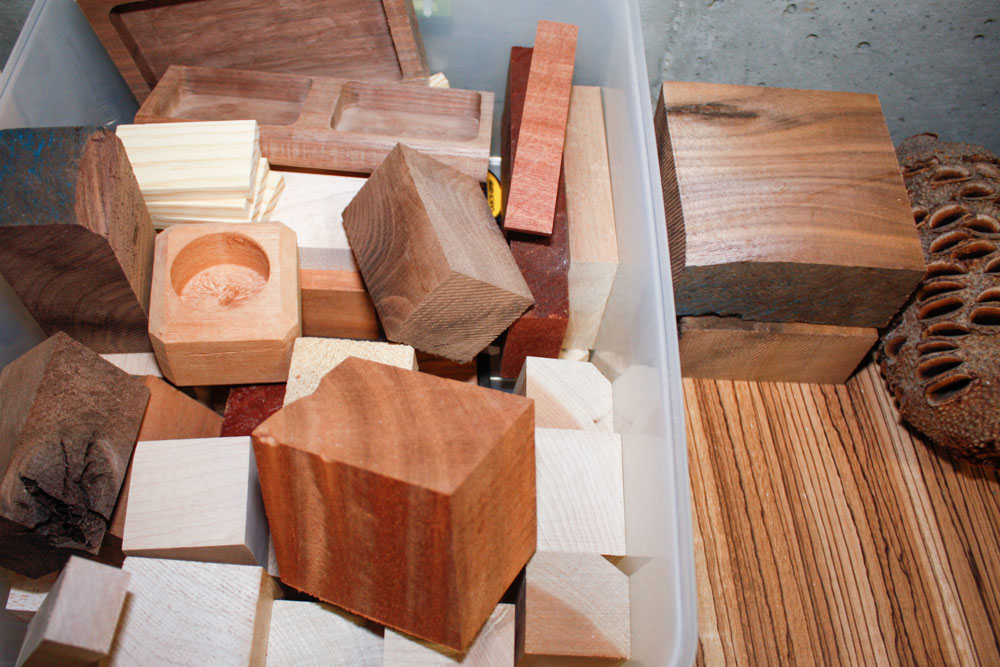
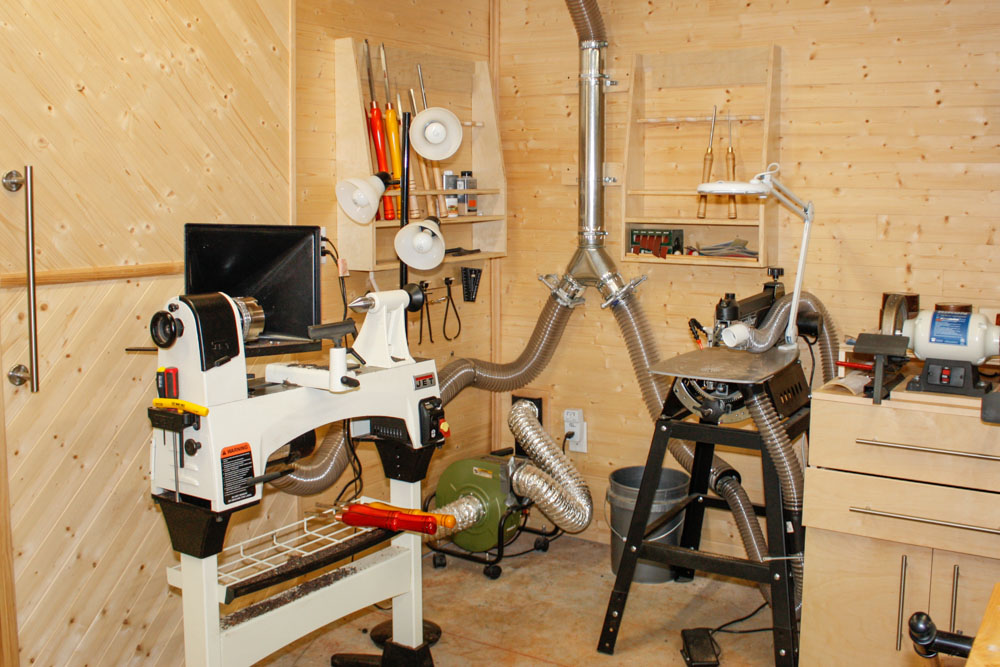
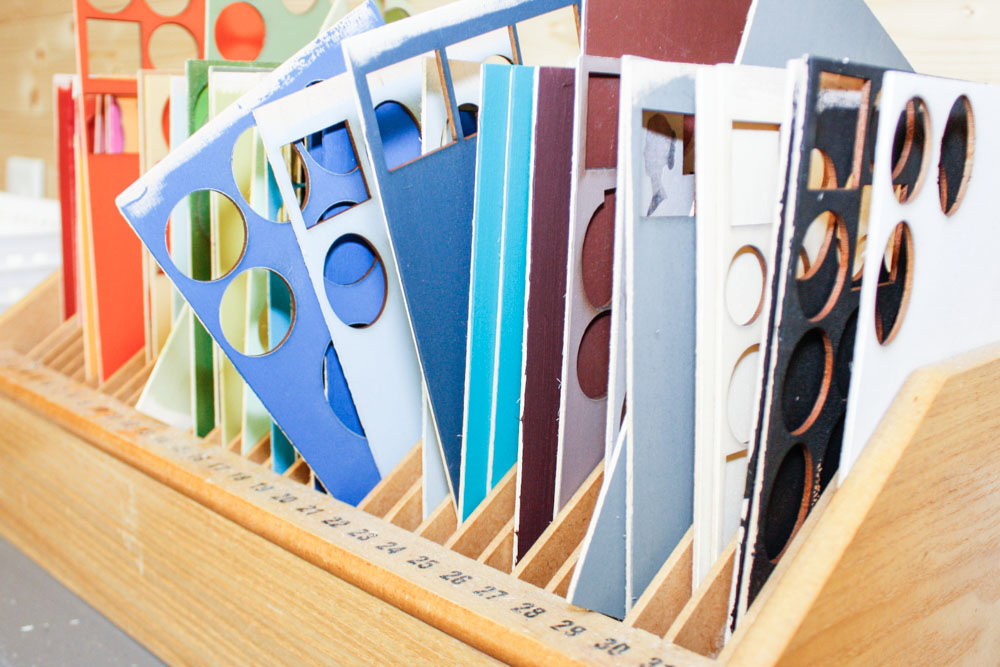
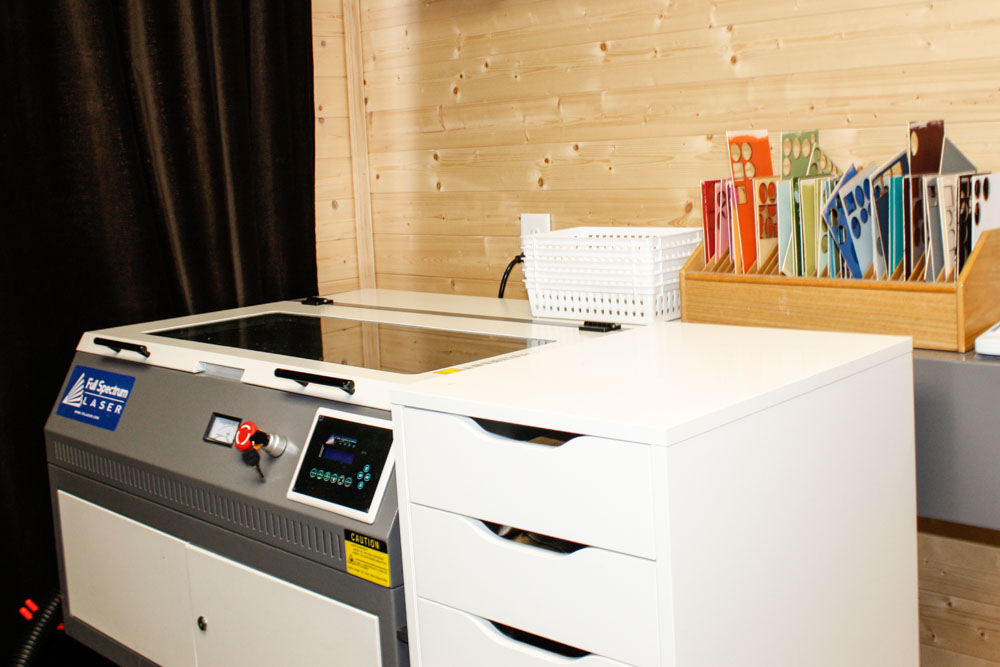
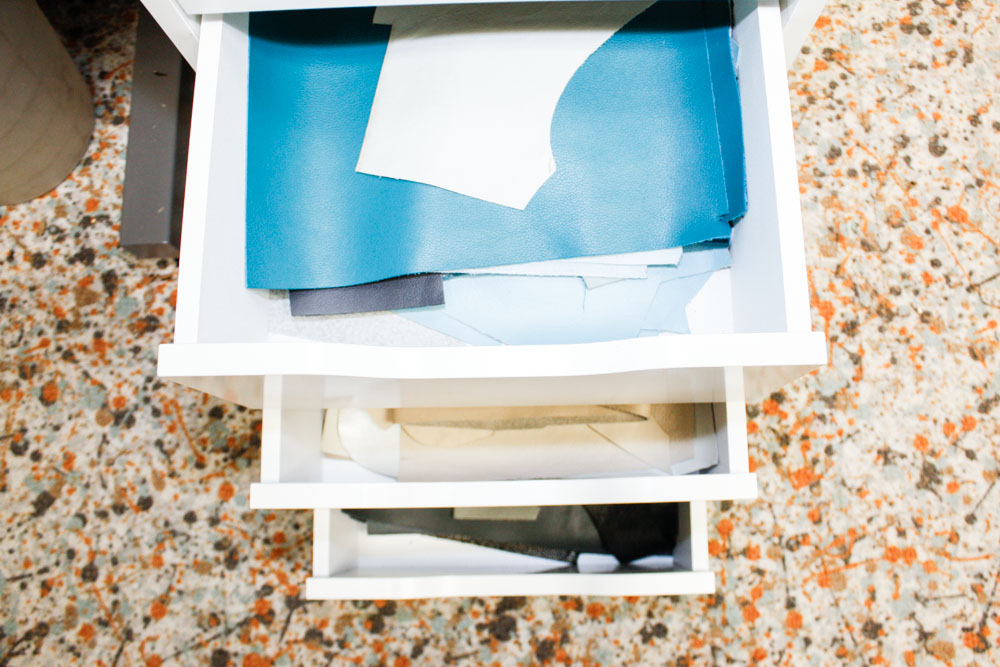
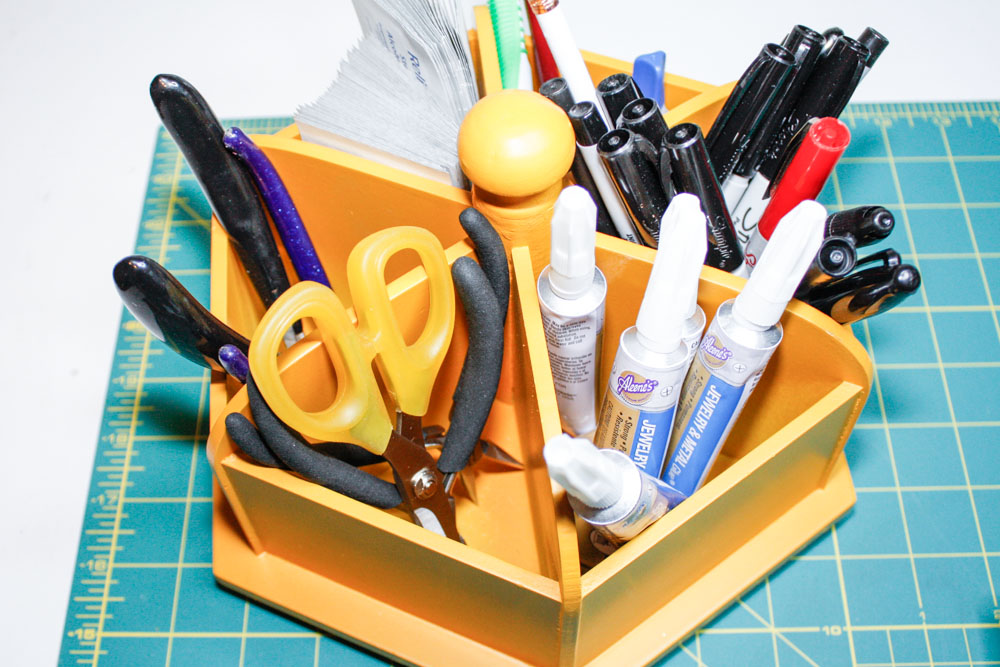
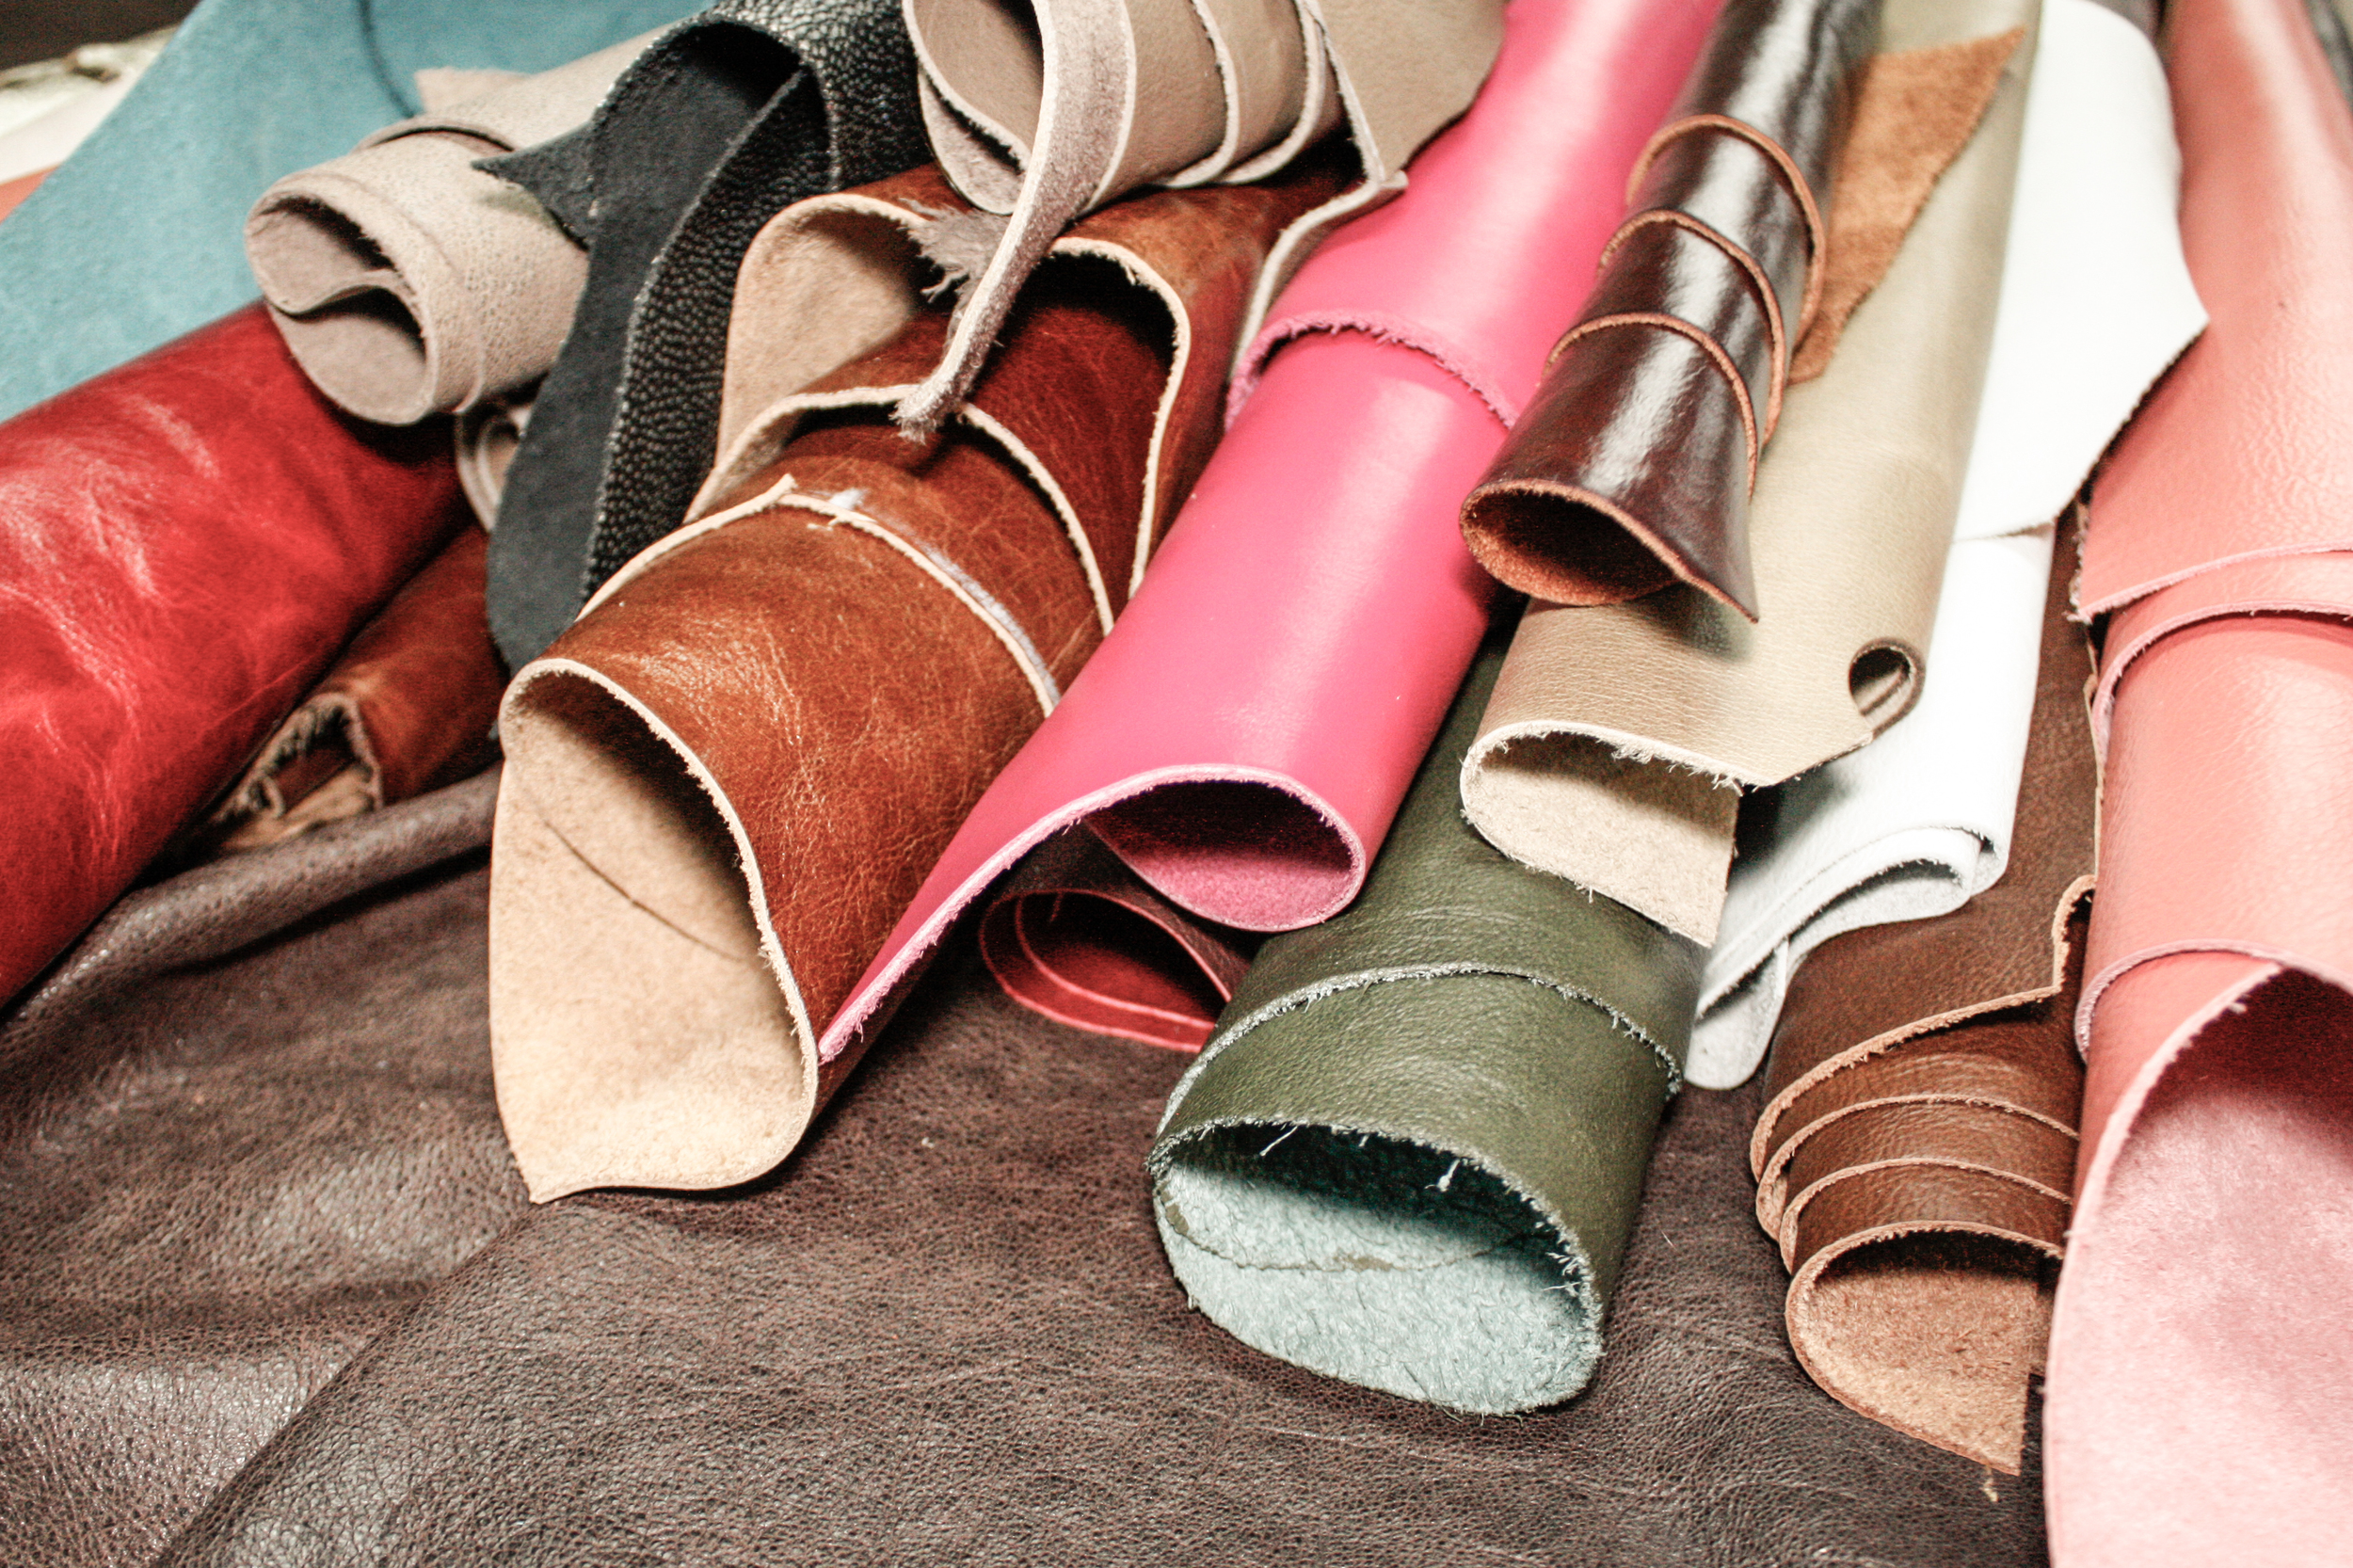
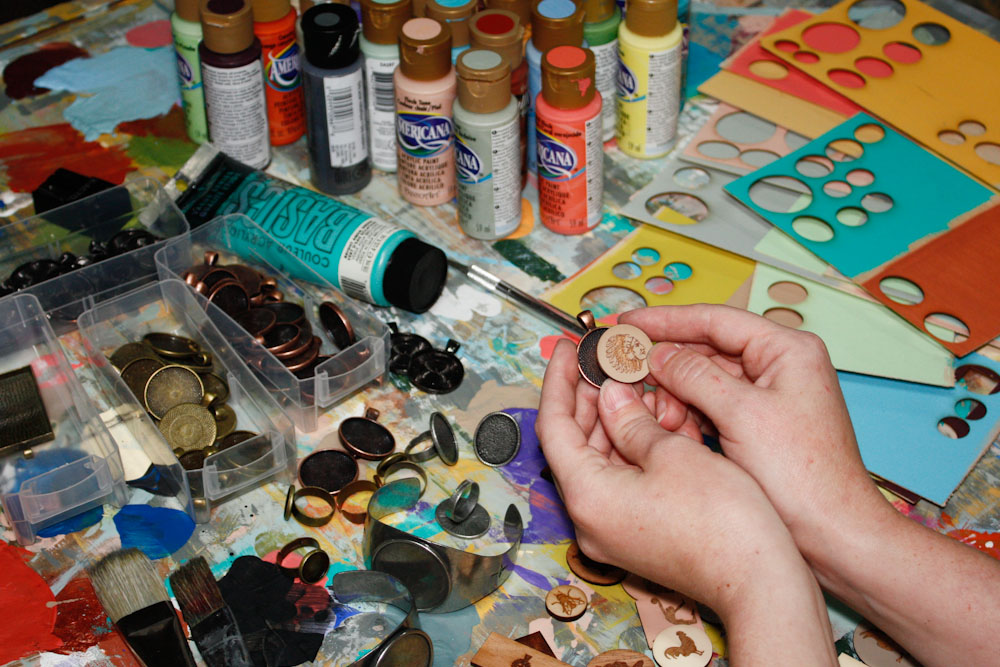
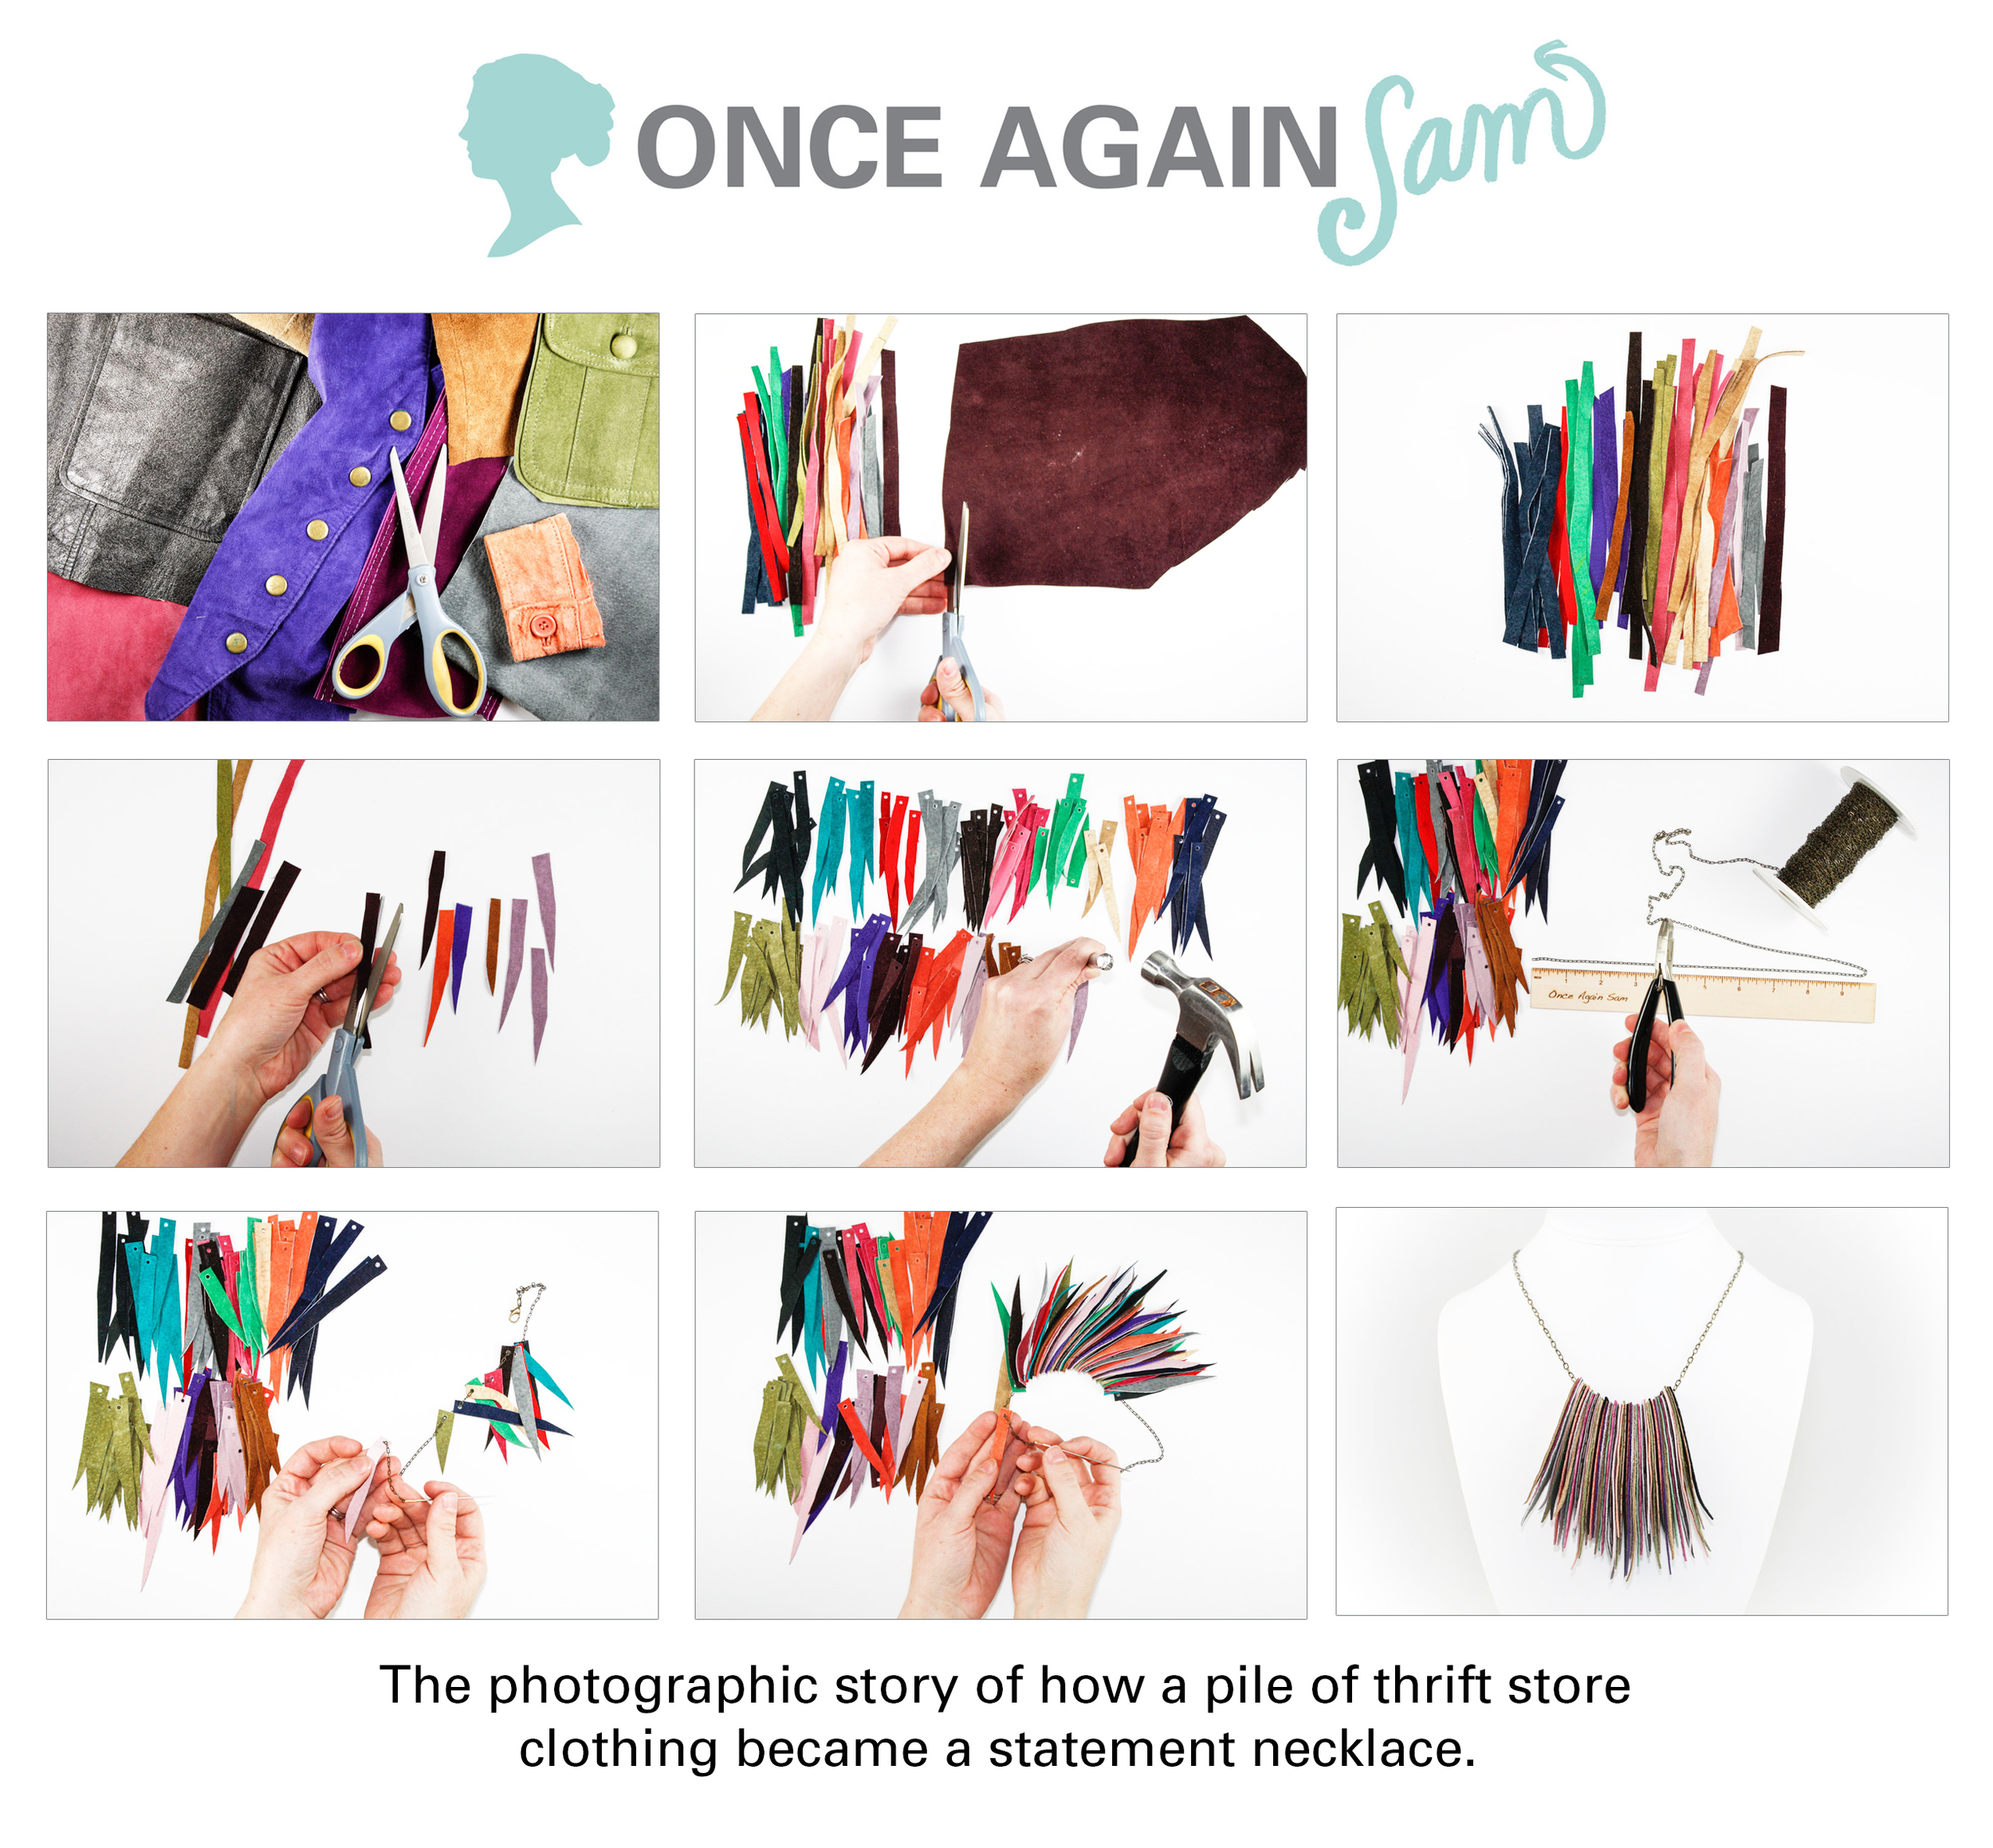
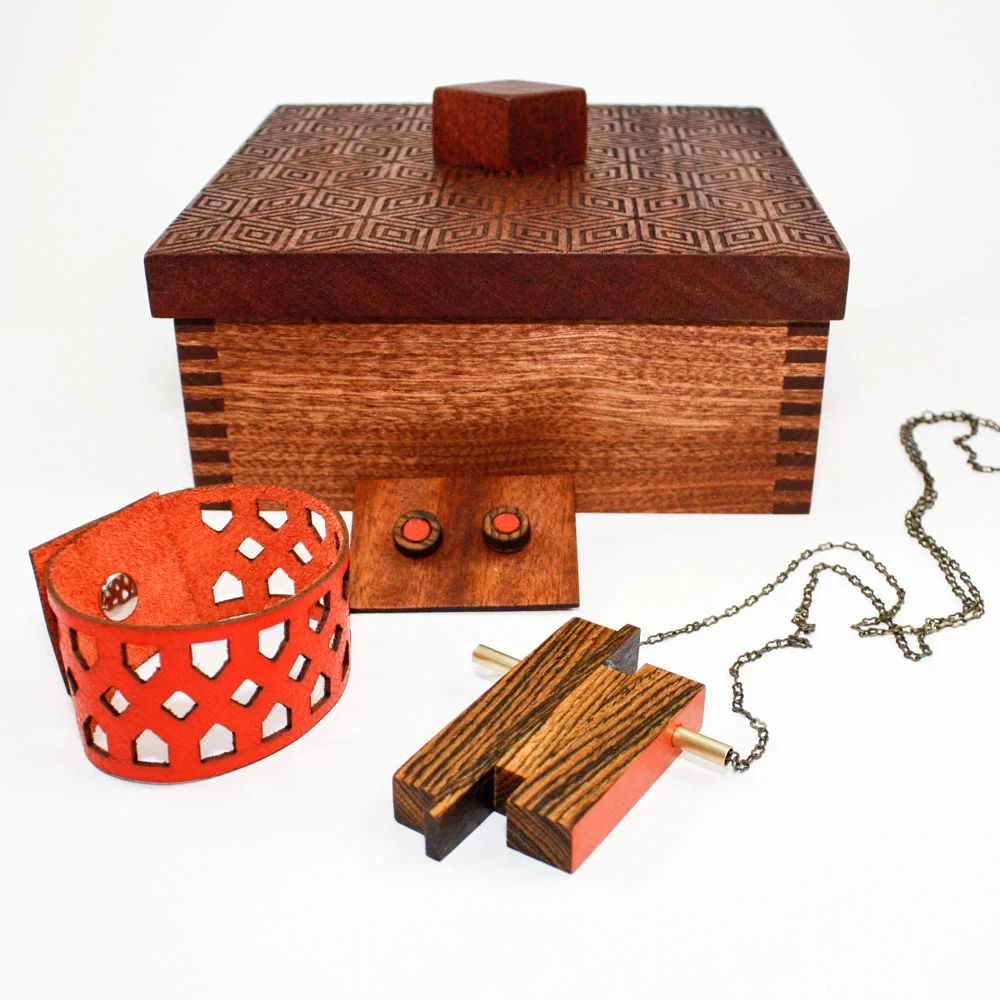
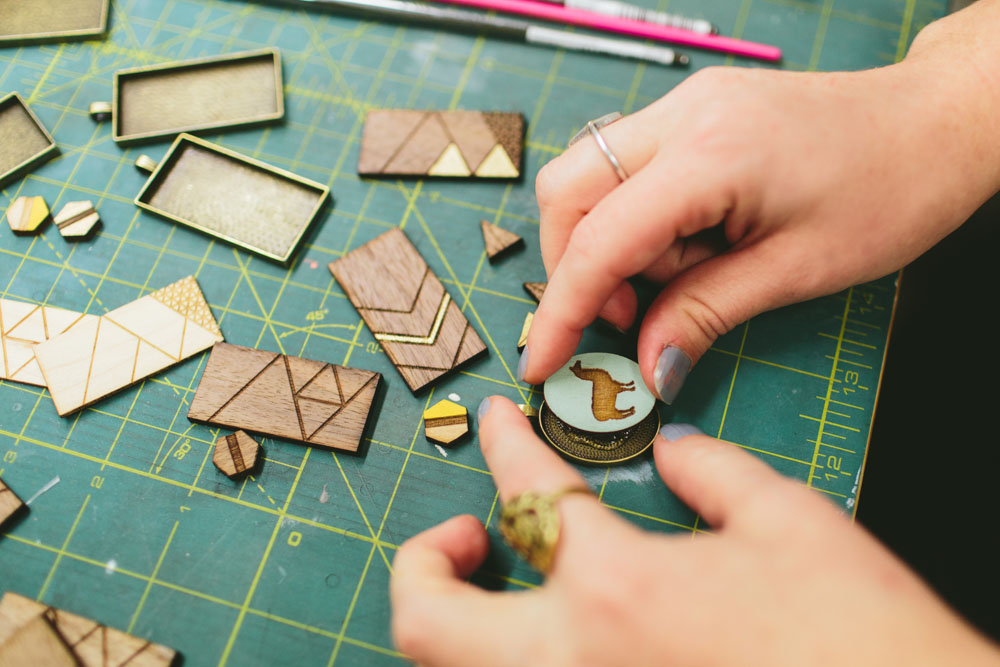
Here's what I can do: I have two laser cutters in my studio (a 40 watt and a 90 watt Full Spectrum laser cutter). With these machines, I’m am able to make precise cutouts & engravings on wood, acrylic, paper, cardboard, and leather material (just to name a few). I can help with preliminary design, or jump right into production mode if you’re ready to get started. My minimums are approachable, my prices are reasonable, and my turnaround times are speedy (typically only 1 week once material is acquired).

To find out more please visit my Etsy Manufacturing profile: https://www.etsy.com/manufacturing/2196/once-again-sam

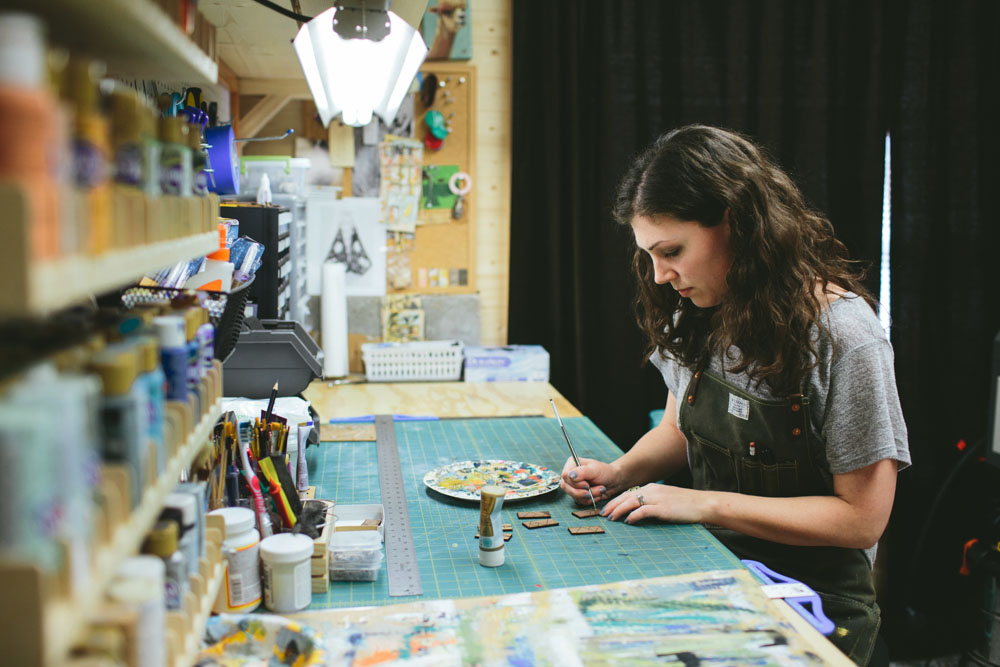
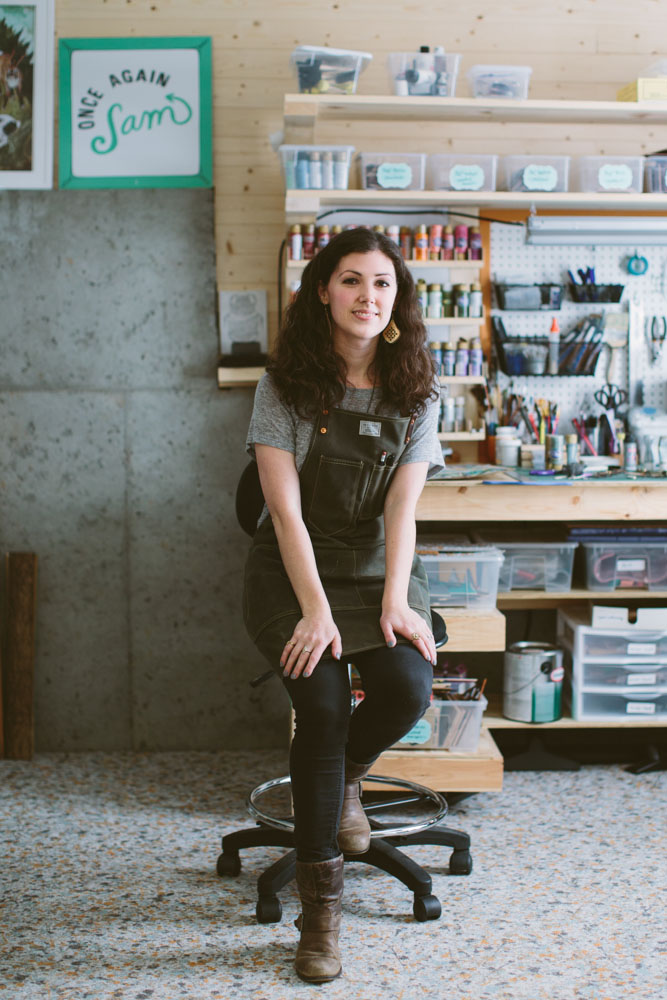
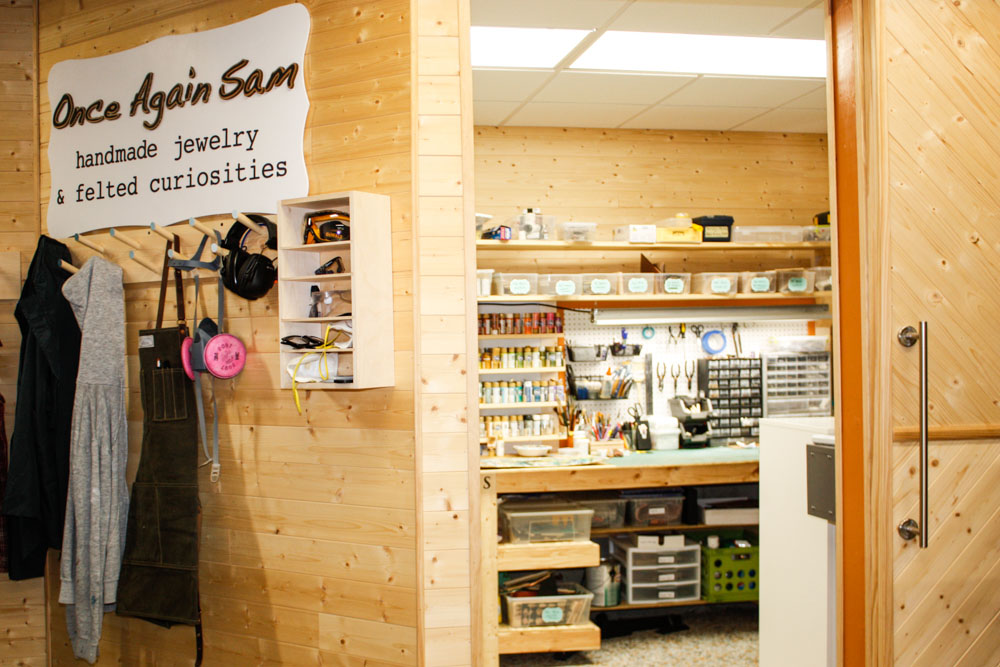
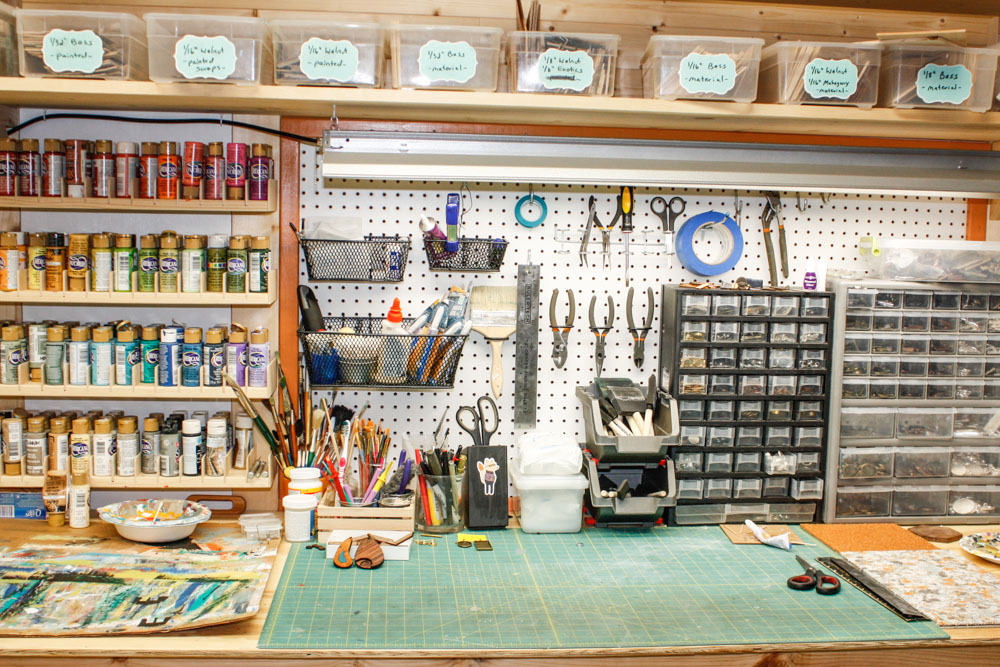
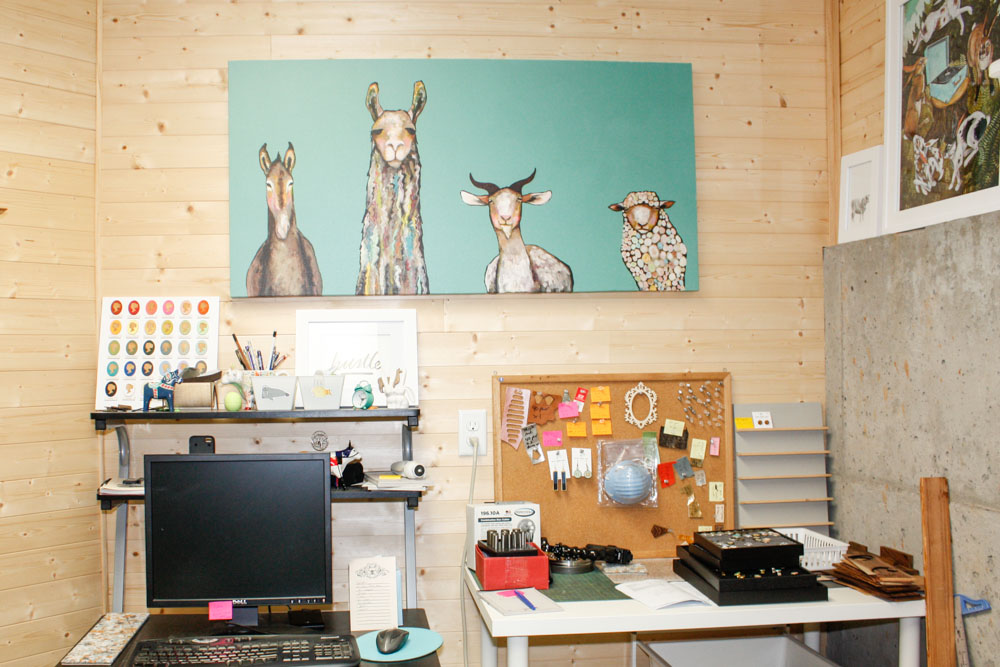
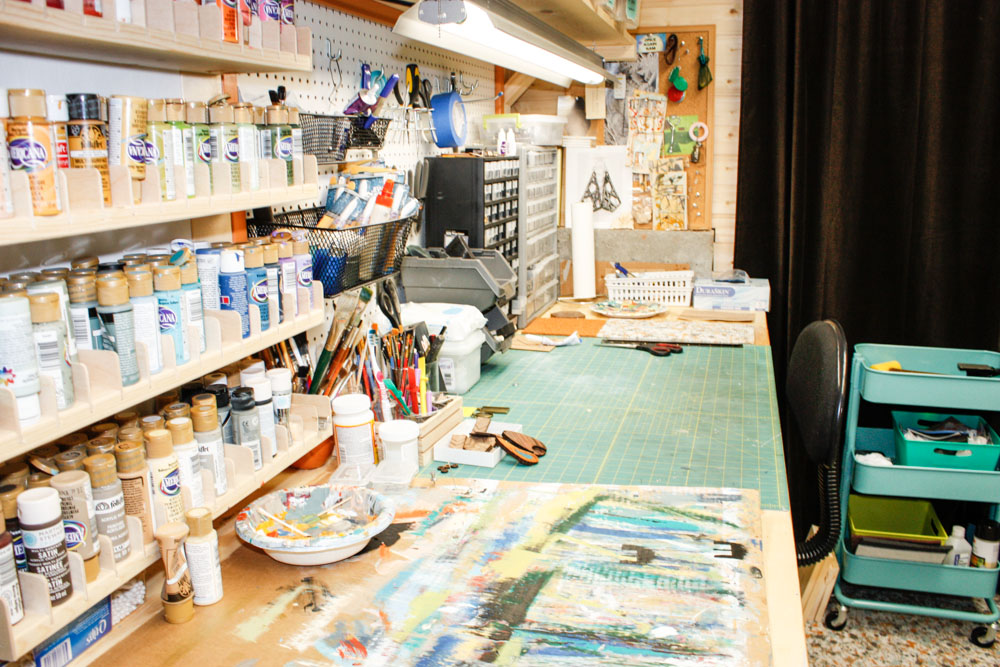
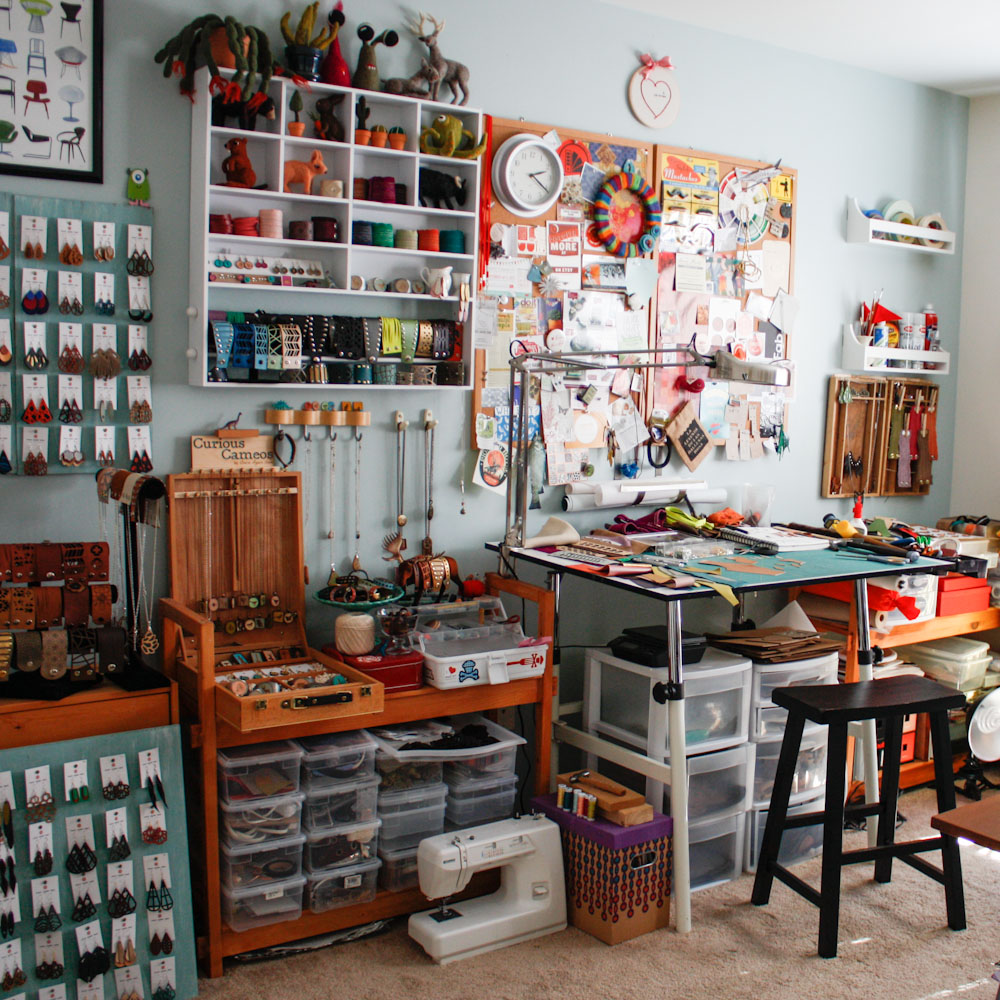
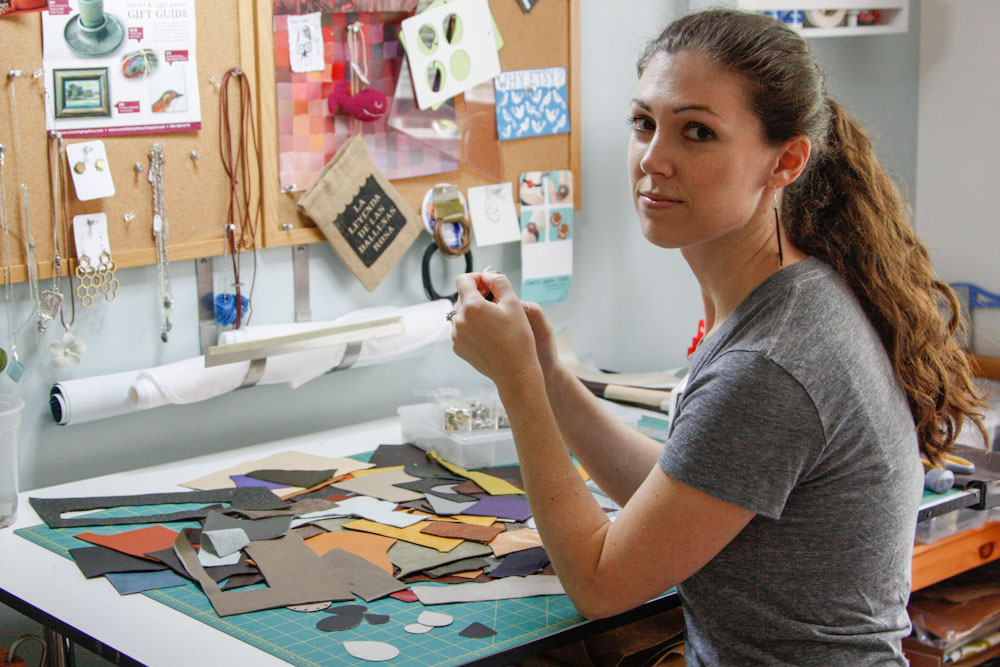
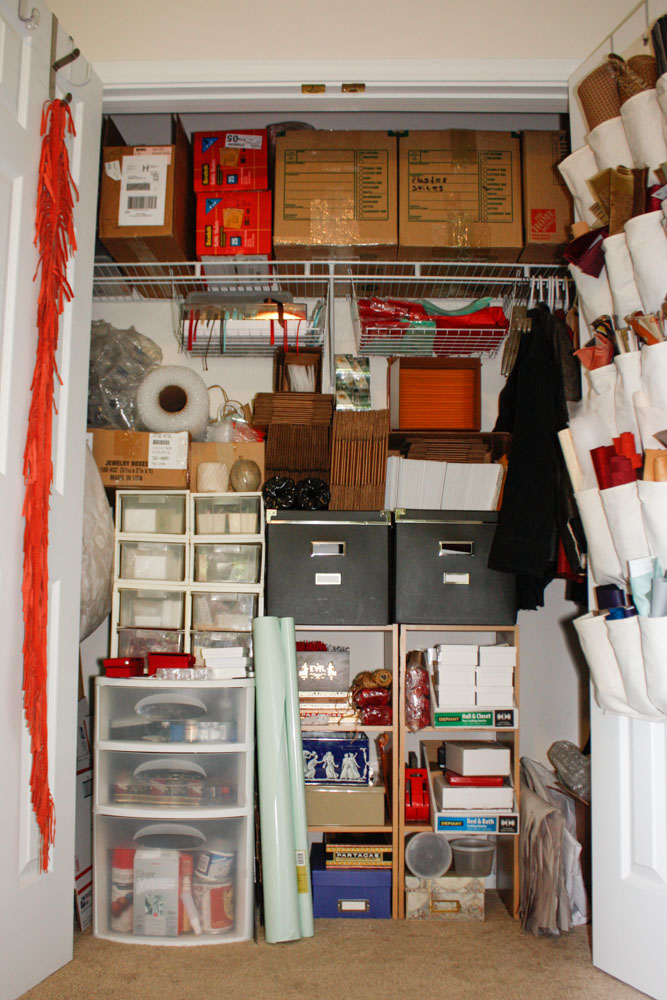
I was thrilled to have Etsy Manufacturing sponsor a professional photography session in my studio recently with the talented Angela Cox of Angela Cox Photography. The photos she took help make my Etsy Manufacturing profile more personal, which is exactly what I wanted. When you work with Once Again Sam, you're working directly with me on a personal level, even if we never meet in person. 

The American Made Show - Washington DC

Exhibiting at a trade show was high on my list of goals for 2016. In fact, I spent a great deal of 2015 preparing for it. The American Made Show at the convention center in Washington, DC was my first trade show experience, and now that I've had time to process everything, I thought I'd share some personal insights. 

First thing's first: a trade show is NOT a craft show. I have done many a craft show in the last few years, which was valuable experience, but the trade show was a whole new ball game. Each exhibitor is essentially setting up a temporary store, and the attendees are not looking for fun little Christmas gifts for their friends - they're buyers for boutiques, or sourcing products for a catalog. 

I have been wholesaling for a few years, but never in person. I already felt confident in my jewelry line, it's a great product that does well in the stores that carry it, so I felt it was time to get out there and be proactive. A trade show is a great place to be found!

OnceAgainSam5624.jpg

Taking on the tradeshow challenge, I started designing my booth (and budgeting for it) nine months before the event. My background in commercial interior design came in handy - I used a drafting program to draw everything to scale because I knew I wouldn't be able to do a full mock up (the booth was 10' x 10', and my foyer just isn't big enough for that). My booth color palette reflected my branding, and the materials were all thought out in great detail. 

I decided not to rent anything from the show other than lighting, because I intend to exhibit at future tradeshows so it made sense to invest in my own furnishings and displays. The shelving I chose was purchased at Ikea, and it easily comes apart for transportation purposes. The velvet drapes in the background were also from Ikea, and had to be treated with fire retardant to meet code. The carpet tile was donated by Milliken (it's the same carpet that's in my studio), and got a lot compliments throughout the show. 

My favorite element is the plywood displays. I designed & dimensioned drawings for each one, then my handy husband fabricated all of the 20 panels from Baltic birch plywood. Each panel is perfectly suited to display the various jewelry items (pendants, rings, earrings, etc.).

OnceAgainSam5100.jpg

In addition to planning the booth months ahead of time, I also began the very tedious process of creating my very first catalog. I'm a DIY kinda gal, I enjoy photography, graphic design, organizing things, and so forth, but this catalog kicked my butt.  Developing the SKU's REALLY kicked my butt. Even though I limited the catalog to my popular Curious Cameos line, it was still a massive amount of inventory to make, photograph, layout, and assign SKU's in a system that would make some sort of sense. With the help of my handy husband once again, the catalog looks amazing, and I really felt proud to hand them out to potential buyers at the show.

Although I had nothing to compare this tradeshow to, since it was my first rodeo, so to speak, I was very pleased with the orders I took, the contacts I made, and everything I learned during the process. Now that I've gotten my feet wet, I'm itching to do this again. Good thing the American Made show is coming to Greenville this summer. You know I'll be there!

If you've been keeping up with my blog, you know I'm very open about my business, and it's all because I want to help others. If you're considering trying a tradeshow, and have questions, shoot me an email and I'll be happy to share what I learned and talk specifics. 

Oh! I almost forgot - what's the one thing at the end of the day that can make you forget all about your sore feet and a sore smile? Good food (and drink), of course! We ate some AMAZING meals in and around Chinatown. If you're ever visiting, I highly recommend these restaurants. In fact, make sure you're visit is long enough that you can try them all! 

Cuba Libre (Cuban): try the classic caipirinha, malanga fritters, papas rellenas, lechon asado, arroz con pollo. This place was so good, we ate there twice during our 5 day visit.

Nando's Peri Peri (Portuguese): start with a glass of sangria, then go for some hummus, grilled chicken, mashed peas with chili and mint, and red potatoes. 

Acadiana (Contemporary Louisiana): definitely order a mint julep, BBQ shrimp with bread, and friend green tomatoes. 

Silo (New American): cider, butternut squash soup, grilled brussels sprouts, roasted chicken with snow peas. 


Tour My Workspace(s)

My work is a huge part of my life, and my home is where I work. The spaces in which I create are linked to my ability to get work done, be inspired to try new things, and ultimately make a living. Working from home is ideal for me, because I can bounce around from making leather earrings, to needle felting, to laser cutting wooden pendants, to photographing new products, all without having to go anywhere. A lot can be accomplished in just one day!  

Today, I’m inviting you on a virtual tour of my many workspaces. Each room is home to a different part of my process, and is the birthplace of a variety of handmade items. When you make a living making things, it can change your whole lifestyle, and your home ends up becoming more than just a place to live.

Come on in, welcome to my home!

The Workshop: this is the first stop on the tour because it’s where my husband / operations manager and I have spent the most time renovating and improving lately (lighting, ductwork, wood paneling, etc.). The unfinished basement is about 900 square feet and is where a lot of production work occurs. All the things that make big messes (like the lathe, sanders, saws, laser cutter, etc.) live down here.

The Laser Room: In an 8x10 side room, a room that was once used as a children’s play area when we hosted a Bible study / small group a few years ago, is now the the “laser room”. I recently upgraded my 40 watt hobby laser cutter to a humongous and awesomely powerful 90 watt pro model. It’s pretty friggin’ cool! We could barely move this new machine into the house, it cost as much as a used car, and requires serious ventilation, but it was well worth it. My jewelry designs (done in Illustrator or AutoCad) are intricate, but the laser can handle it. I could never dream of doing these cuts successfully by hand, so by adding this high tech tool, I’m able to remake my designs over and over, which allows me to do large orders and keep my prices reasonable. Having a machine like this changed my whole business model several years ago when I took the plunge and bought the original laser. In this room, I also keep some leather, wood, and tons of supplies. We’ve got a small tabletop CNC router on order so that will be a welcome addition very soon.  

* Favorite things about this space: the workbench with “paint store” that my handy husband built for me, and my way-cool splatter paint carpet that’s fun and light, but hides everything (because let’s face it, it’s not clean, and some of those paint splatters are actually paint splatters).

The Studio: From the basement workshop, walk up two flights of stairs and you’ll find my studio. This is the room where final assembly, finishing touches, photography, and packing orders occurs. All of the hand-cut leather jewelry is made here, since I still have have a number of designs that use basic hand tools rather than high tech machines. In the closet, there’s shipping supplies and about a dozen articles of clothing. Not my clothes. Clothes I got at thrift stores and intend to chop to pieces and turn into jewelry. I love to repurpose leather and will buy just about anything, as long as the color is right.

* Favorite things about this space: My “leather drawers” ;-) The leather scraps in these drawers are organized by color, and I get inspired just by looking at all the bits and pieces and all the possibilities they bring.

The Office: Go back down one flight of stairs, and you’re in the office. It’s funny, the workshop, studio, and office are all in the same exact corner of the house, so the views are identical, just at different levels. The office is shared with my husband who works from home, and is where I do all of my correspondence, Etsy shop maintenance, photo & video editing, blogging, and accounting. Since I don’t have a physical brick & mortar store, and in-person craft shows are only seasonal, I end up doing the majority of my business from this spot in the house.

* Favorite things about this space: being near my husband. We “bother” each other a lot, but it’s actually a huge blessing. There was a time back when we lived in the DC metro area when we only saw each other about 2-3 hours a day during the week. It sucked. We have a completely different lifestyle now and I wouldn’t trade it for anything. Also, his title of “Operations Manager” is 100% accurate - he keeps the biz up and running, so it’s nice having him nearby.

The Couch:  Not kidding! I spend several hours a day needle felting on the couch with some sort of nature documentary, depressing indie film, or audio book going in the background. The living room may pass for fairly normal at first glance, but if you look closer (like in the bins under the couch, the basket under the end table, in that dark wicker hamper sitting discreetly in the corner), you’ll notice there’s a whole flocks’ worth of sheep’s wool all around you. I have my roving in containers organized by color, so it’s easy to find what I need. Besides (a lot of) wool fiber, there’s really not much else needed for needle felting. I have a 2” thick foam pad that sits on my lap while I felt, a variety of needles, plus a portable work light, and that’s about it.   

* Favorite things about this space: being able to learn something new / think about something else unrelated to my work, while I work. My hands may be felting, but at the same time I can be learning all about the Altiplano in South America and the fascinating flamingos that call it home, or reading / listening to The Electric Michelangelo by Sarah Hall for the 50th time.

So there you have it. The spaces where everything is handmade, by me, under one roof!

GreenCraft: Making an Upcycled Suede Necklace

It's an honor to have my suede fringe necklace featured in this month's GreenCraft Magazine! This is one of my favorite jewelry projects to make, and it's a great way to use up a variety of miscellaneous suede and leather scraps (which I happen to have a lot of around the studio). My whole handmade jewelry business Once Again Sam is centered around using recycled materials, and leather has always been the most dear to me. I enjoy searching for outdated suede clothing at the thrift store, and giving it new life, once again, in a whole new way as bold but wearable jewelry. 

Below is a step by step tutorial on how to make the statement necklace shown in the GreenCraft article, as well as a #MakersEyeView sharing a time-lapse video of the process from start to finish. Enjoy, and happy crafting!

How to make a suede fringe necklace: 

1. Gather material: I use thrift store clothing as my suede and leather source, but just about anything will work as long as it doesn't fray when cut. 

2. Cut strips: use scissors to cut an assortment of 1/4" wide strips (the length is up to you, mine are about 2 1/2 to 3"). The necklace in the photo used over 150 pieces total, in 20 different colors. 

3. Create pointed ends: give one end of each piece a pointed shape, so they'll have that "fringe" look when strung together. They don't have to be perfect!

4. Punch holes: use an 1/8" circle leather punch to punch a small hole through the top of each piece (the flat end, not the end with the point).

5. Make your chain: cut a length of thin chain around 18-20" (depending on where you want the necklace to lay on your chest), then add a clasp to one end so the leather pieces wont fall off once you begin stringing them on. The chain needs to be thin enough to go through the punched holes. I attached a needle to the end of my chain to make threading easier, because my punched hole was just barely big enough to accept the chain.

6. Start stringing: once you have your colors in the order you want them, begin adding your suede strips one by one until you're happy with the overall size.

GreenCraft has featured two of my upcycled jewelry projects in the past, and those tutorials can also be found on my blog:

Click HERE for suede fringe earring project

Click HERE for suede cuff project

Architecture Meets Jewelry

Architecture and jewelry have a lot in common: form & function, balance, personal connection, and materiality, just to name a few. It’s no surprise the A & D industry has contributed to the jewelry world, and vice versa. Recently, I was commissioned to make a small contribution of my own, and the experience was the ultimate collision of my career and small business.

My background is in commercial interior design. When I’m not running my handmade jewelry business Once Again Sam, I’m working as an interior designer part time for LS3P, a major architecture firm in the Southeast. I’m part of the Worship Studio, which consists of a dedicated group that helps design traditional and contemporary churches all over the country. Interior Design and Jewelry Design influence each other in ways I never imagined. I have designed floor tile patterns that became leather cutout cuffs, and I have chosen wood veneer for pendants that ended up appearing on feature walls. Design is design, oftentimes applicable beyond it’s intended application.

Women in Architecture of the Upstate recently commissioned me to create a special gift for their upcoming event, to be given to the speaker, Kate Schwennsen. Each year, they feature a different artist, and have commissioned a variety of work that ranges from painting, to film, and fine jewelry. I was glad for the opportunity, and a little curious how the design committee process might go.

Working as an interior designer means I regularly meet with committees to present concepts and material finishes, and share sketches of potential designs. I’m used to feedback, managing a range of different opinions, and communicating ideas with clients. However, working as an independant jewelry designer and small business owner, I’m used to working alone, having almost no feedback, developing ideas from start to finish with zero outside influence. Designing jewelry with a committee was an entirely new opportunity, a combination of my two skill sets, and the experience ended up being incredibly enjoyable thanks to the wonderful ideas and productive interaction with the WIA group. I’m also thrilled with how the final gift turned out and hope the recipient is too!

This is the final gift set - it includes a mahogany jewelry box with a laser engraved top, and matching leather lining. Inside is an orange laser cut leather bracelet, a pair of bocote stud earrings with orange leather insets, plus a geometric bocote pendant with brass tube detail (the orange is a nod to Clemson’s colors, because Professor Schwennsen is director of The School of Architecture at Clemson University).

So how did we end up here? Where did this design come from? The process went something like this:

The committee shared what they knew about the speaker, her style, what kind of jewelry they thought she’d enjoy. We also wanted to portray an abstract storyline about the “bridge” between an education in architecture and career to inspire the geometry and connections within the jewelry itself.

  • We looked at examples of jewelry I had made in the past, so that the group would better understand the kind work I’m able to create, plus we reviewed color and material options available.

  • I developed 4 concept sketches showing different wooden pendant ideas, which was our primary piece. Some ideas were similar to pieces currently in my jewelry line, others were 100% new.

  • The group provided feedback on the sketches, asked questions, brought up some excellent points, and I made a few templates and prototypes before getting final approval to proceed with an option.

  • I began making the final pieces based on a majority vote in favor of option #1 (and had some help from my handy husband making the box to contain the set).

The final gift set was presented at the AIA / WIA meeting on October 20th, following Kate’s talk titled “We’ve Done More than Stir: Celebrating Women Leaders, Creating Cultural Change”. It was easy to see why she’s one of the most admired educators in the USA, and I was really inspired by her message. Women have been making headway in the field of Architecture, which is exciting, but there’s still a long way to go!