Ice Dying: The Art of Trial & Error
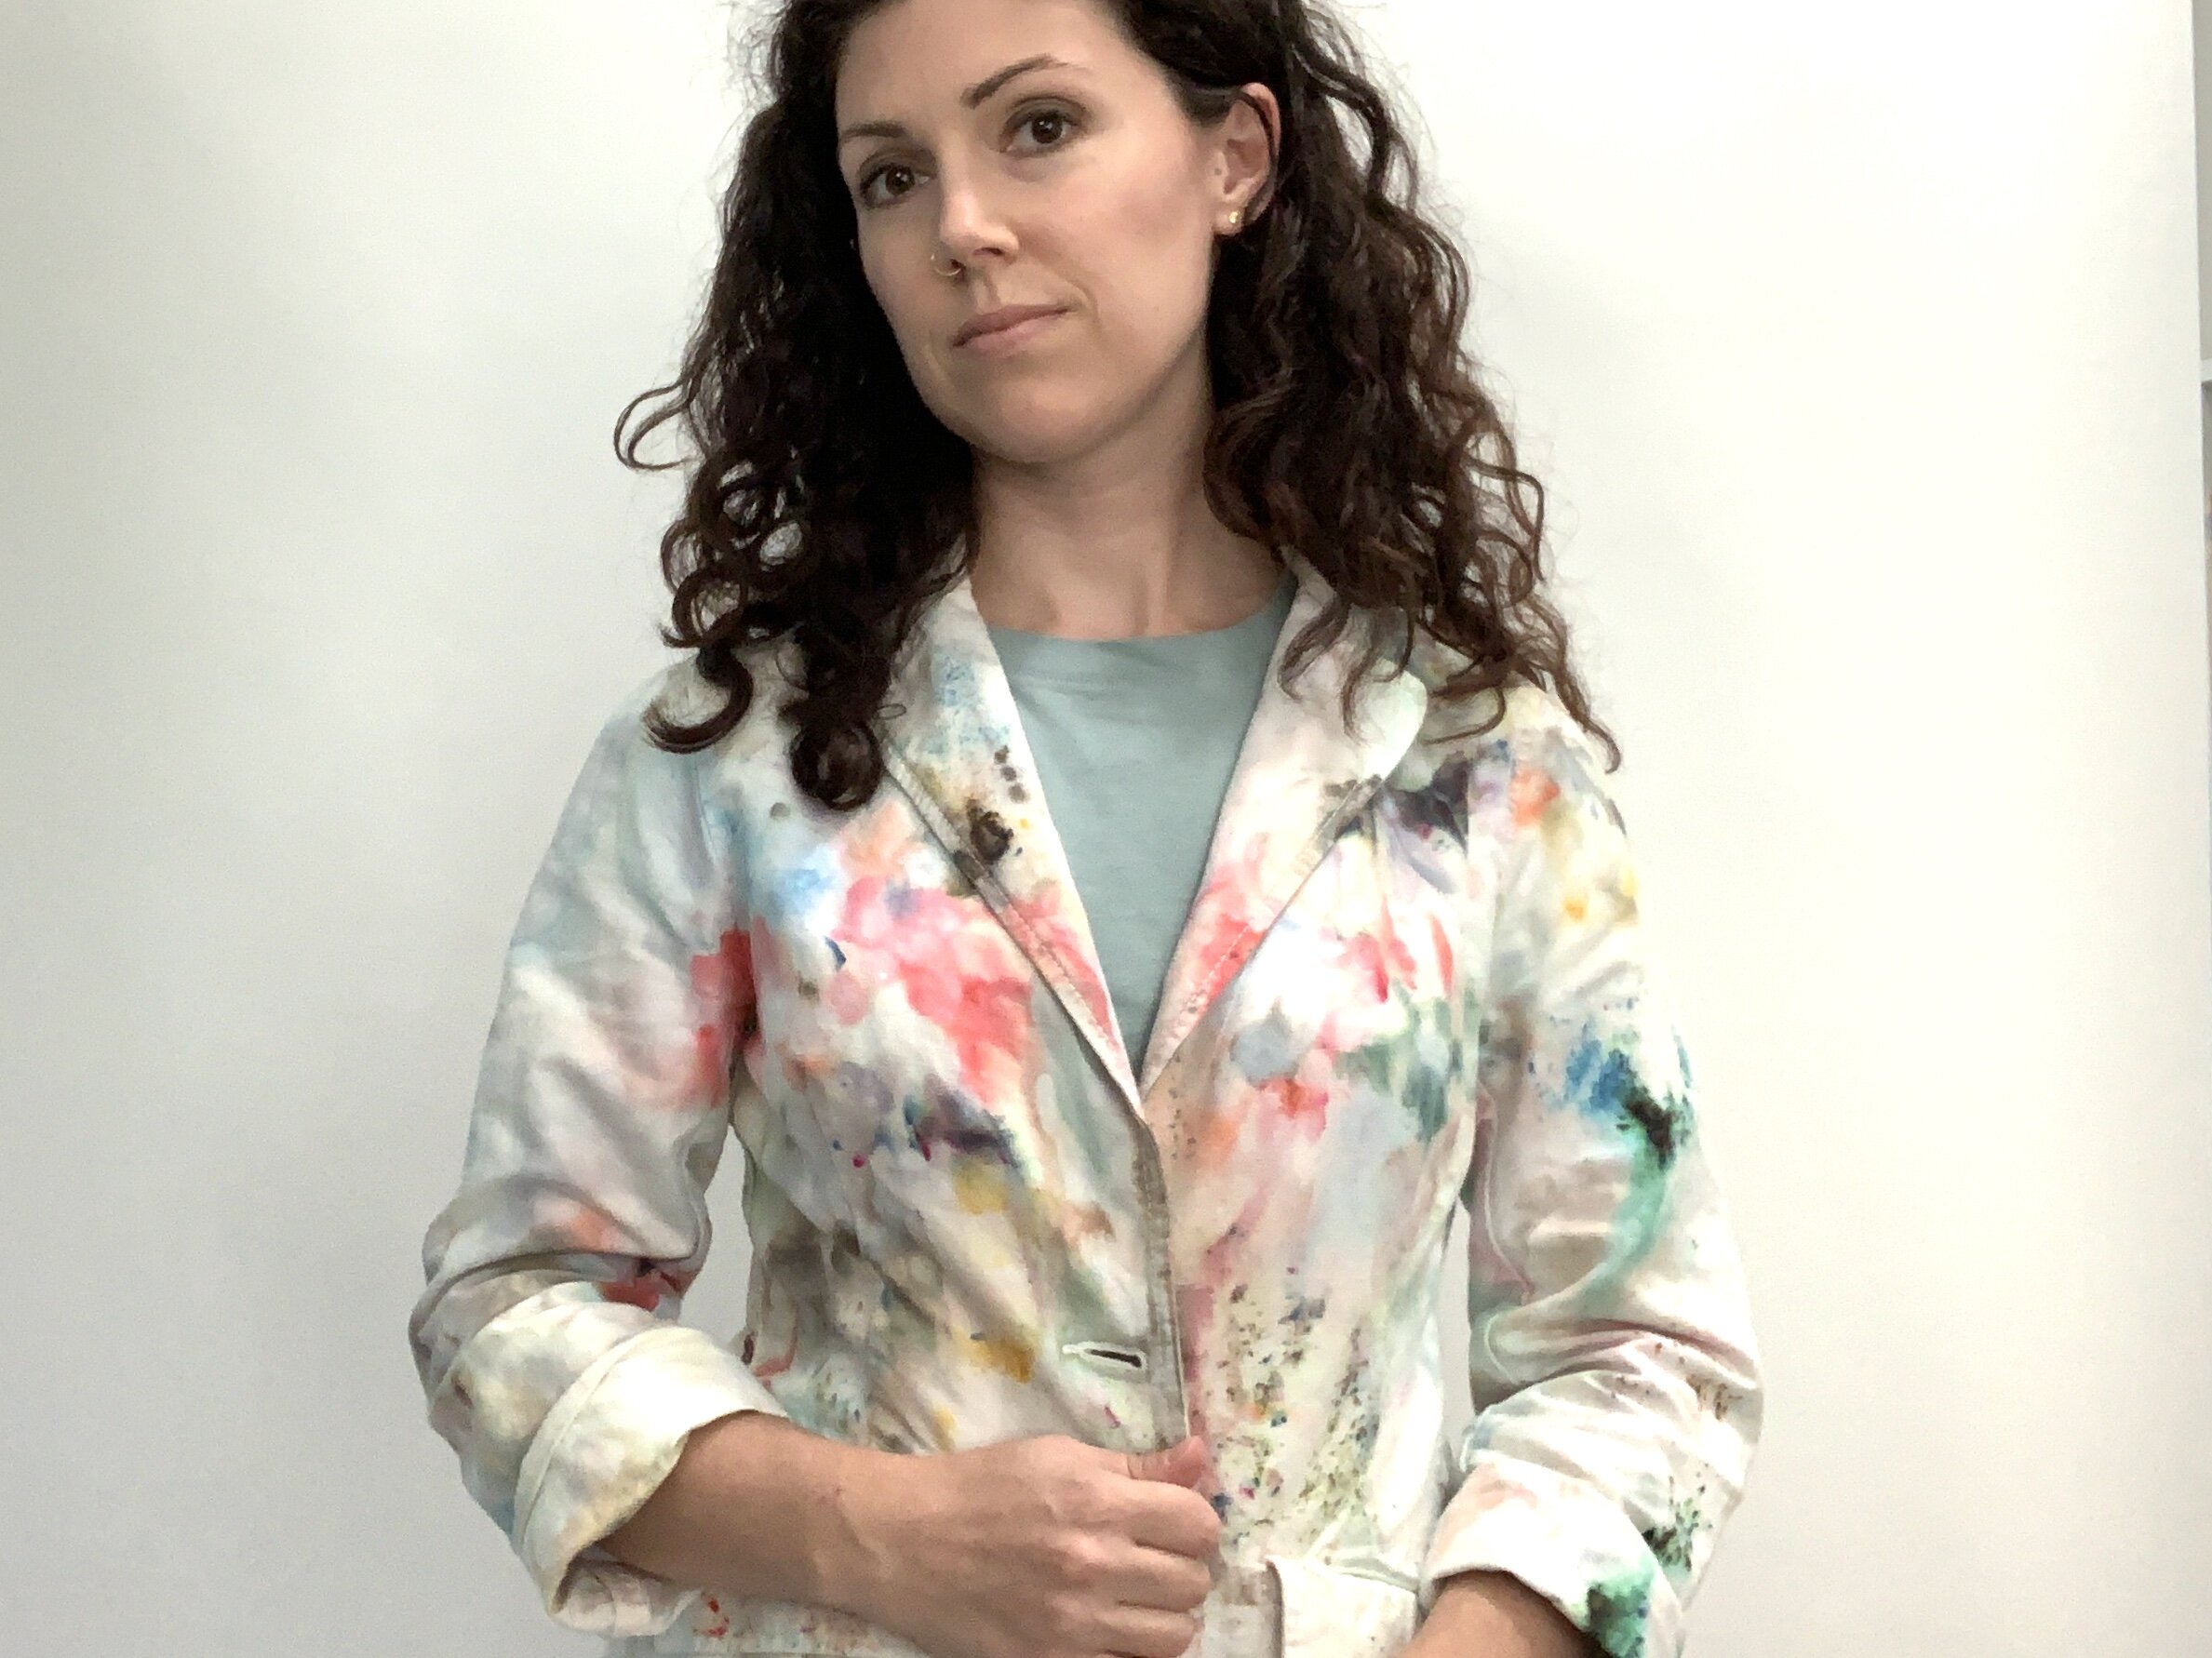
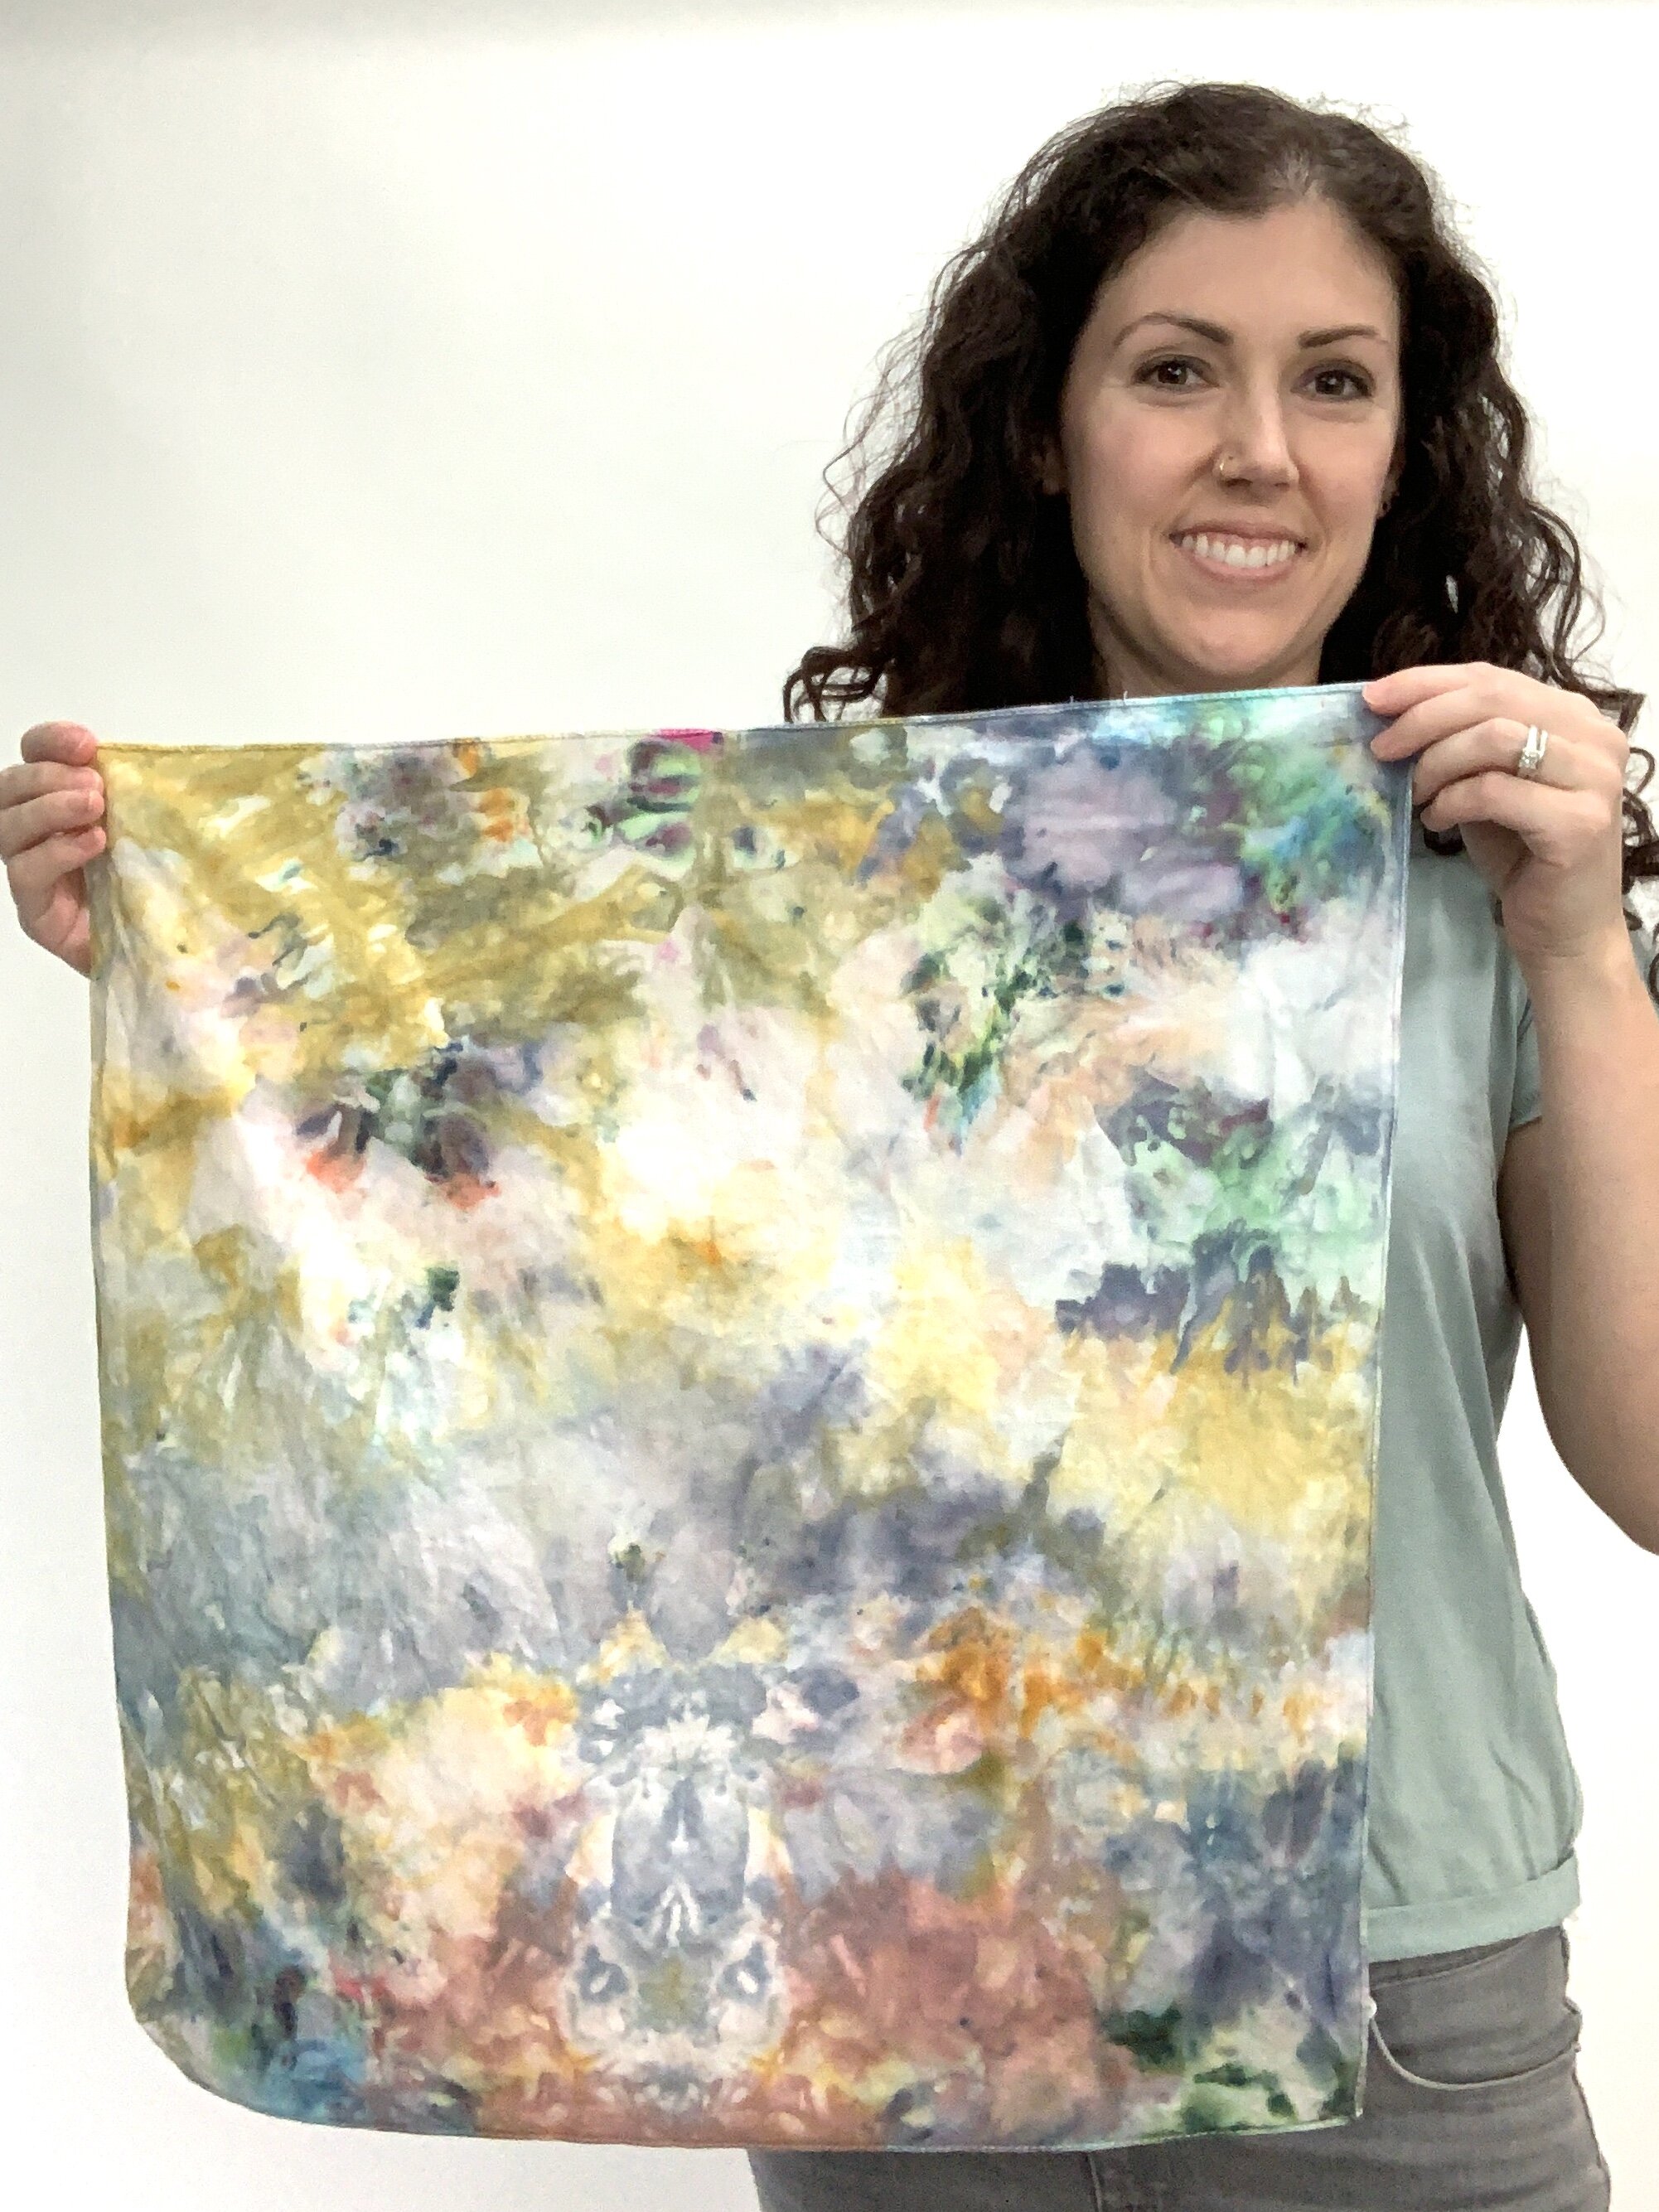
One of my recent passion projects has been to master ice dying. I love that unpredictable water color / ink running look on textiles, and I had dreams of incorporating something like that into my background fabric for future fiber art projects. Plus, I wanted some cool new colorful clothes for summer!
With my schedule wide open due to COVID-19 cancellations, I read up on ice dying, collected materials, and gave it a go. My fist batch was a huge disappointment, but I learned a few things and kept at it. Here’s my DIY tutorial on ice dying (including all of my lessons learned along the way). This is such a fun summer project - use these hot days to your advantage!
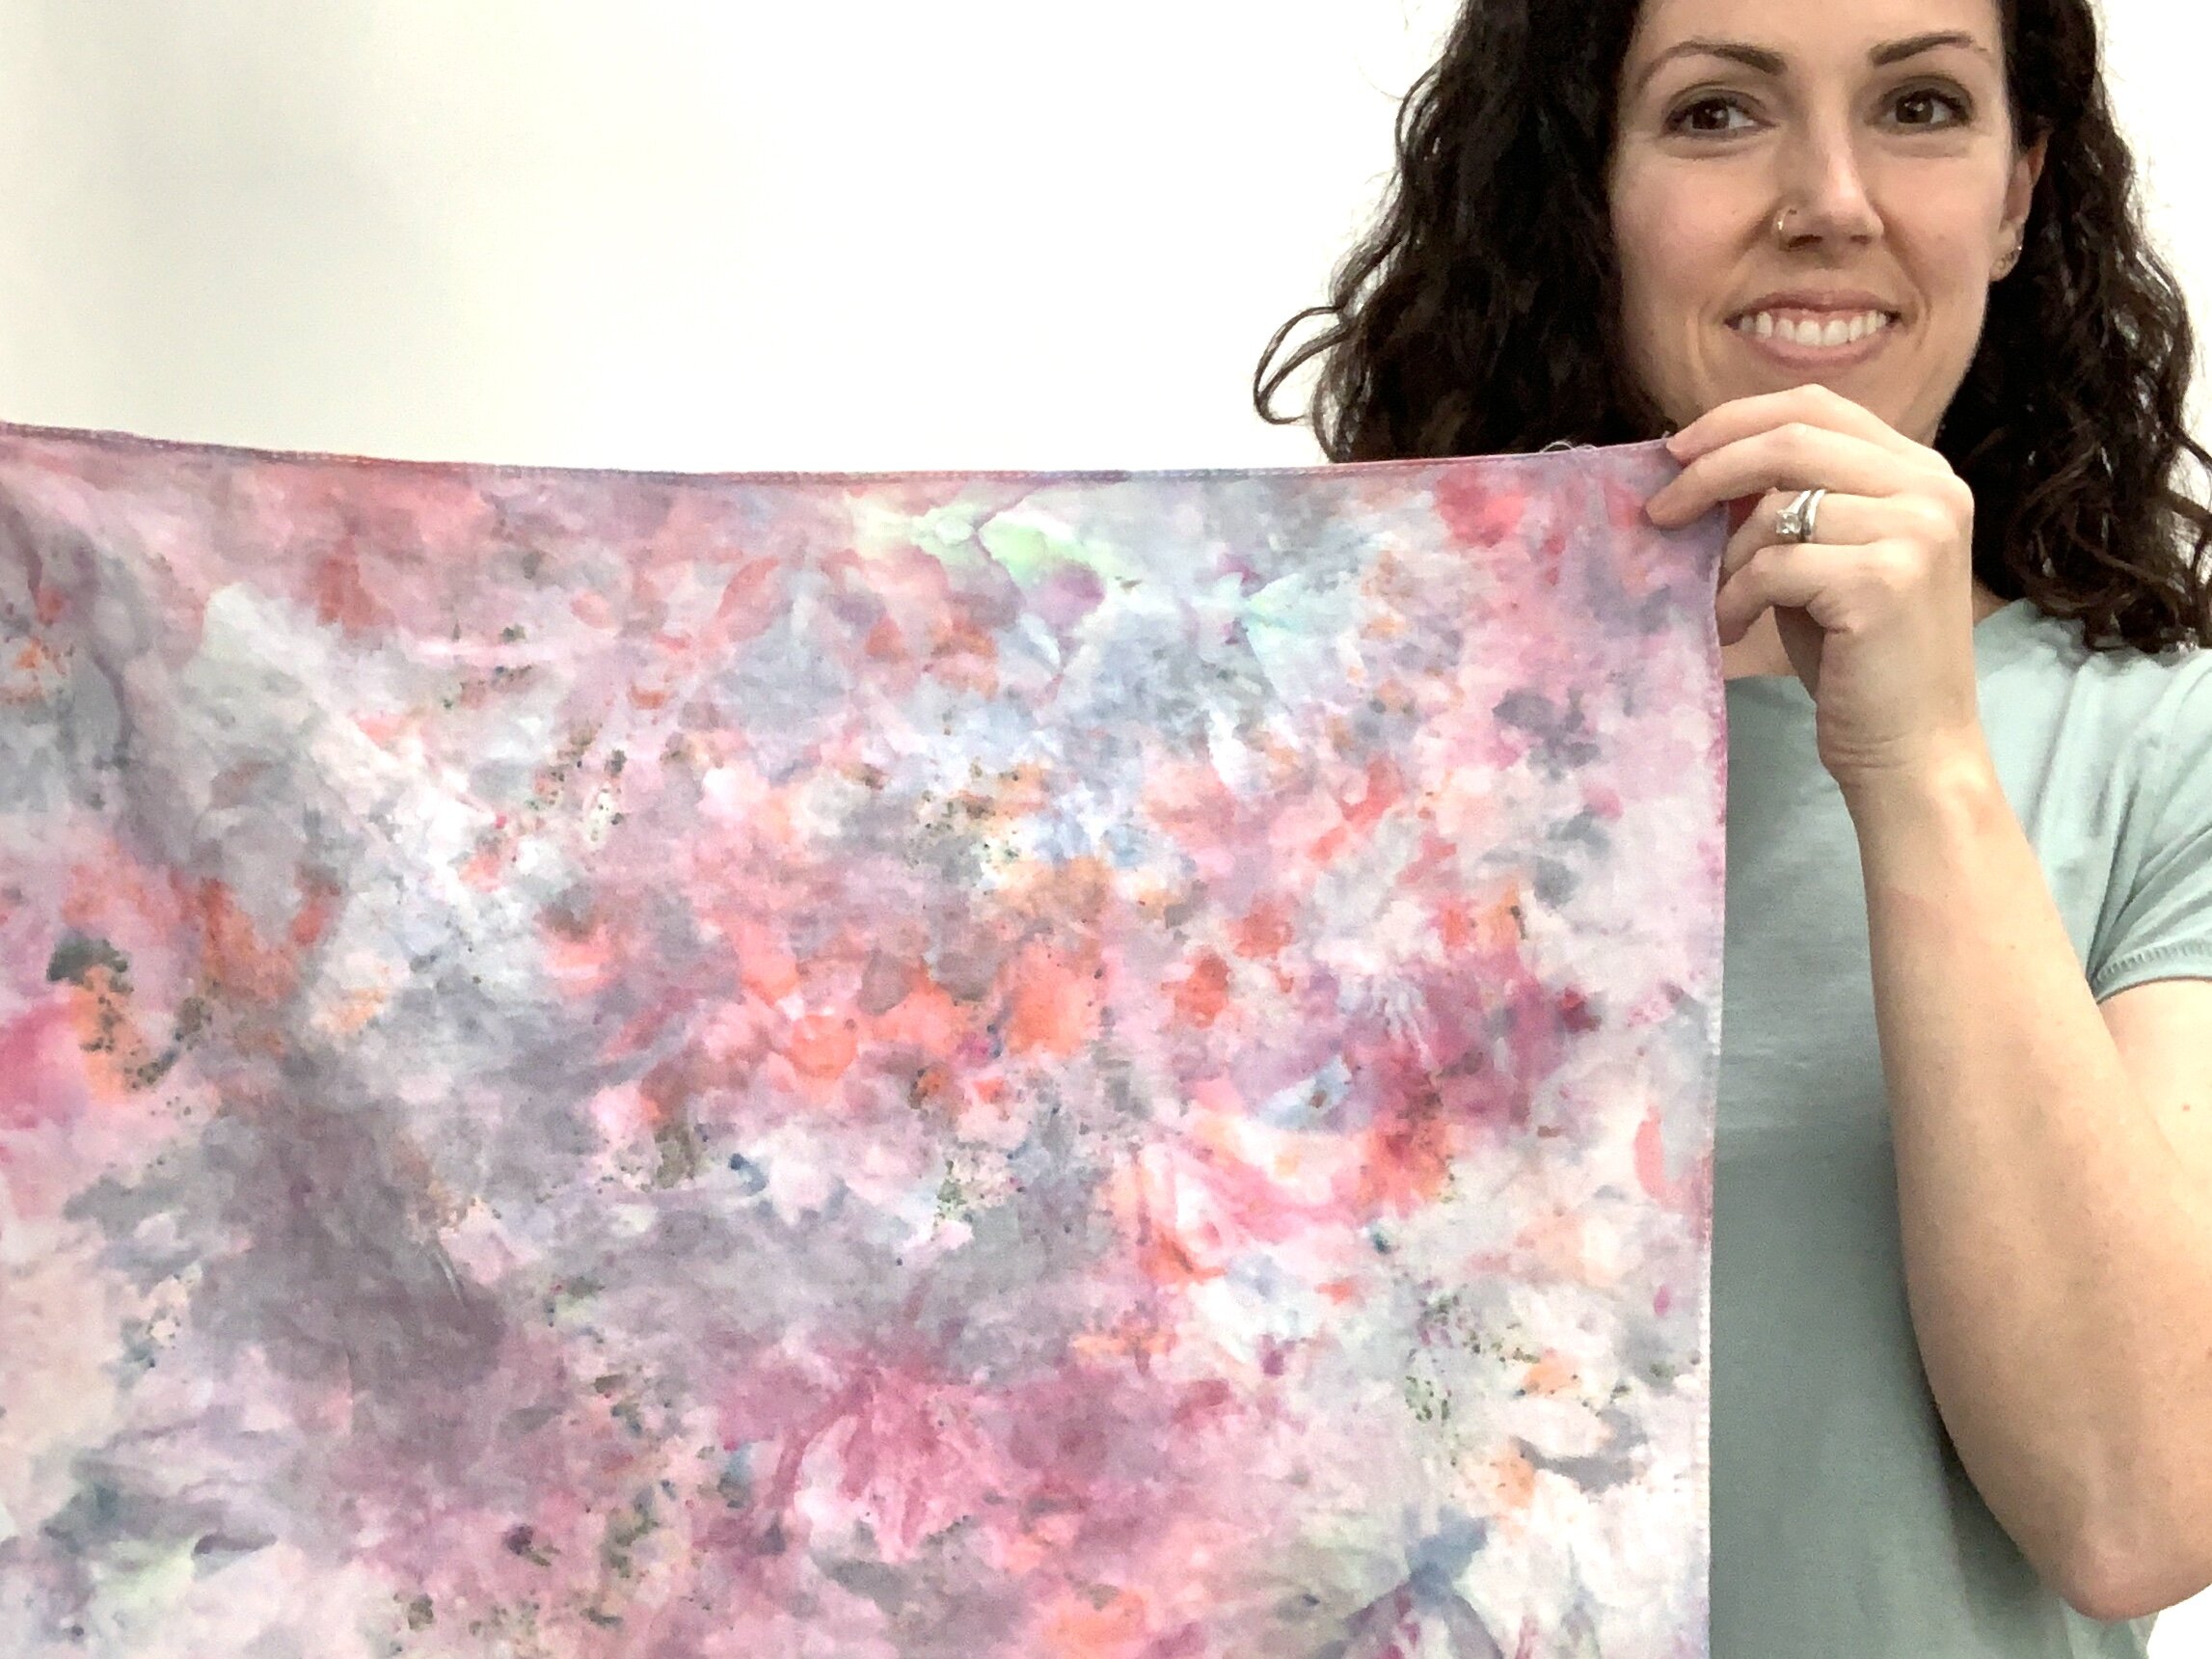
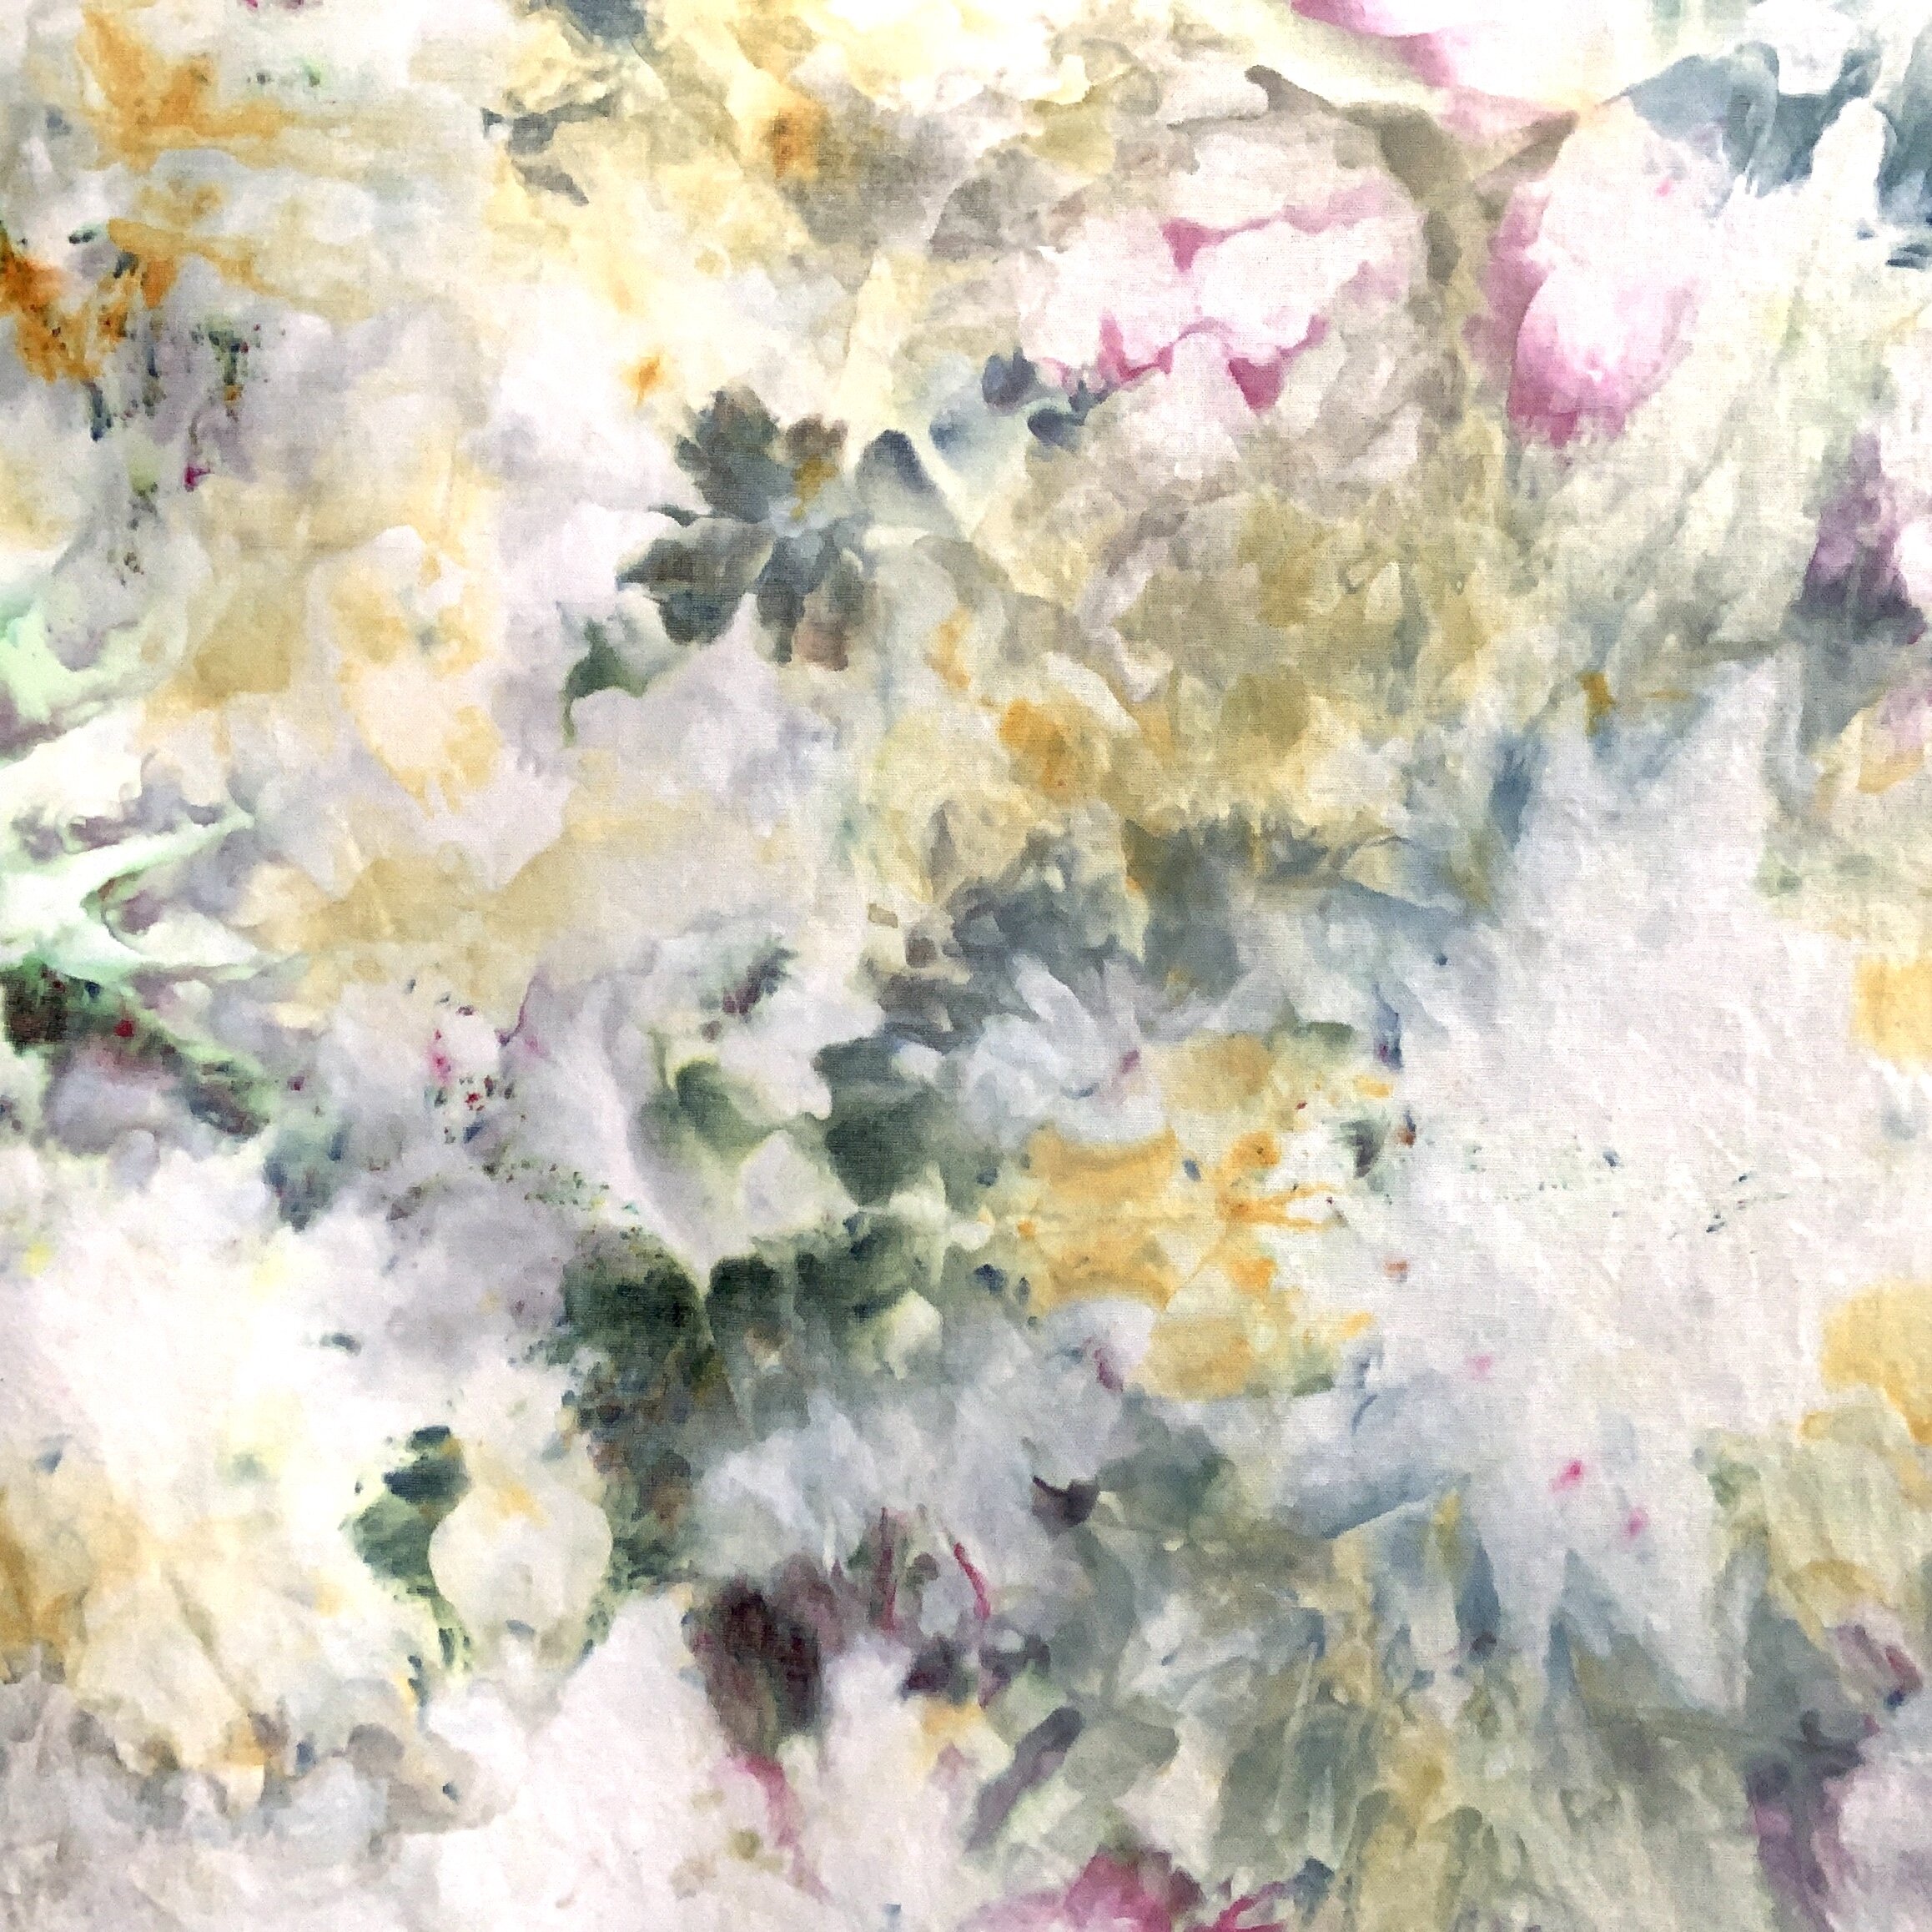
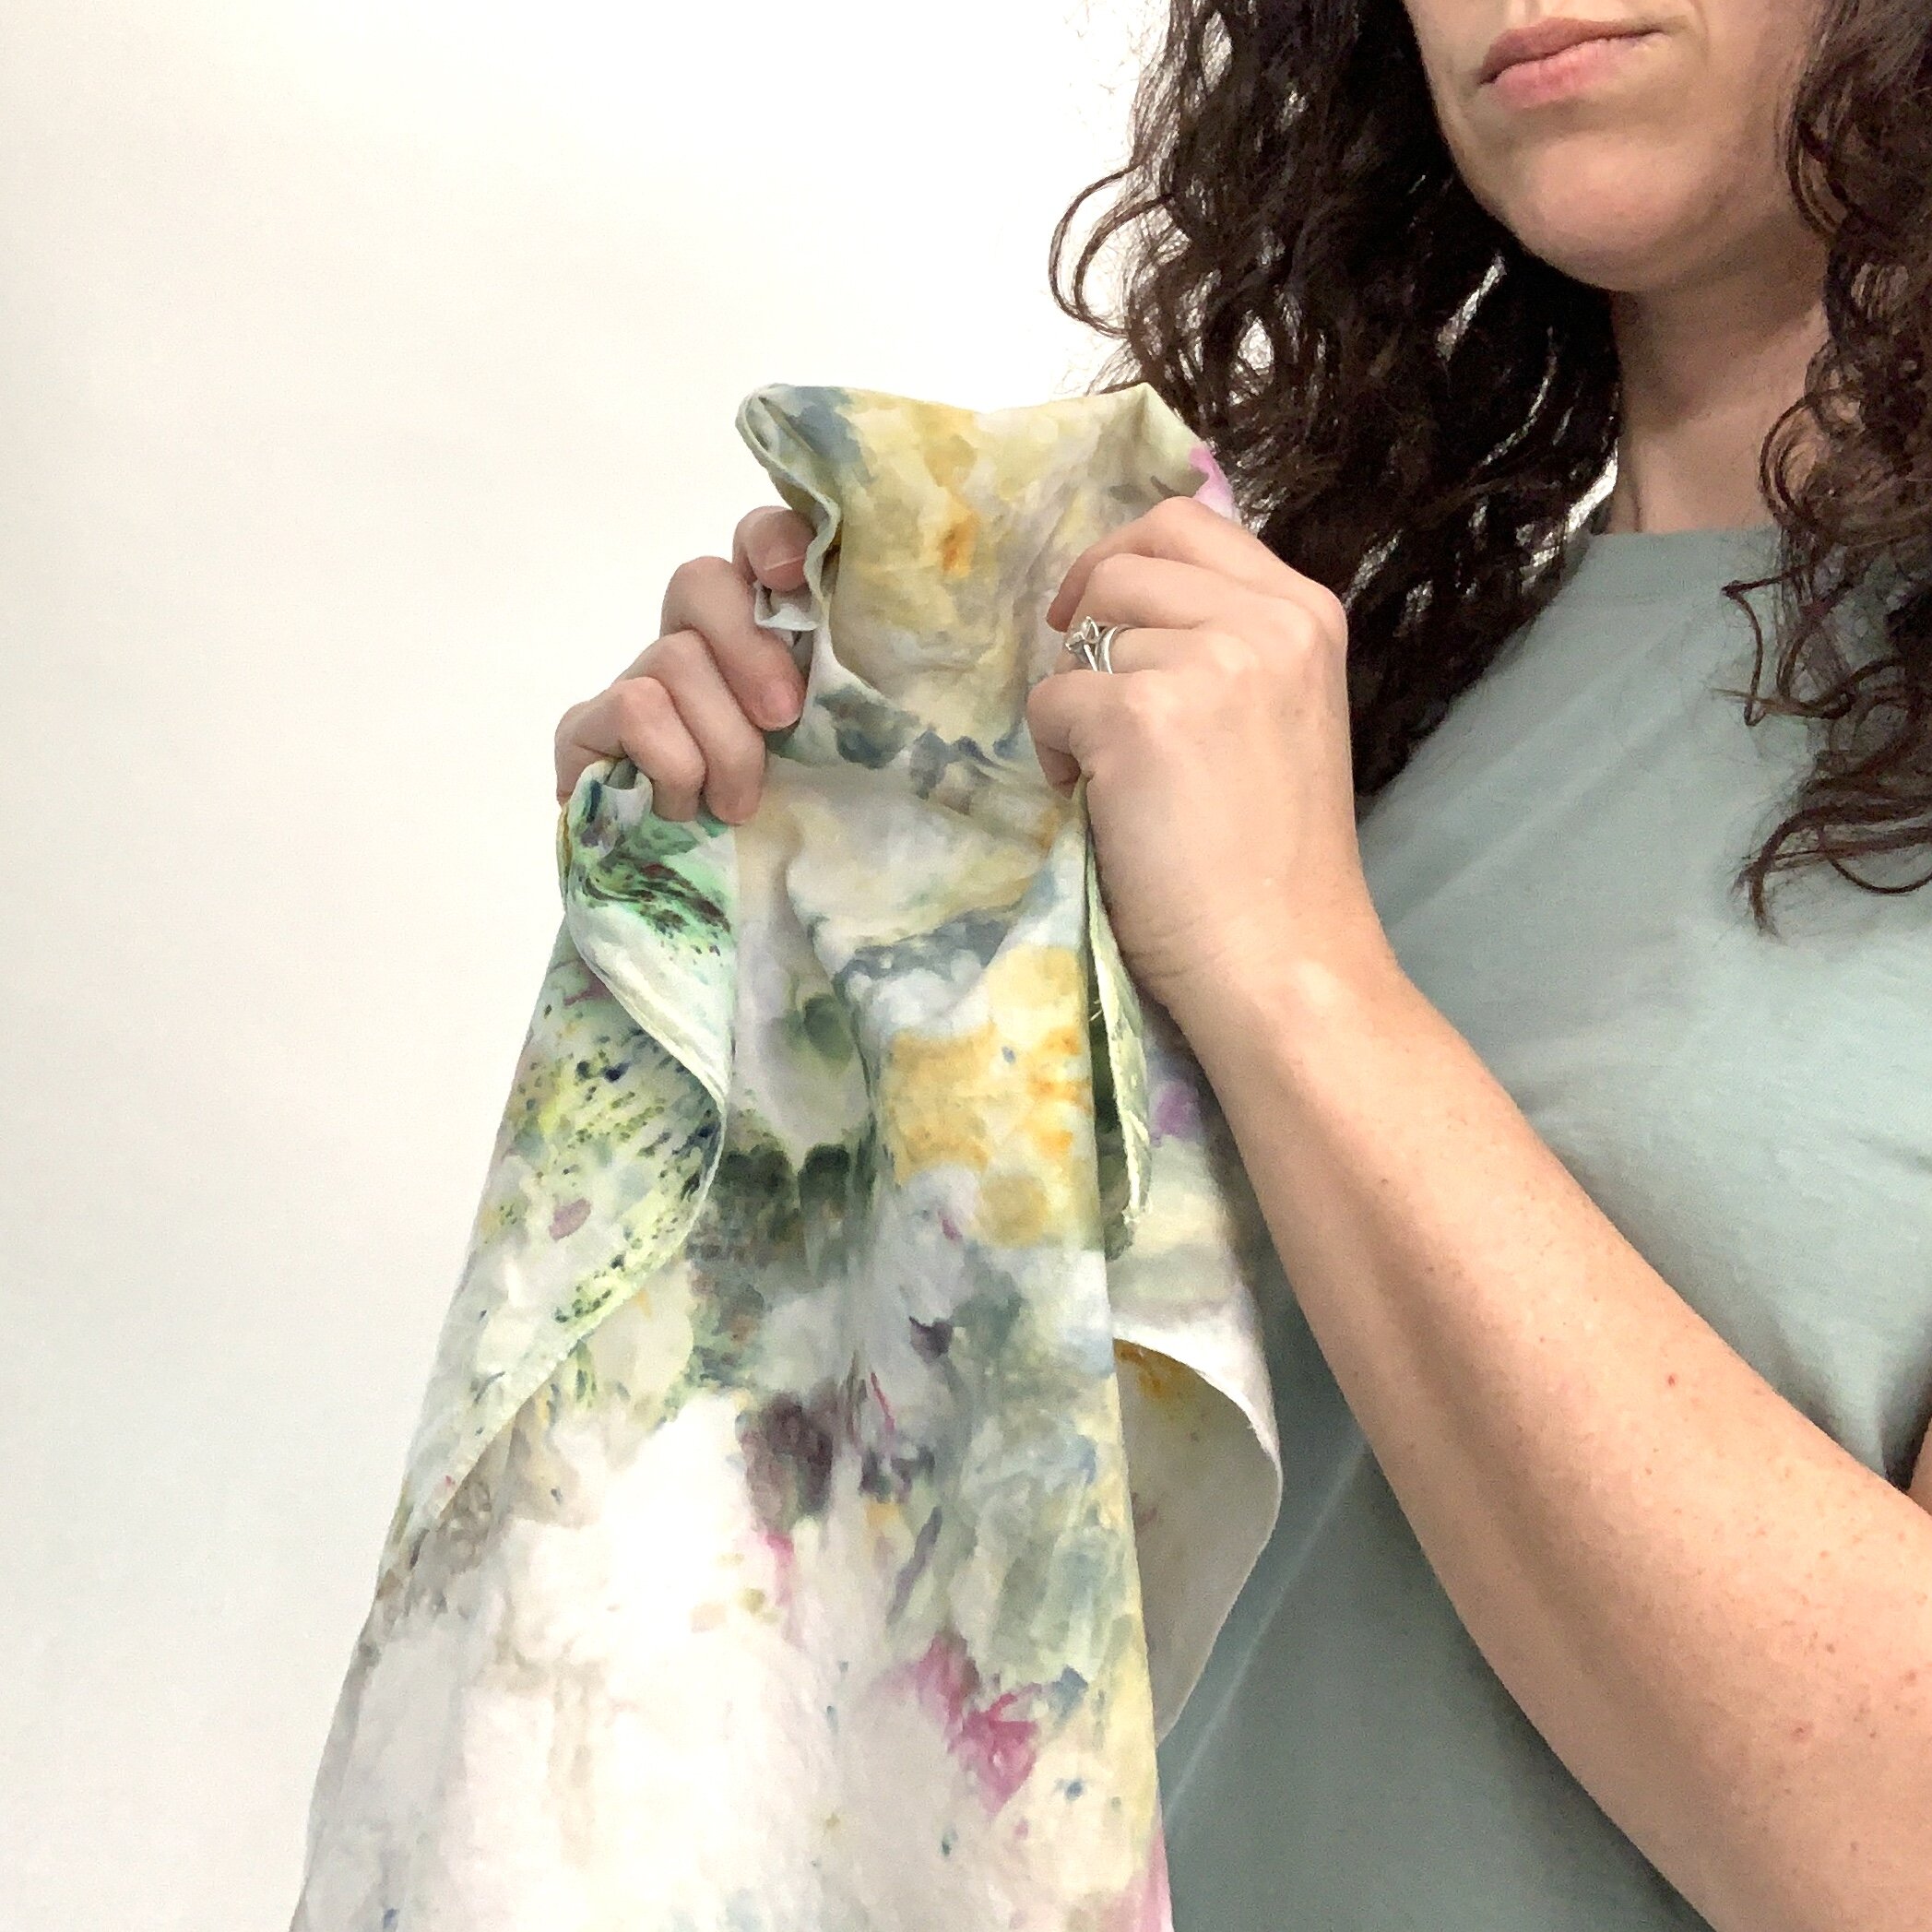
The beauty of ice dying is you have almost no control over the outcome. Sure, you can choose your colors and garments, you can sprinkle the dye or dump concentrated sections of dye, but other that that, the ice is going to decide your pattern. Try scrunching up your fabric, try laying it flat, try dying a second time overtop of your first round, if you’re not completely happy with the results. Just have fun!
Check out the 60 second process video at the end of this post so you can see the magic for your self.
SUPPLY LIST
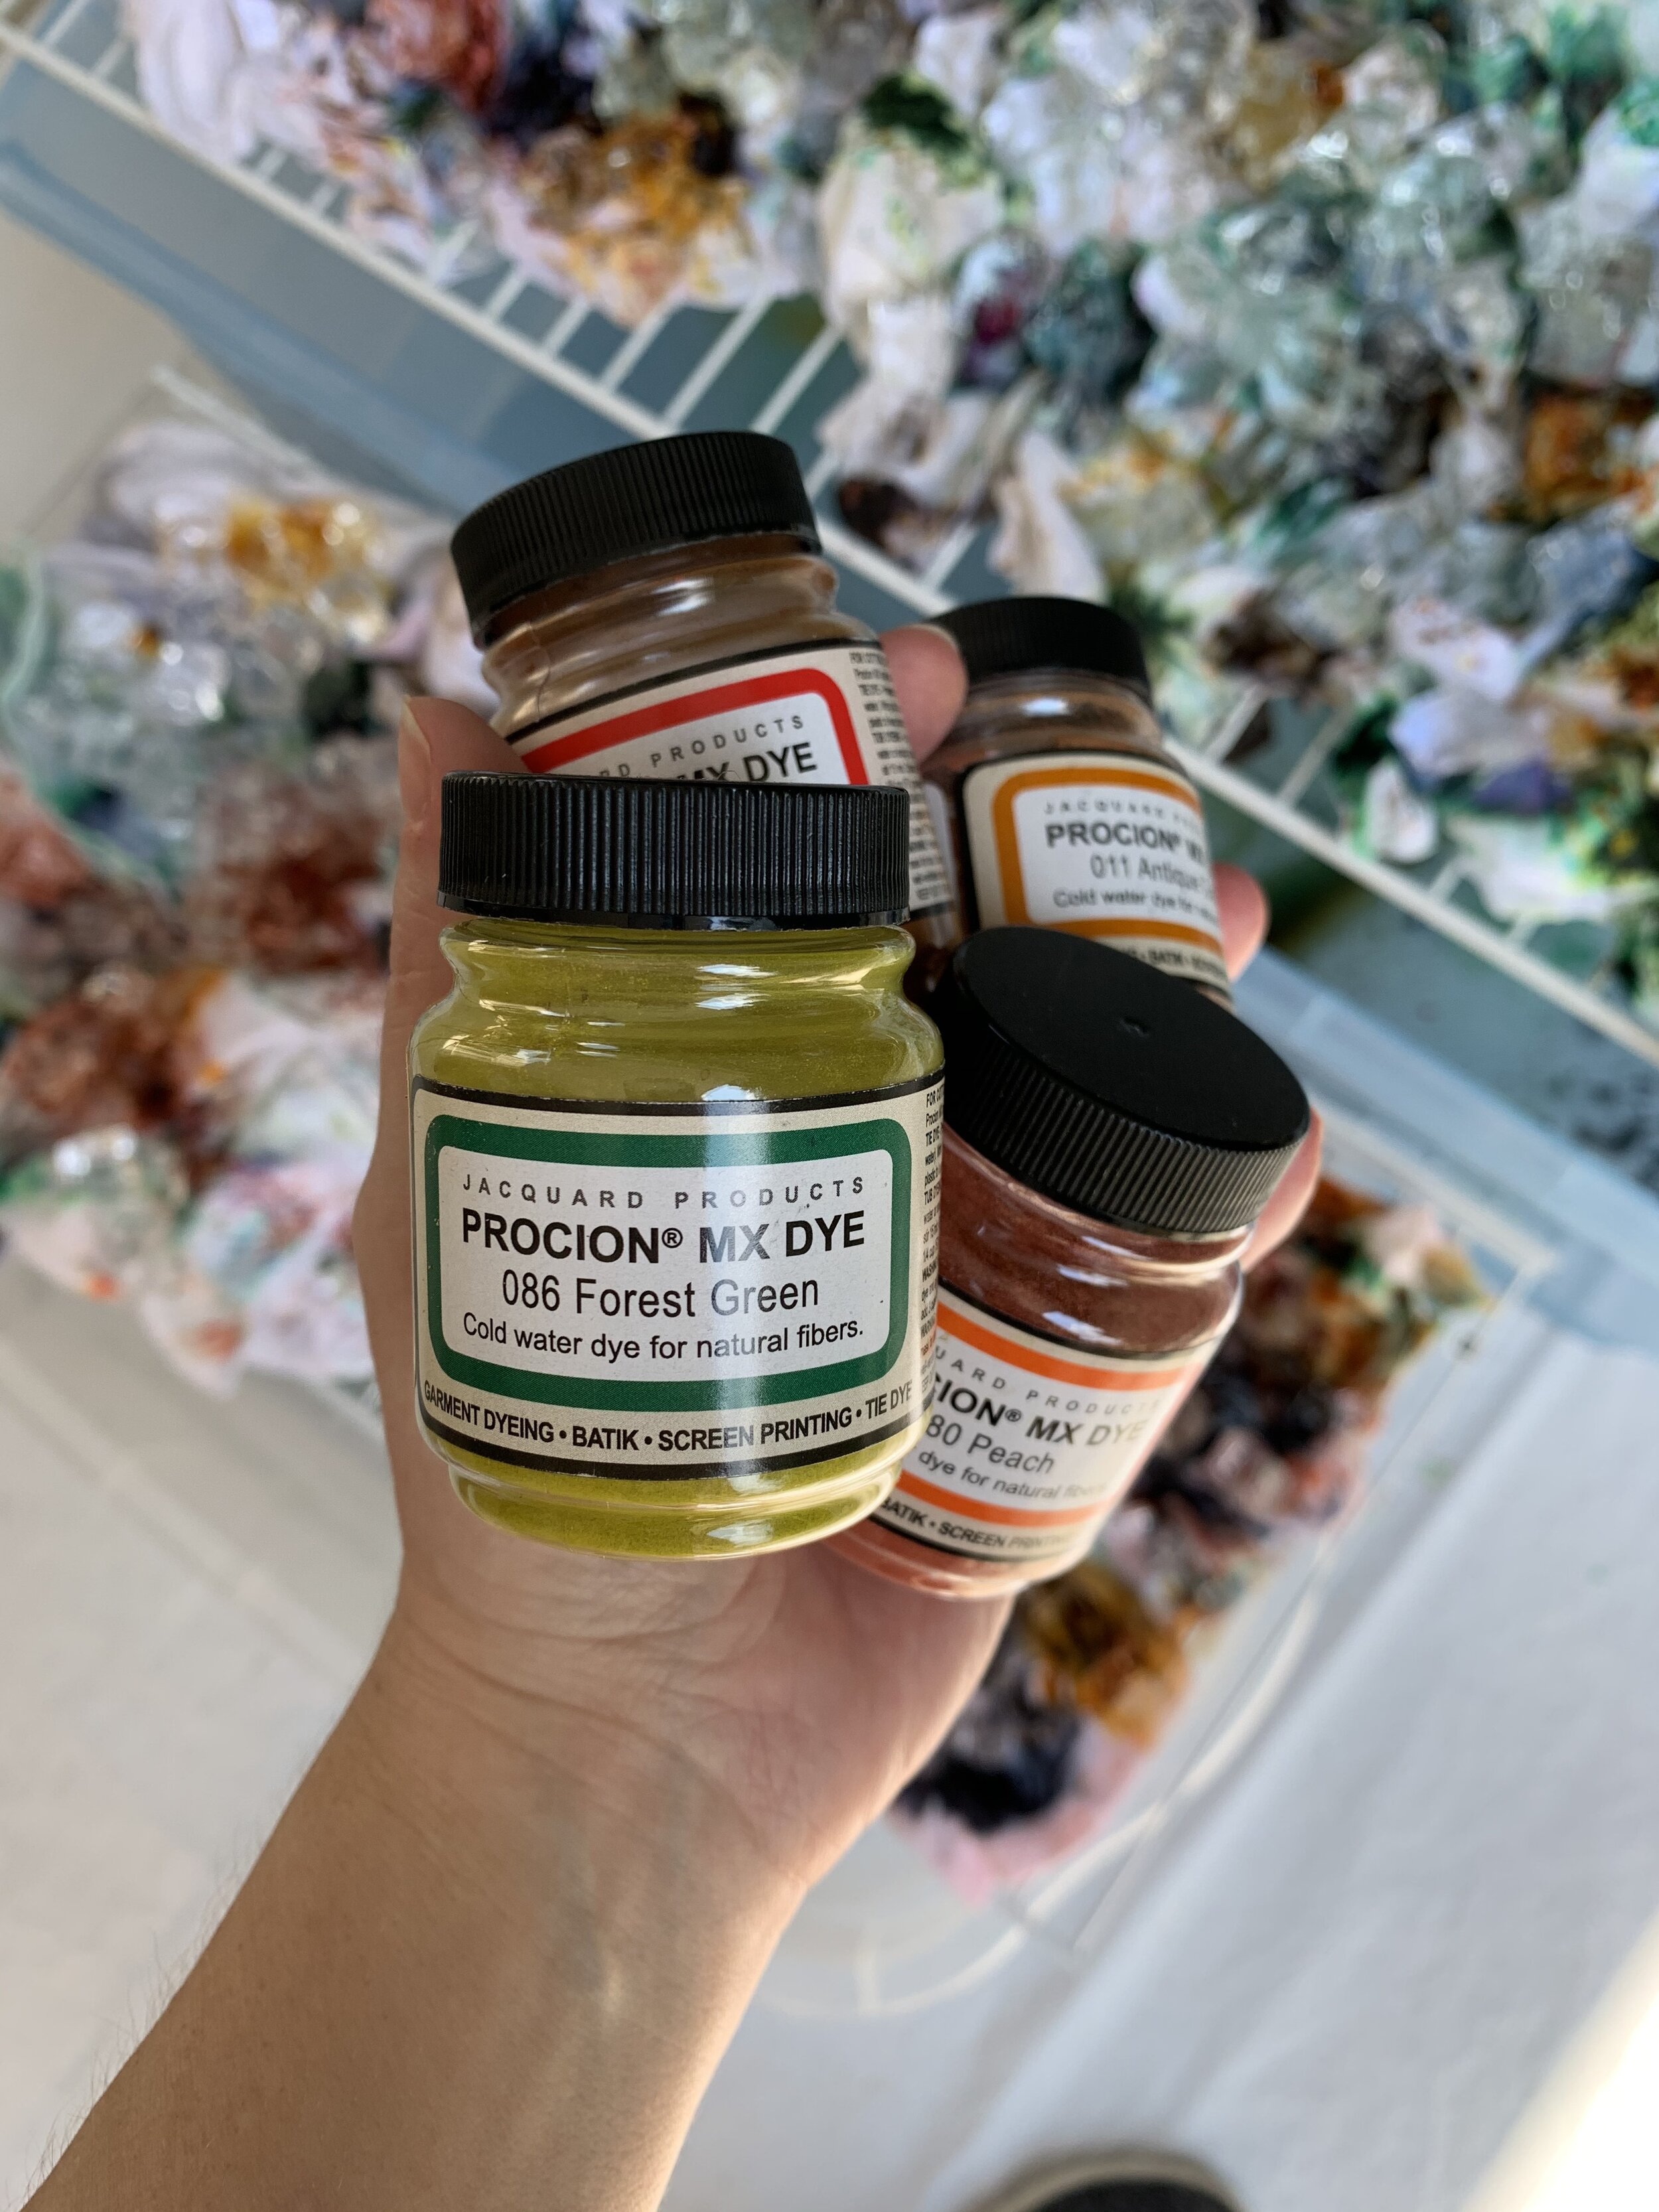
DYE: You’ll need a high quality powder dye. I tried a few dye products and had the best results with Jacquard Procion MX Fiber Reactive Cold Water Dye which can be purchased on Amazon or Dick Blick. There’s a huge range of colors, and the dye yields wonderfully vibrant colors on the fabric.
LESSON LEARNED: I know it’s tempting to use Rit dye. I know this because that’s what I did, and why my first three batches didn’t work out. Rit dye is easy to find, its inexpensive, they have enough colors to get you started, they even have an ice dying DIY article on their website, but I had zero success with it. Even after adding a Rit dye color fixer product, the color always appeared washed out.
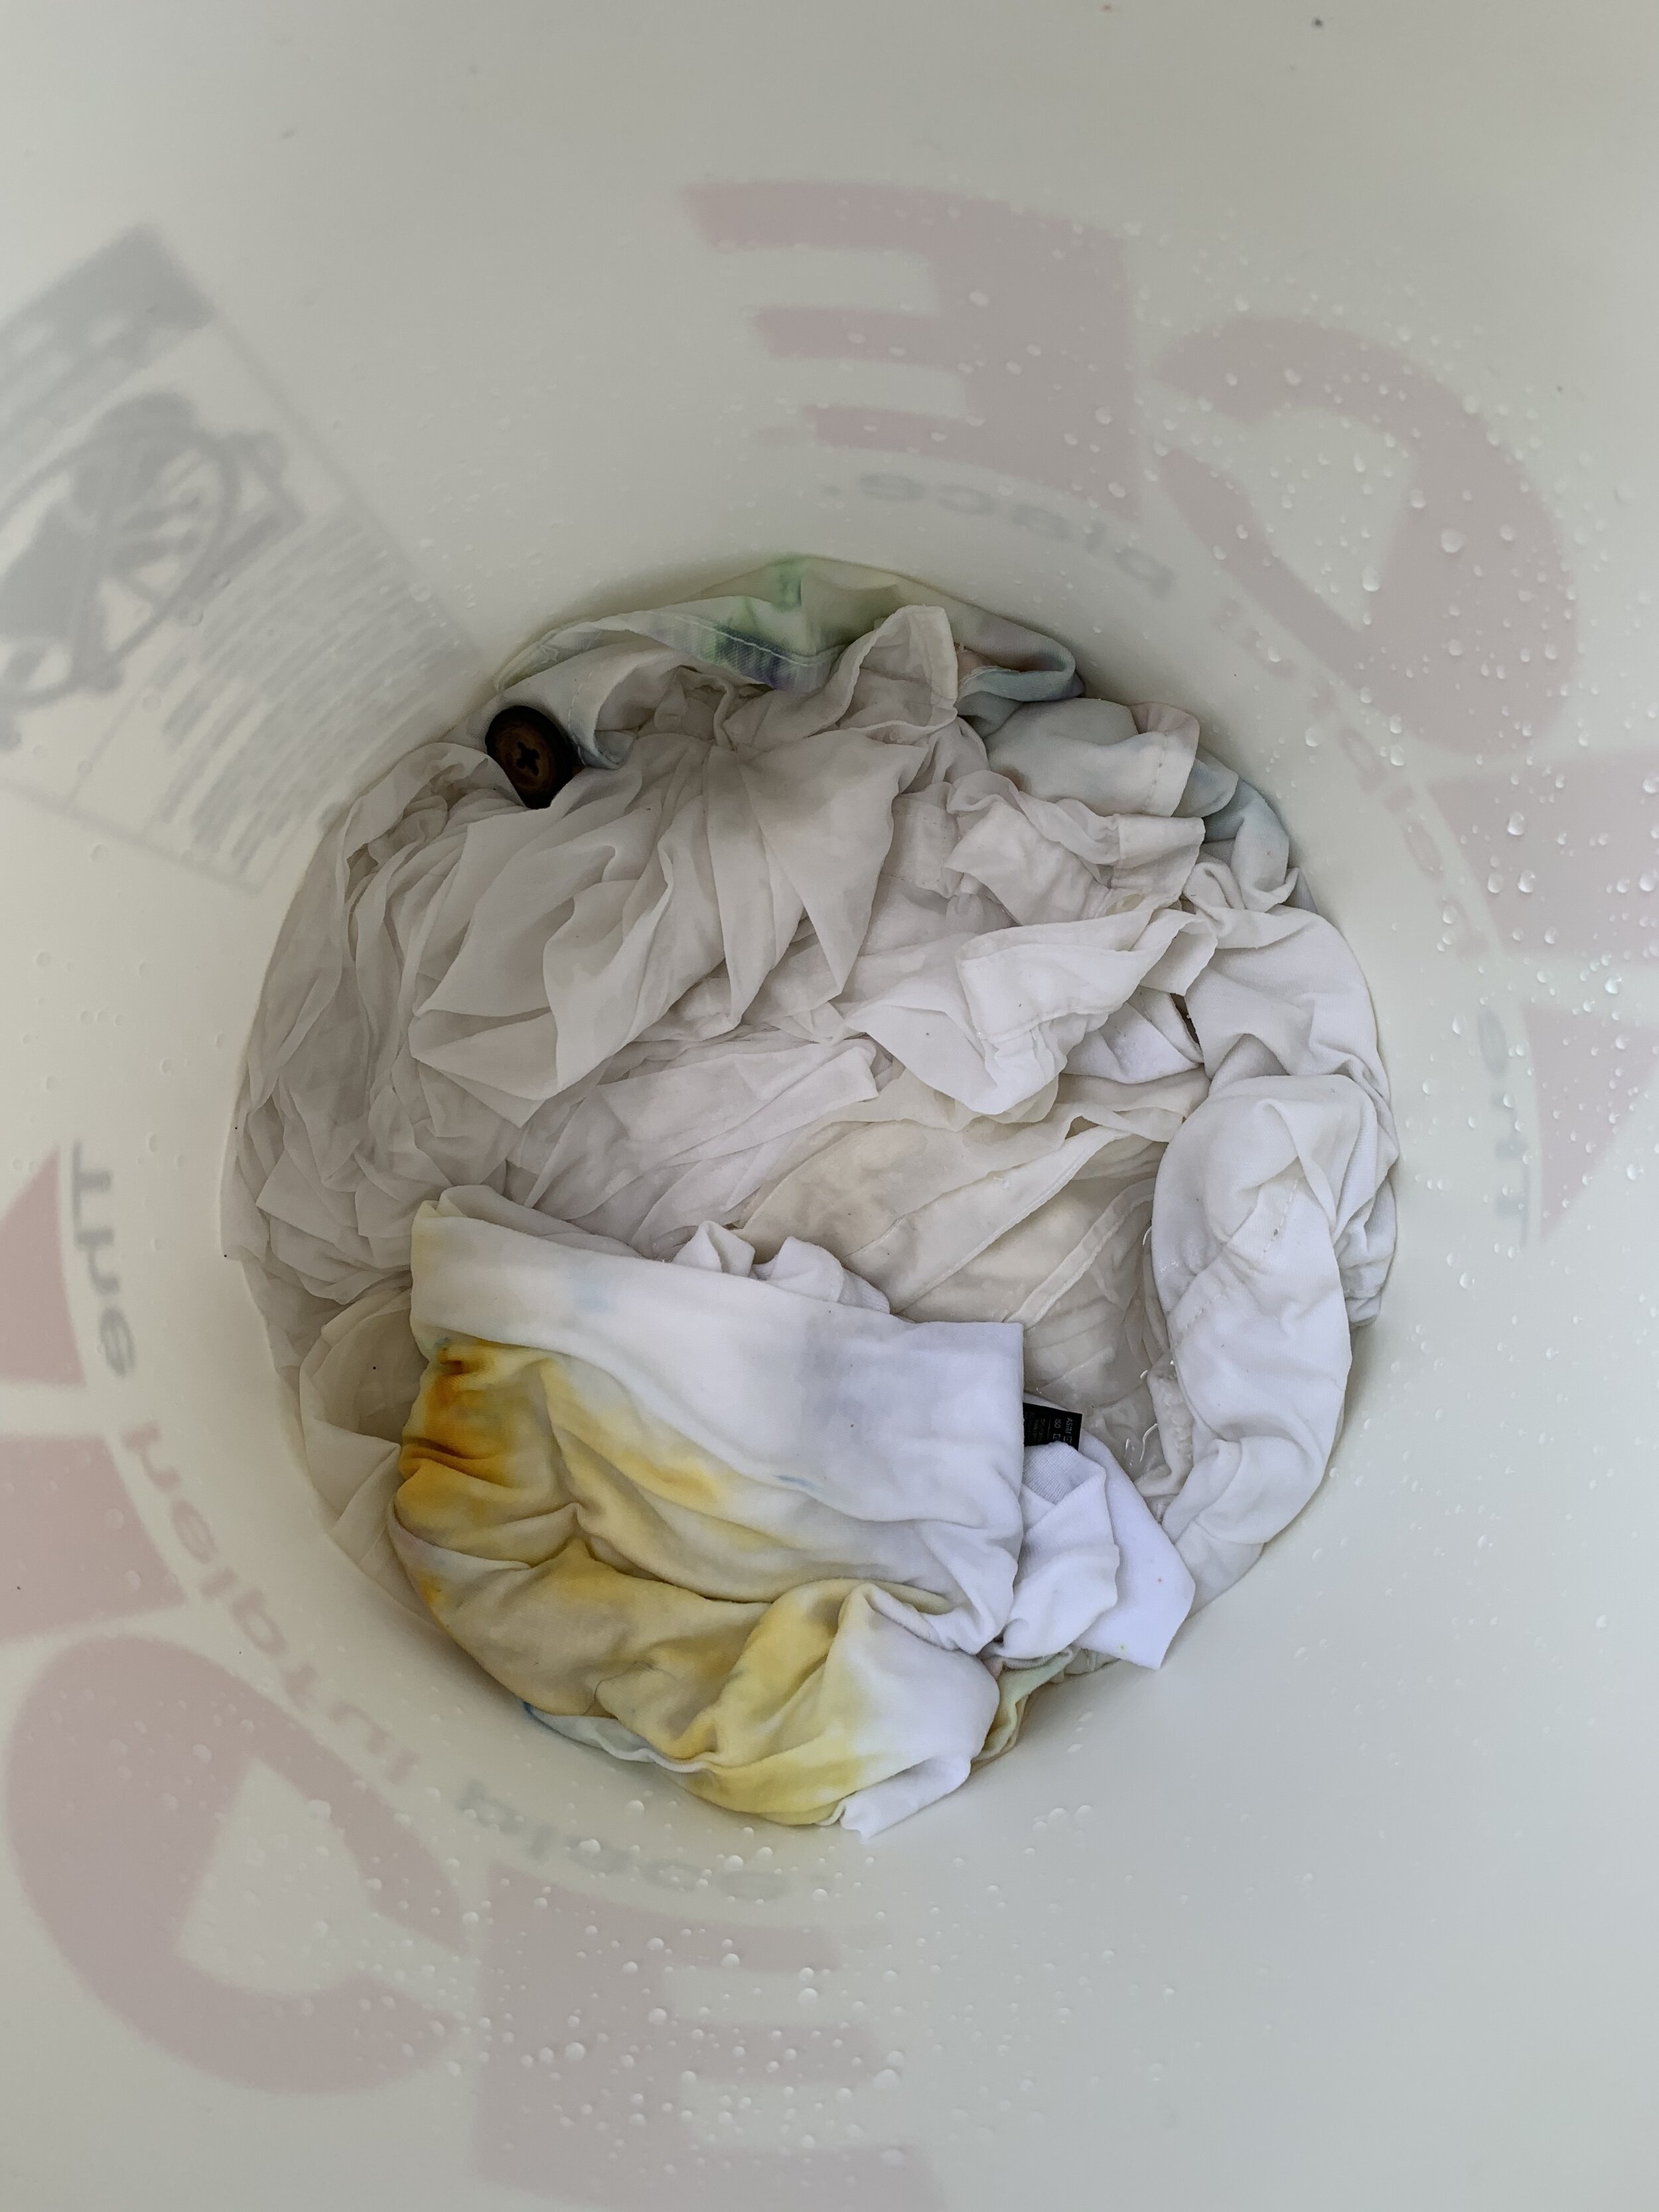
SODA ASH: This can be purchased at fabric stores or online. You’ll mix water with the soda ash to make a soaking solution for your fabric before you dye it.
LESSON LEARNED: Be sure to soak at least 20 minutes.
MASK & GLOVES: we’re in a pandemic so you probably have these already! Wear both when mixing your soda ash, and when sprinkling the dye powder. Both products get airborne very easily and you do not want to be breathing that. Also wear the gloves when coming into contact with the soda ash soak even once the powder has dissolved (it’s caustic). I would recommend wearing the gloves when handling the wet dyed fabric as well so you don’t stain your hands.
SYNTHROPOL: This speciality laundry detergent is great for hand dyed fabrics. You can use it for a pre-wash if needed, and to wash out any excess dye at the end.
ICE: Depending on how many items you’re dying at once, you’ll need at least a 10 pound bag of ice.
LESSON LEARNED: Just go ahead and buy the $2.79 pound bag of ice from the store. The ice maker in your fridge probably can’t keep up with this project.
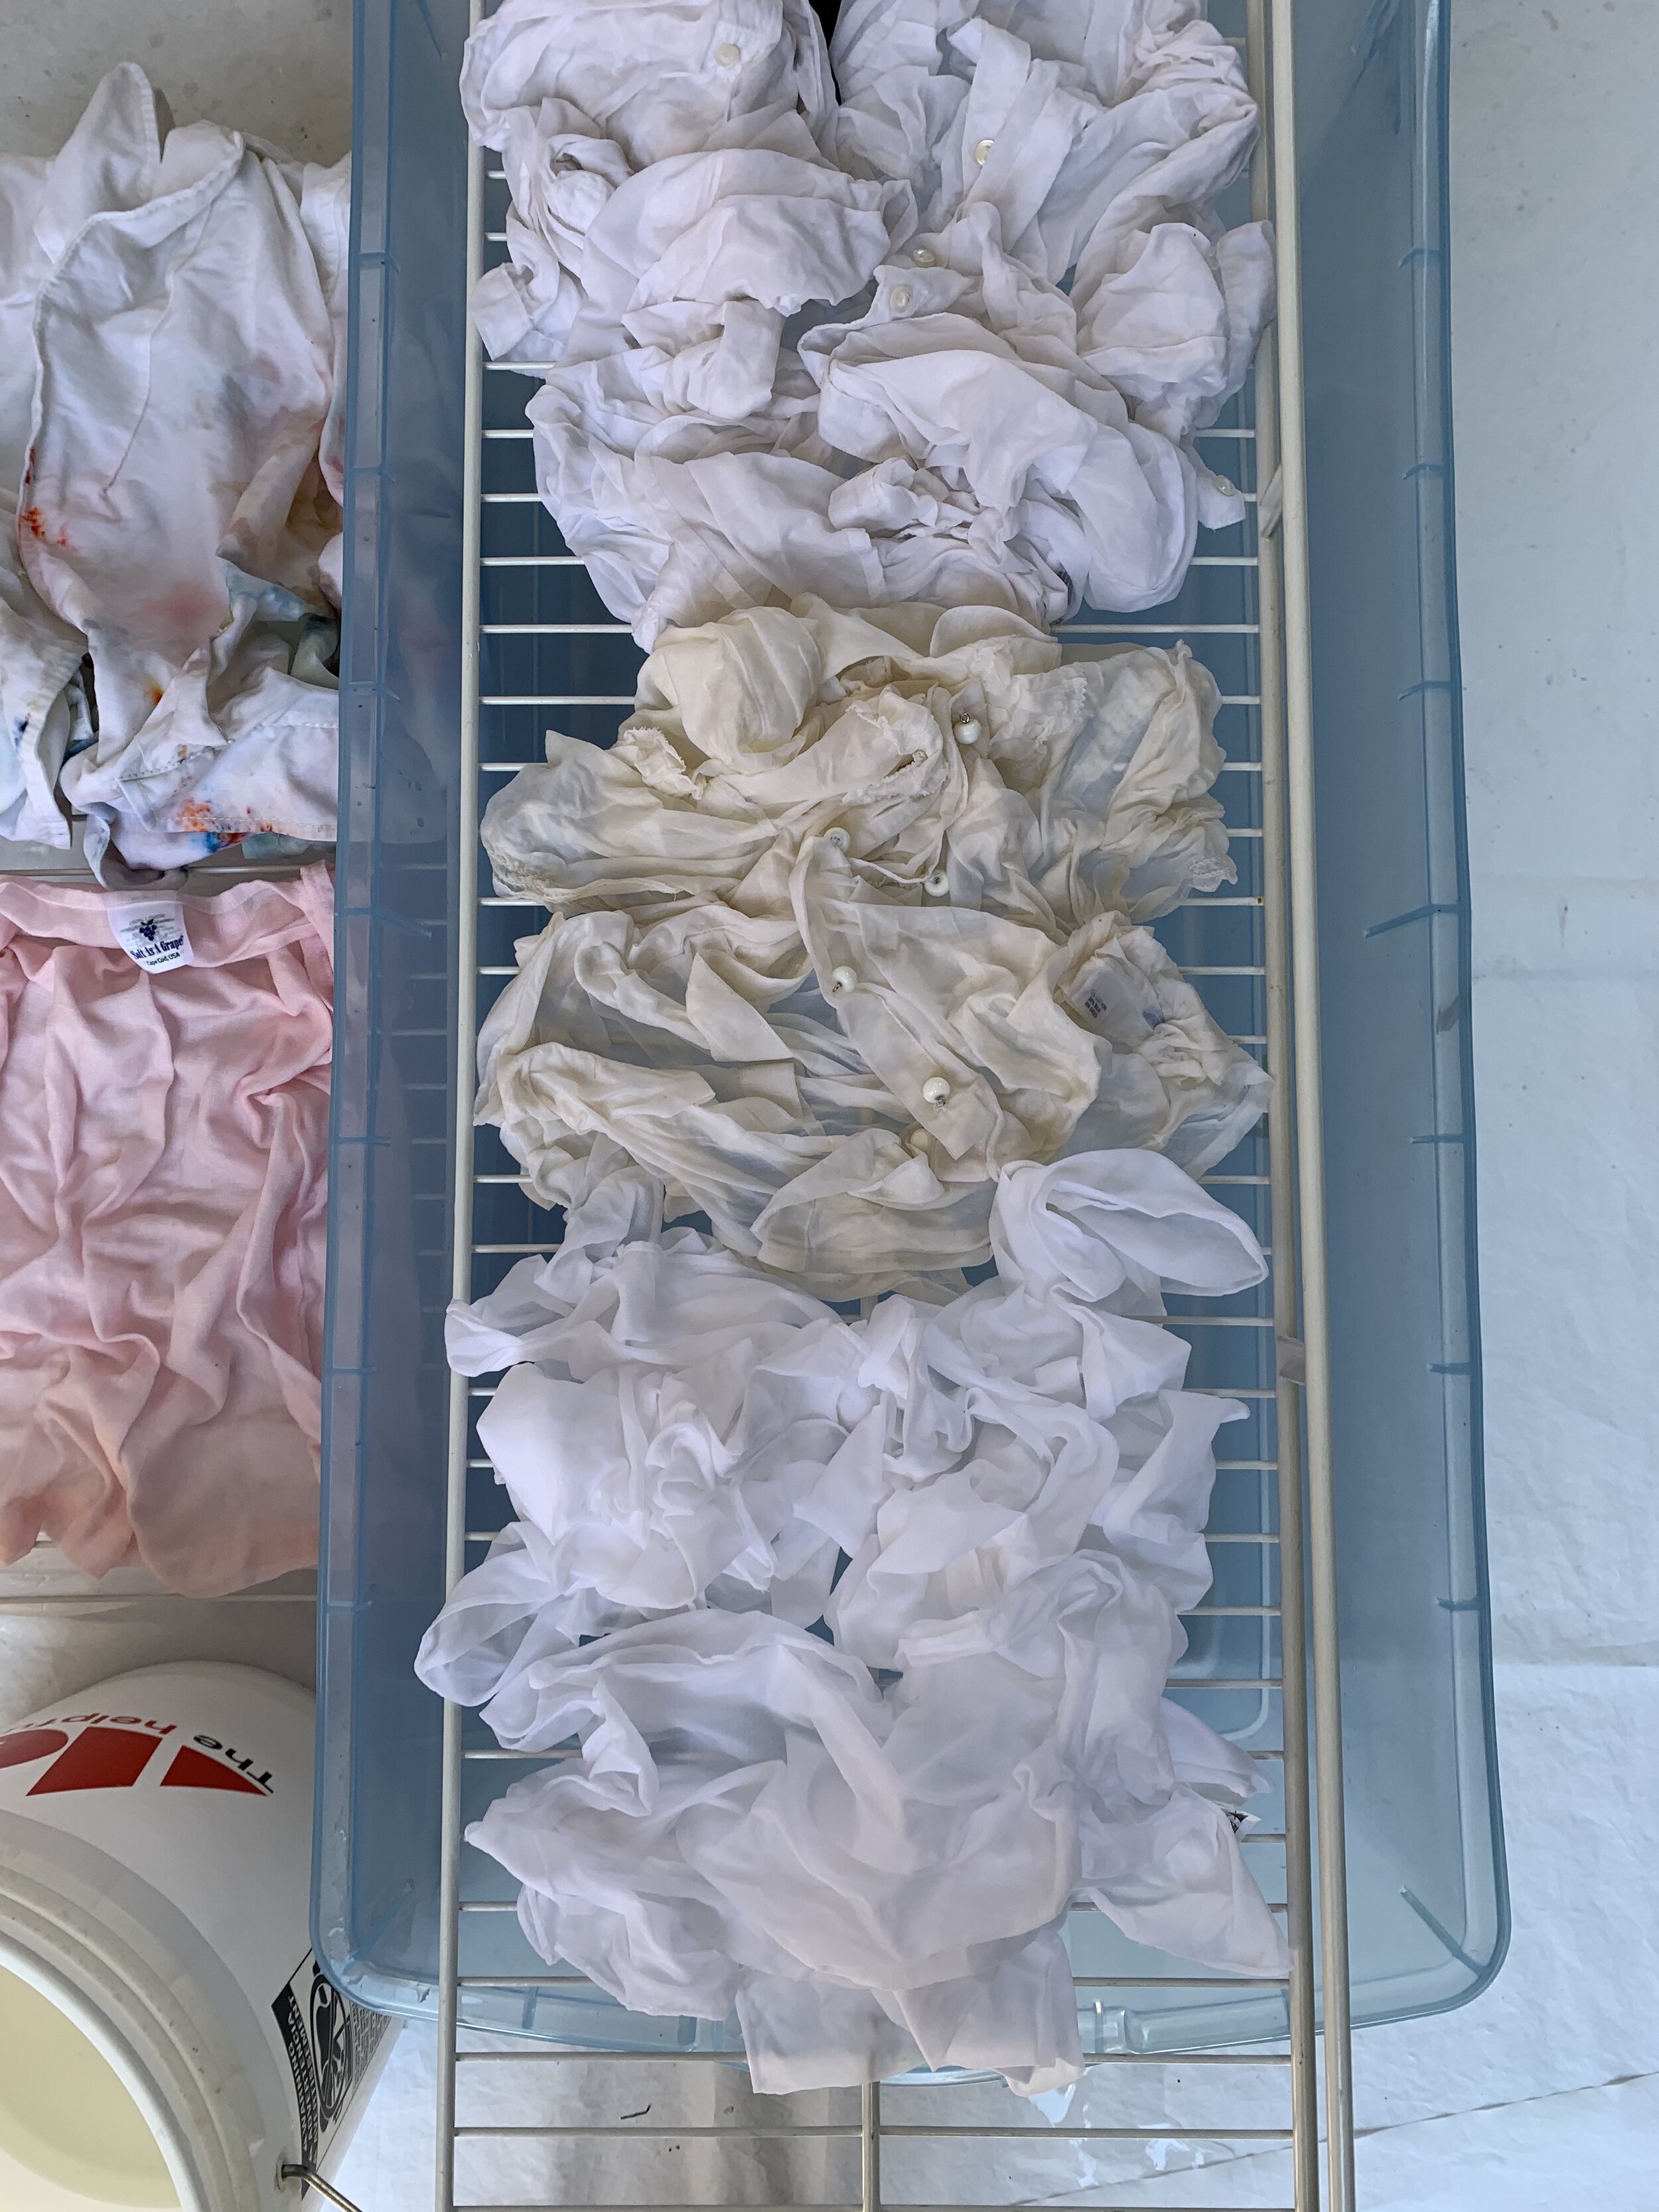
DYE AREA THAT DRAINS: Use a tub or tray (that’s deep enough to catch an inch or two of water) with a rack overtop. I used large storage bins and some wire shelving that I already had on hand from a closet up-fit. You could also use a a cookie cooling rack, a window screen, a dish drain…get creative and don’t feel like you have to spend a lot here!
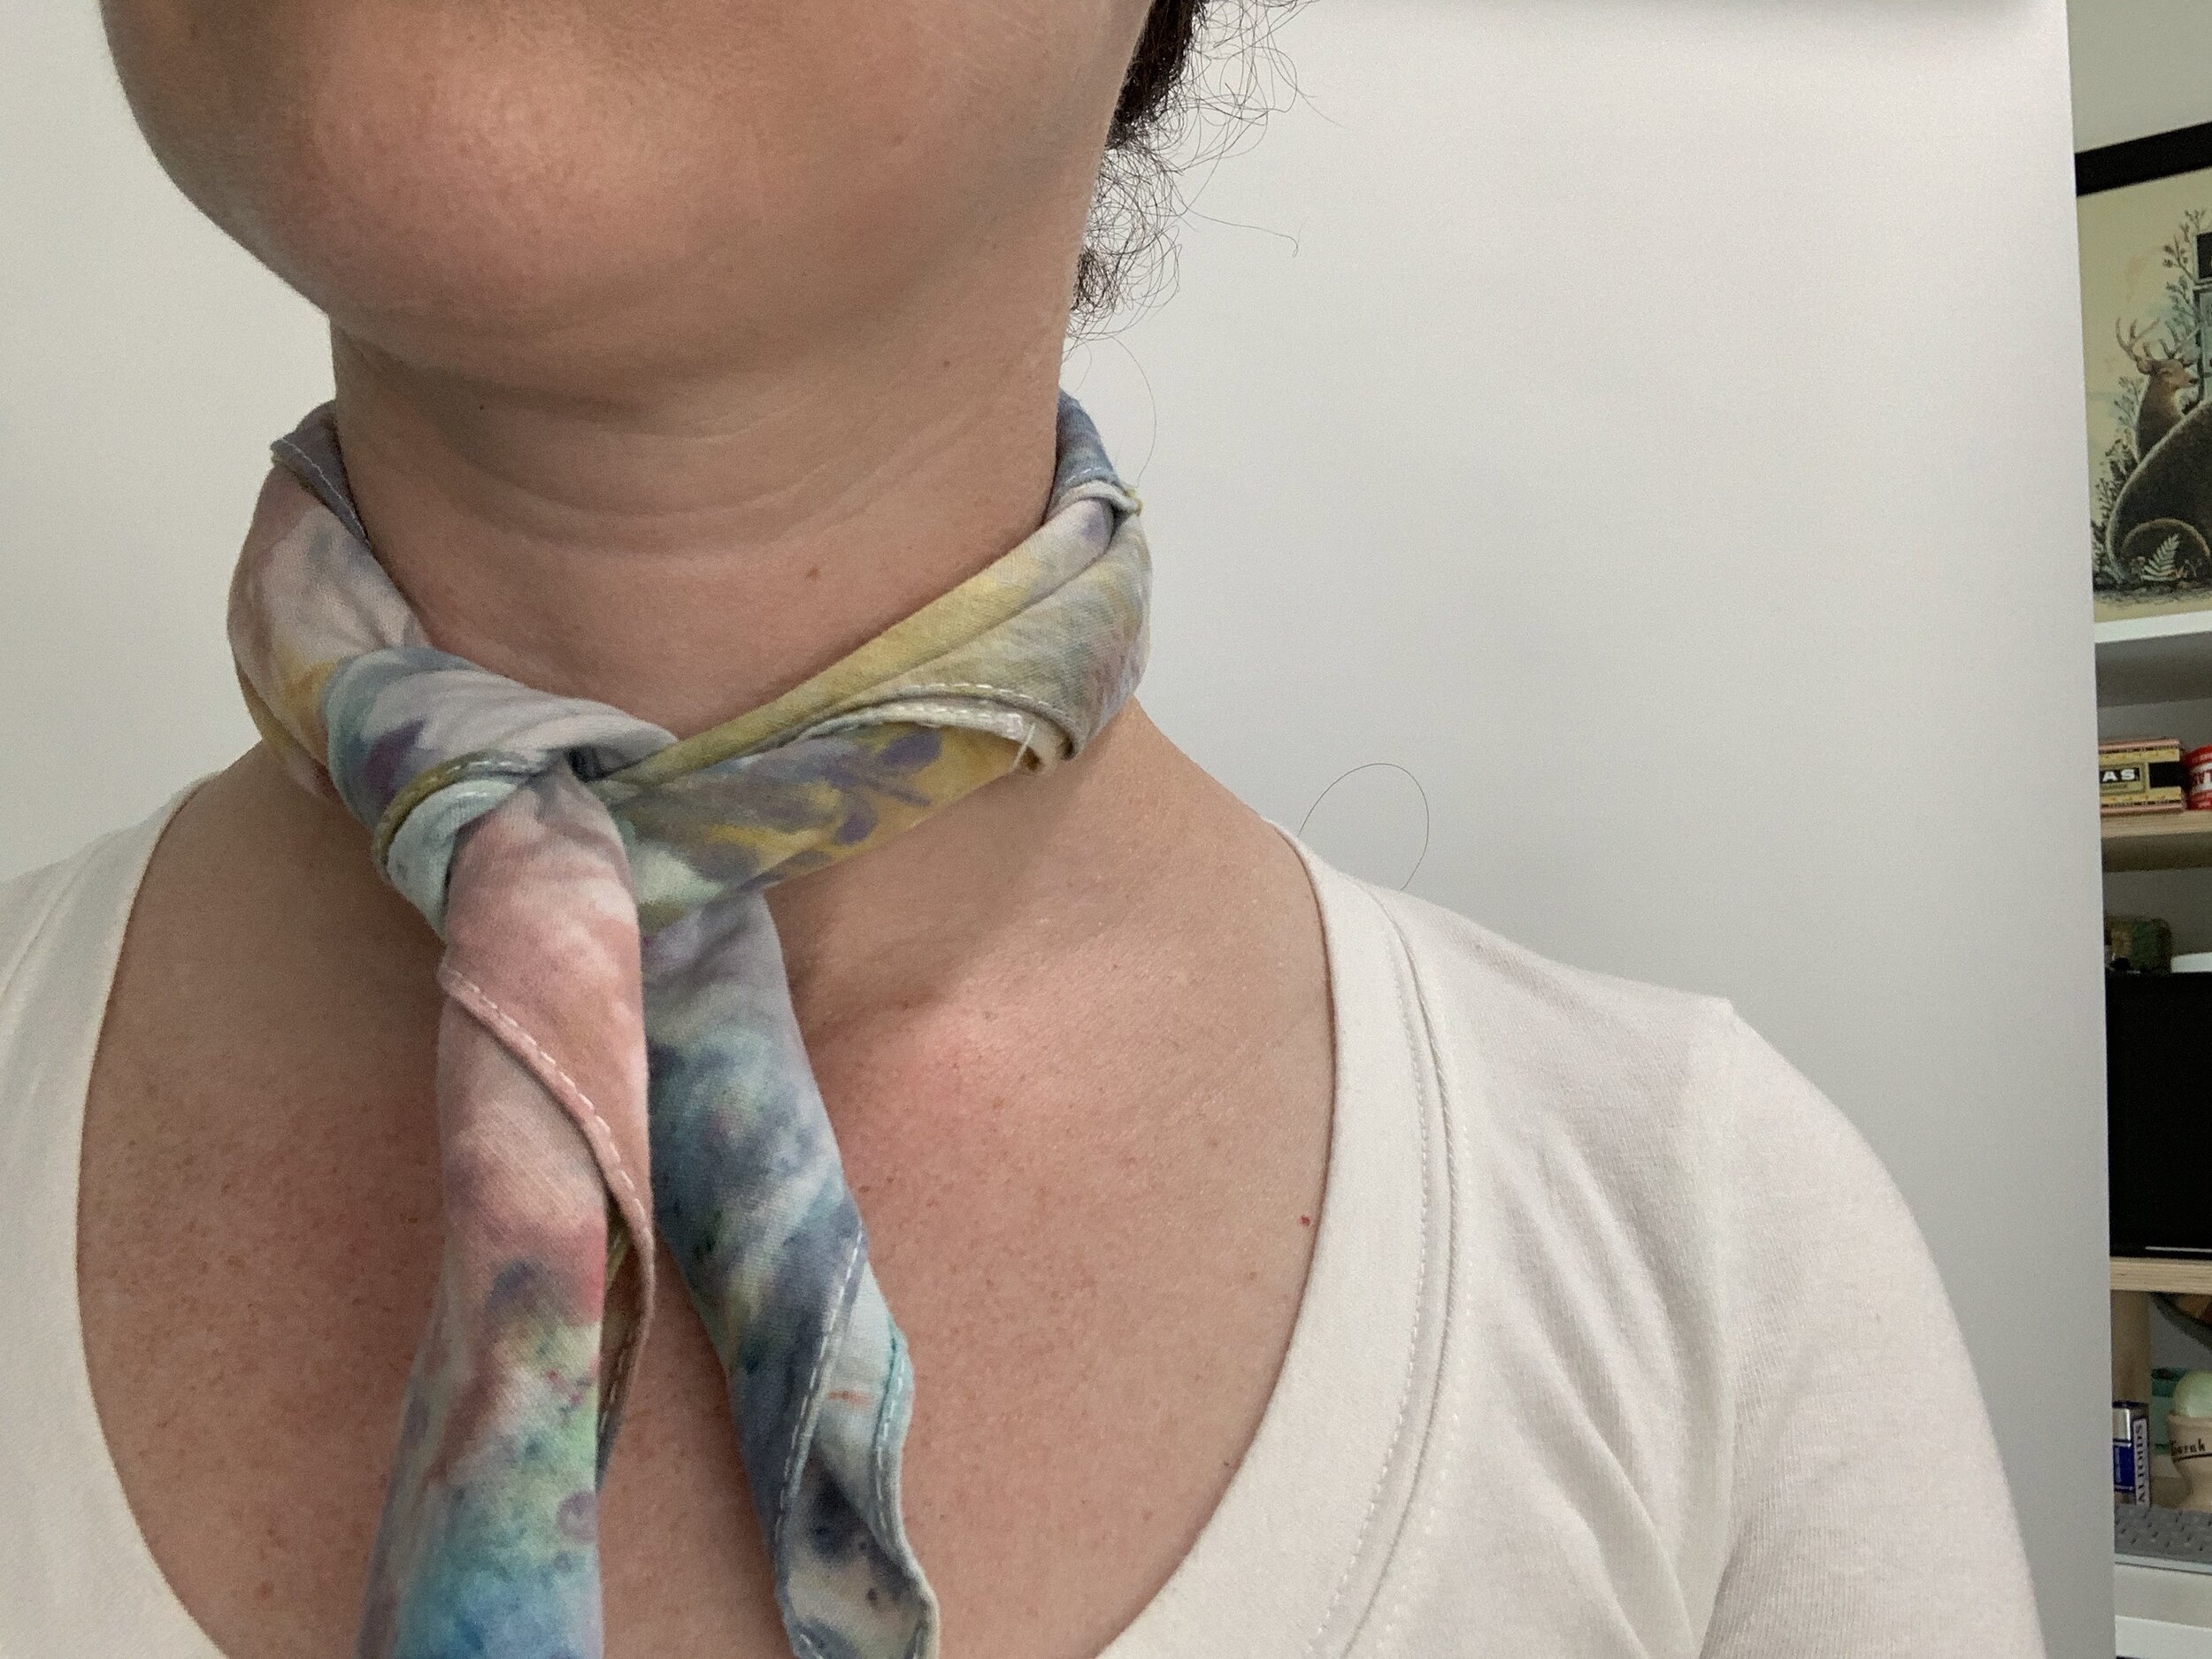
FABRIC: I found white or light colored clothing at Goodwill that had a high cotton content. I also purchased some blank white items from the craft store (bandanas, t-shirts, zipper pouches, etc.)
10 Step DIY:
Pre-wash the fabric with Synthropol and allow to dry.
Mix soda ash and water, and soak fabric for at least 20 minutes.
Wring excess soda ash water, and place fabric on your racks.
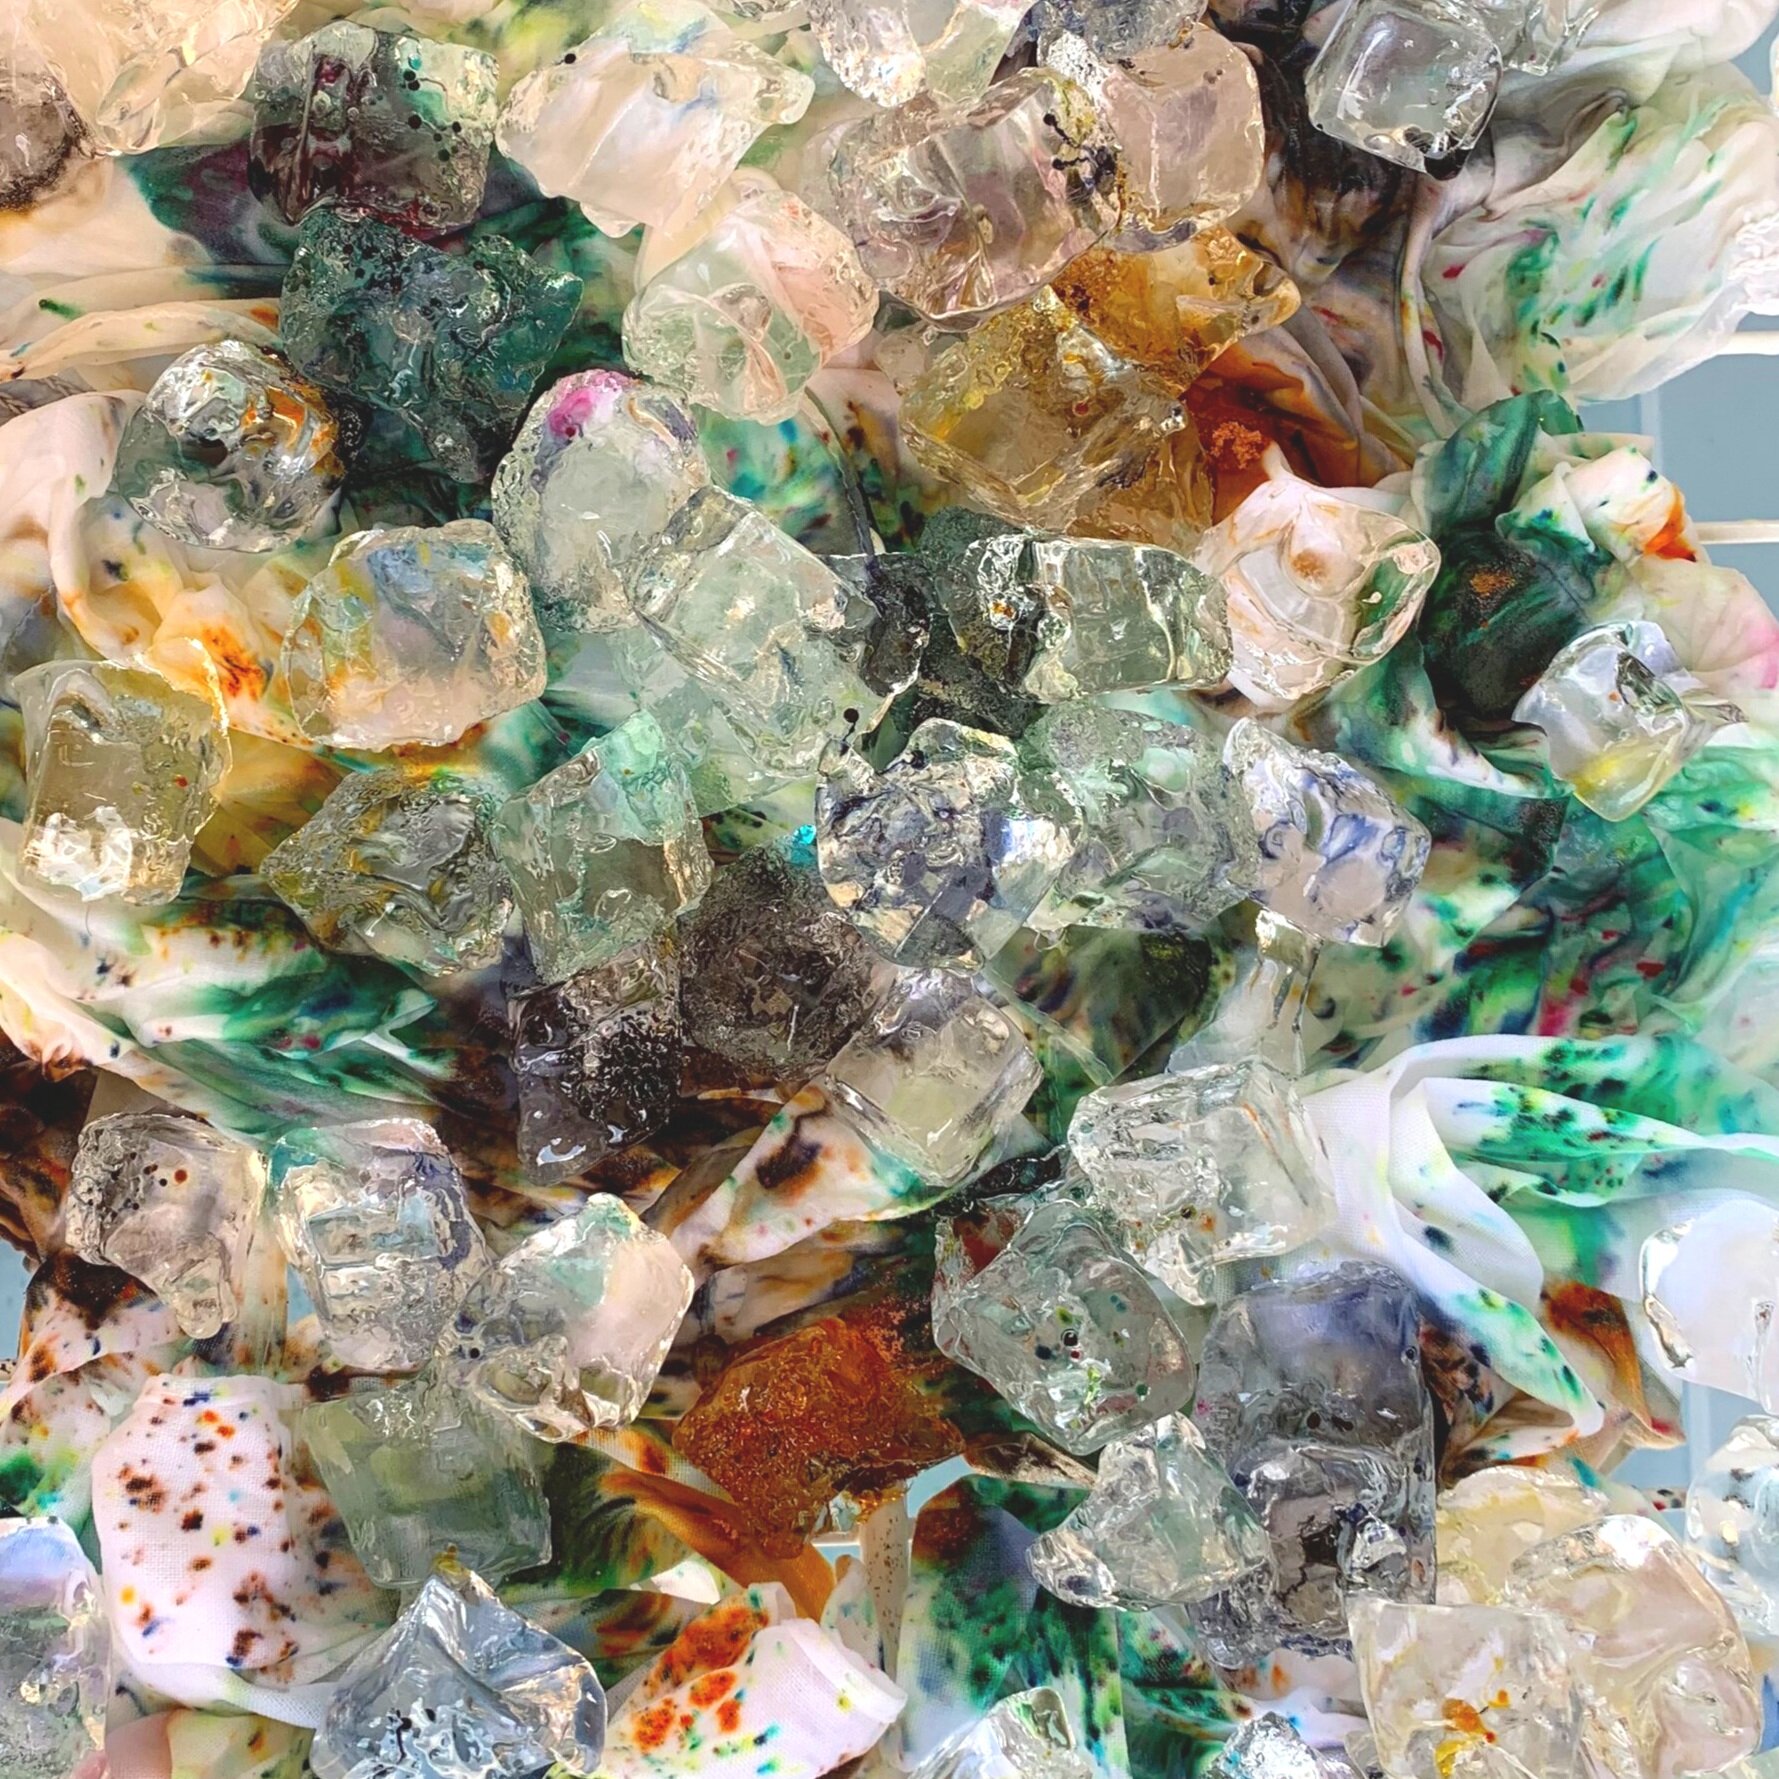
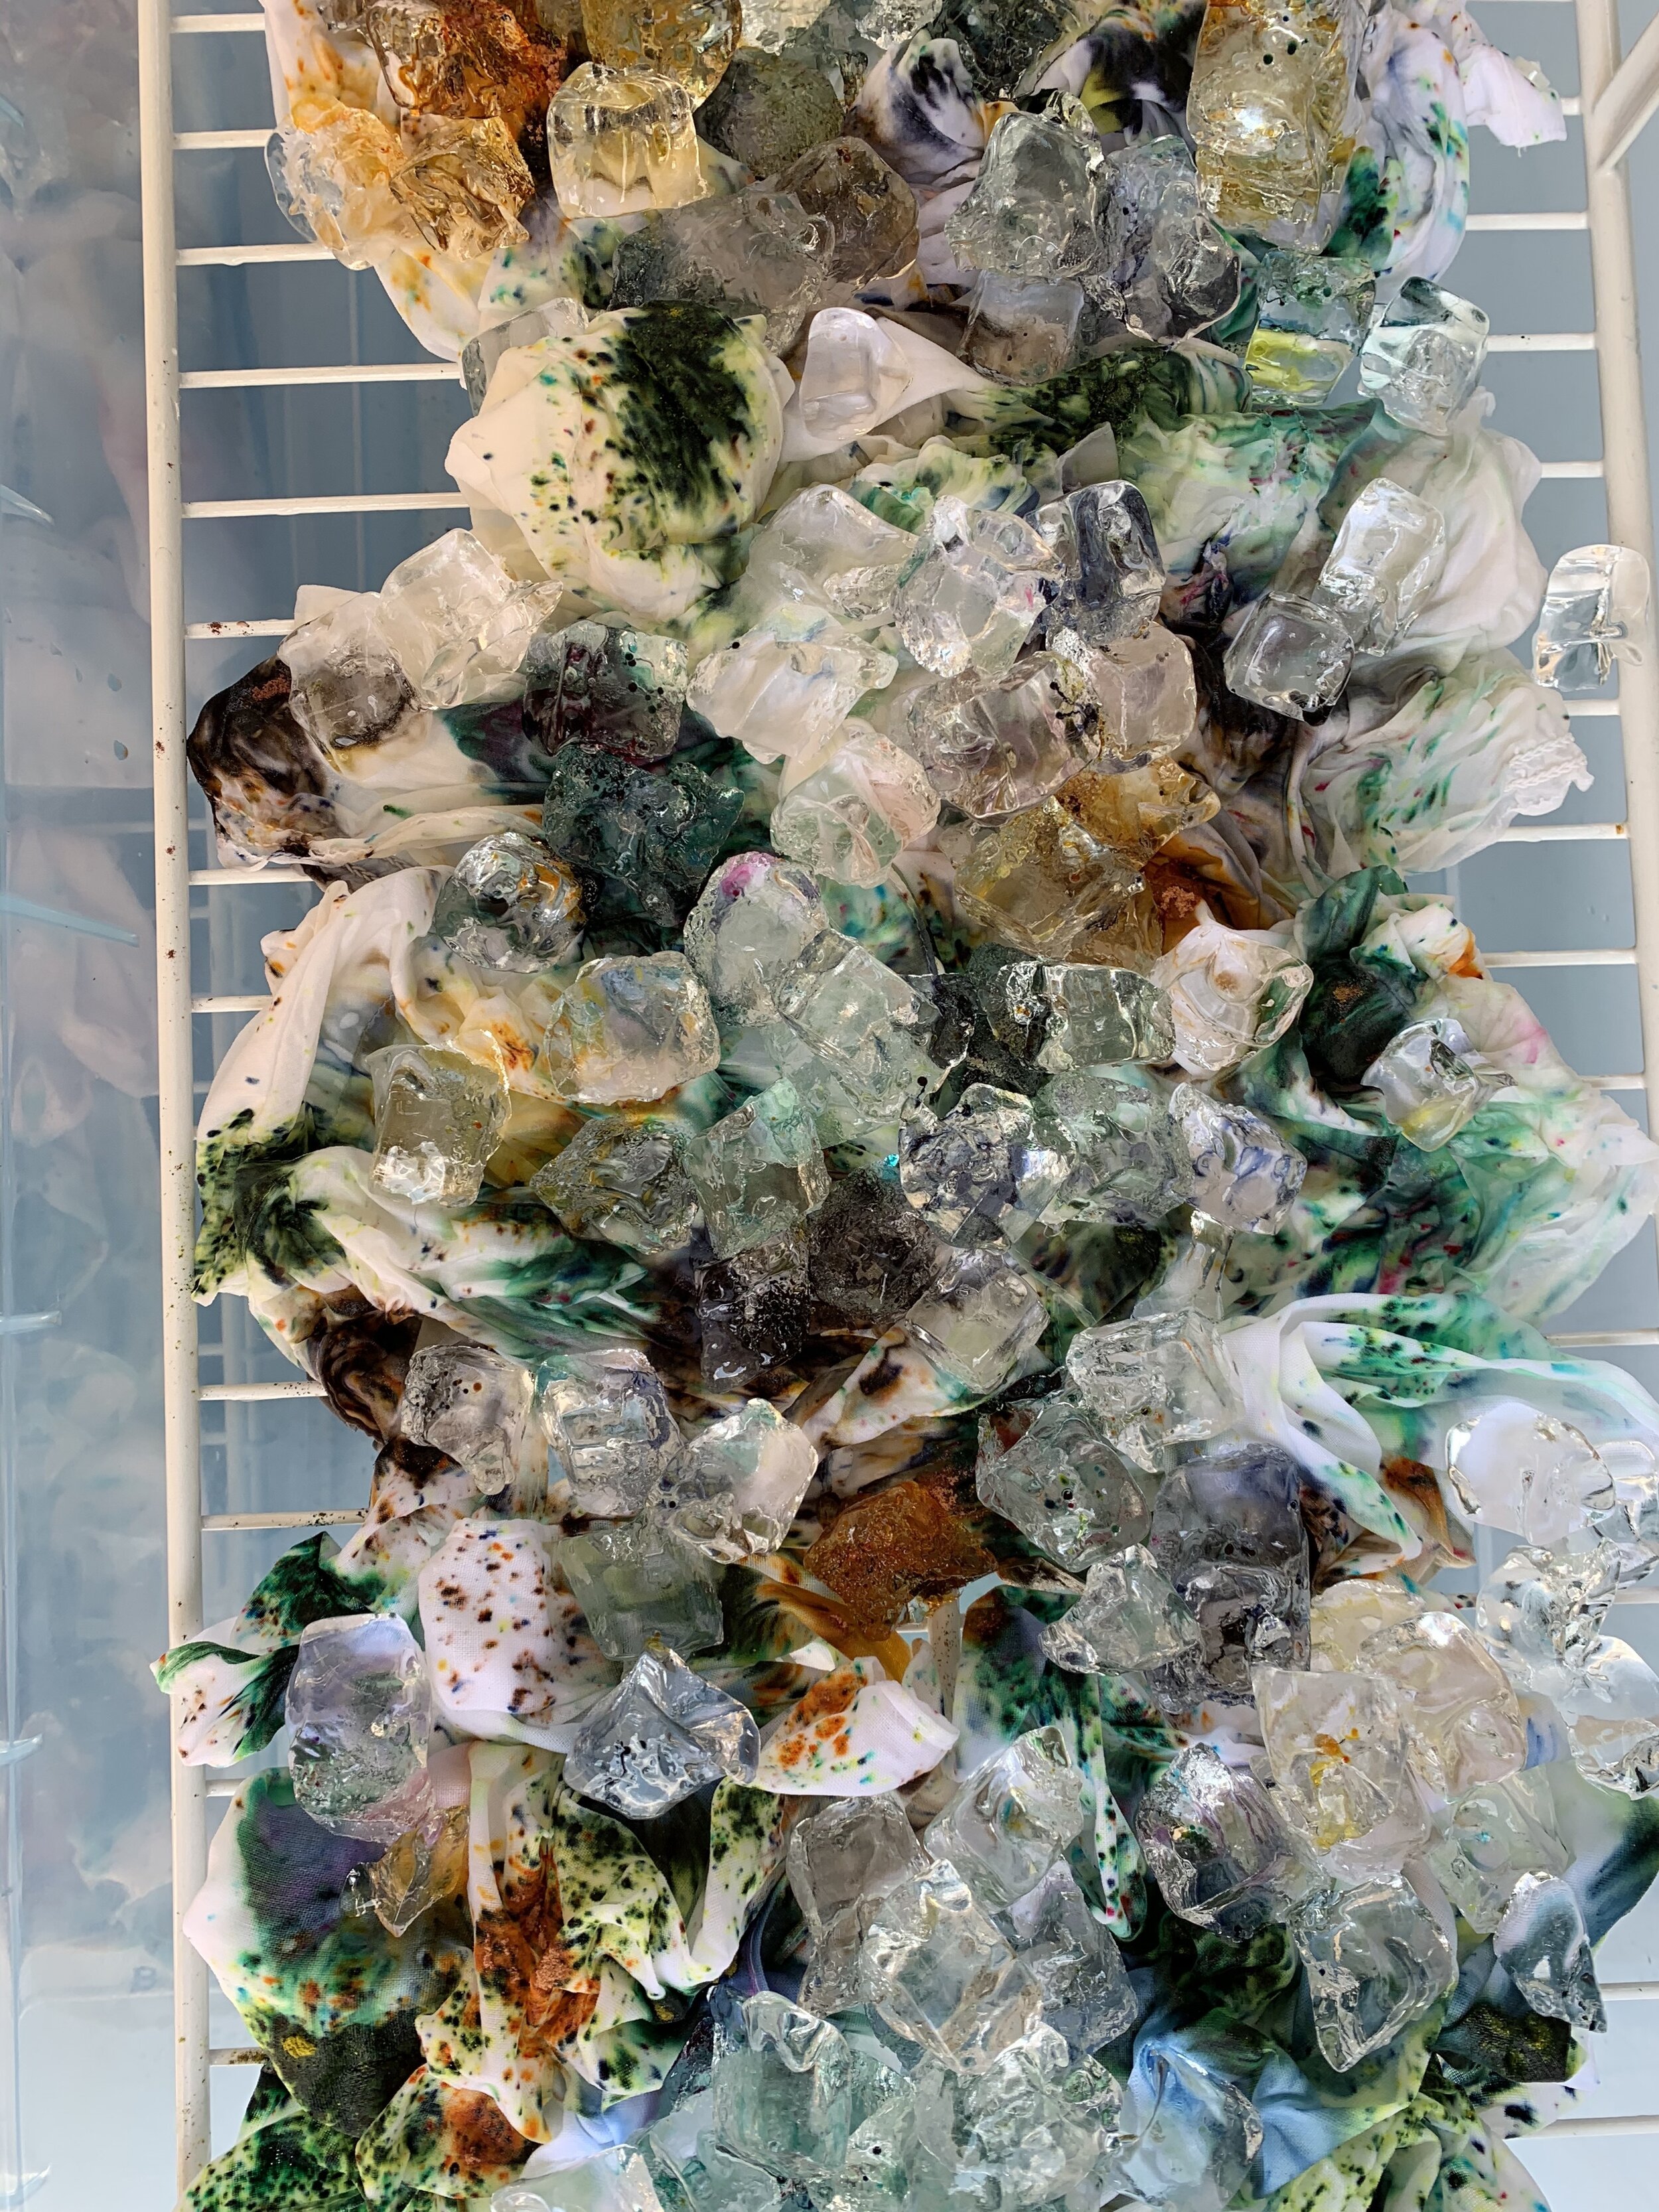
Place generous amounts of ice over clothing.
Sprinkle powder dye over ice. If you want intense color sections, use more dye in one area. If you want a light wash, sprinkle dye lightly over ice.
Allow ice to melt.
Once ice is melted, squeeze fabric to remove excess dye.
Rinse fabric under cold tap water to remove excess dye.
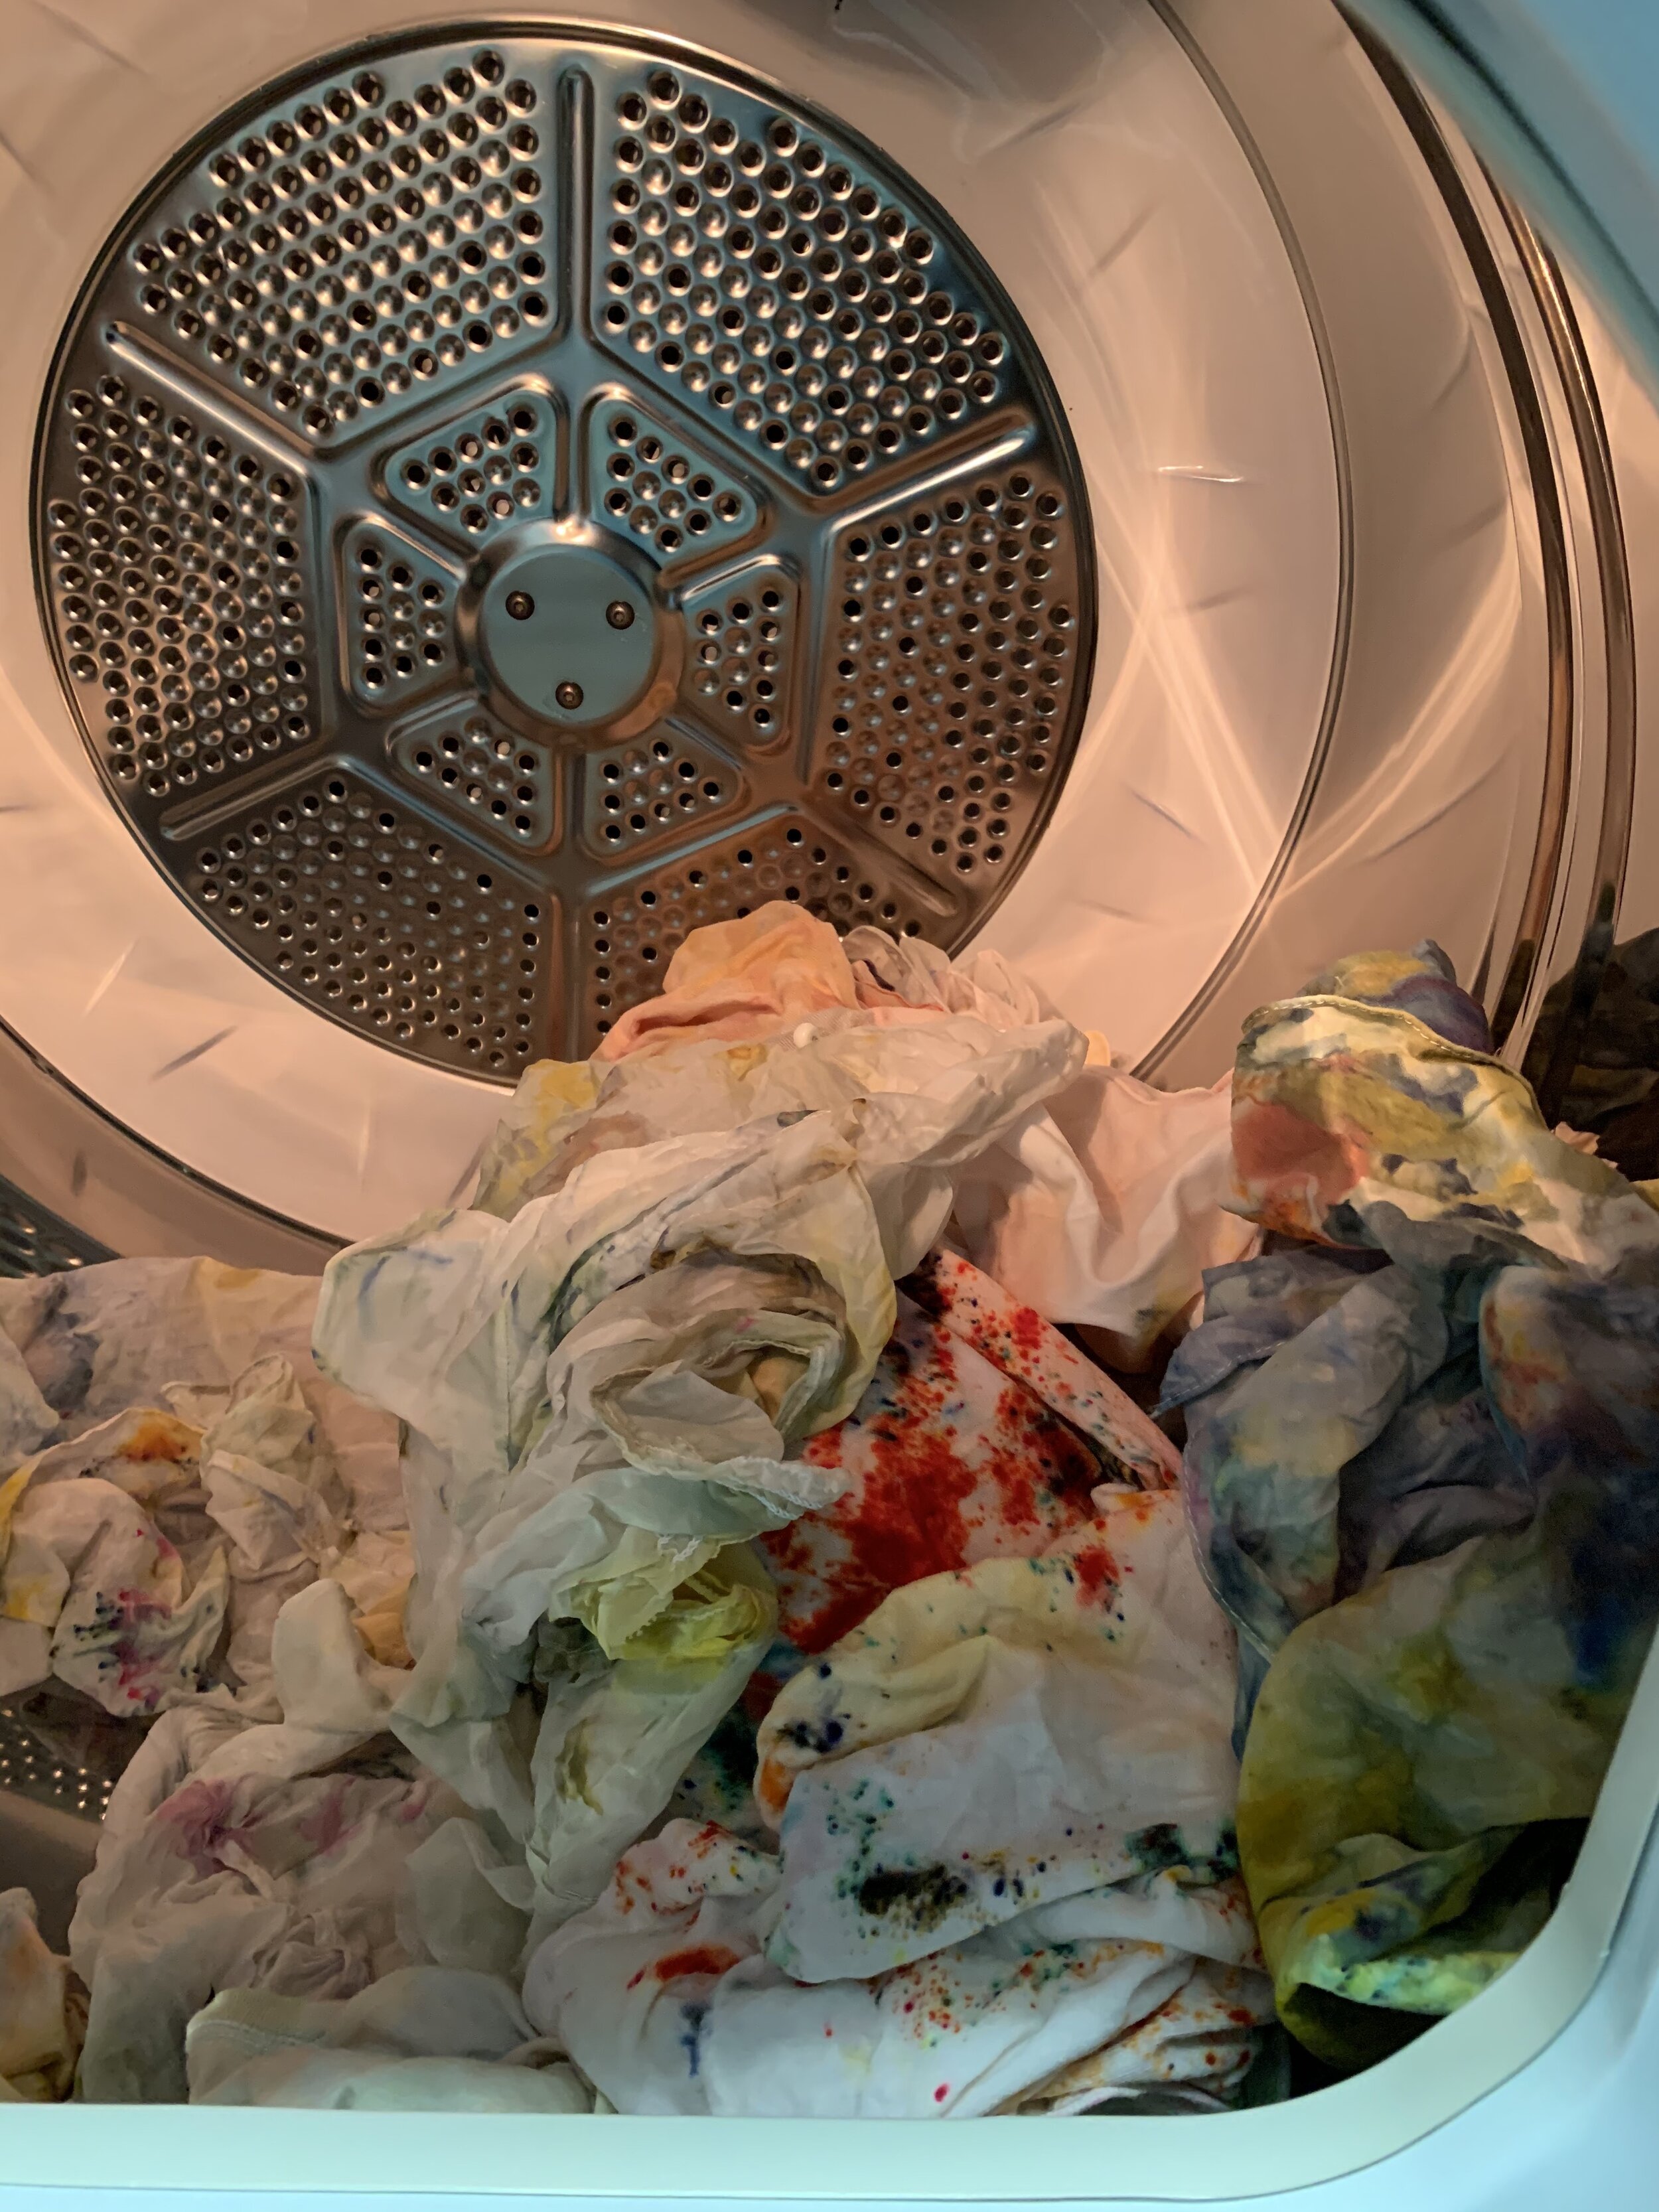
Wash with Synthropol and allow to dry.
Iron if needed.
